SCIM Configuration
This document describes how to configure SAML SSO and SCIM (System for Cross-domain Identity Management) provisioning (managed by Okta) for the Censys Platform. SCIM allows you to automatically provision and deprovision users in Censys based on assignments in your identity provider (IdP).
Prerequisites
Before beginning the integration, ensure you have the following:
- Administrative privileges in your Okta organization.
- An Censys enterprise-level plan with organization-level administrative access.
- Access to your authoritative DNS provider to add TXT records for domain verification.
Supported Features
The Censys integration with Okta supports the following capabilities:
- SAML 2.0 Authentication: Supports both Identity Provider (IdP) initiated and Service Provider (SP) initiated SSO flows.
- Just-in-Time (JIT) Provisioning: A user who is assigned to the Censys application and signs in through SAML SSO before SCIM has pushed them is automatically provisioned in Censys at login. SAML SSO works whether or not SCIM provisioning is enabled.
- User Provisioning (SCIM):
- Push Users: Automatically create users in Censys when assigned in Okta.
- Update User: Synchronize attribute changes to user profiles (e.g., name, status) from Okta to Censys.
- Deactivate Users: Automatically deactivate or remove user access in Censys when they are unassigned or deactivated in Okta.
- Import Users: Import existing Censys users into Okta to confirm their provisioning state and match them to Okta profiles. Only active, SCIM-managed users are returned; users that have been deactivated or unassigned are intentionally excluded.
Configuration Steps: SAML Setup
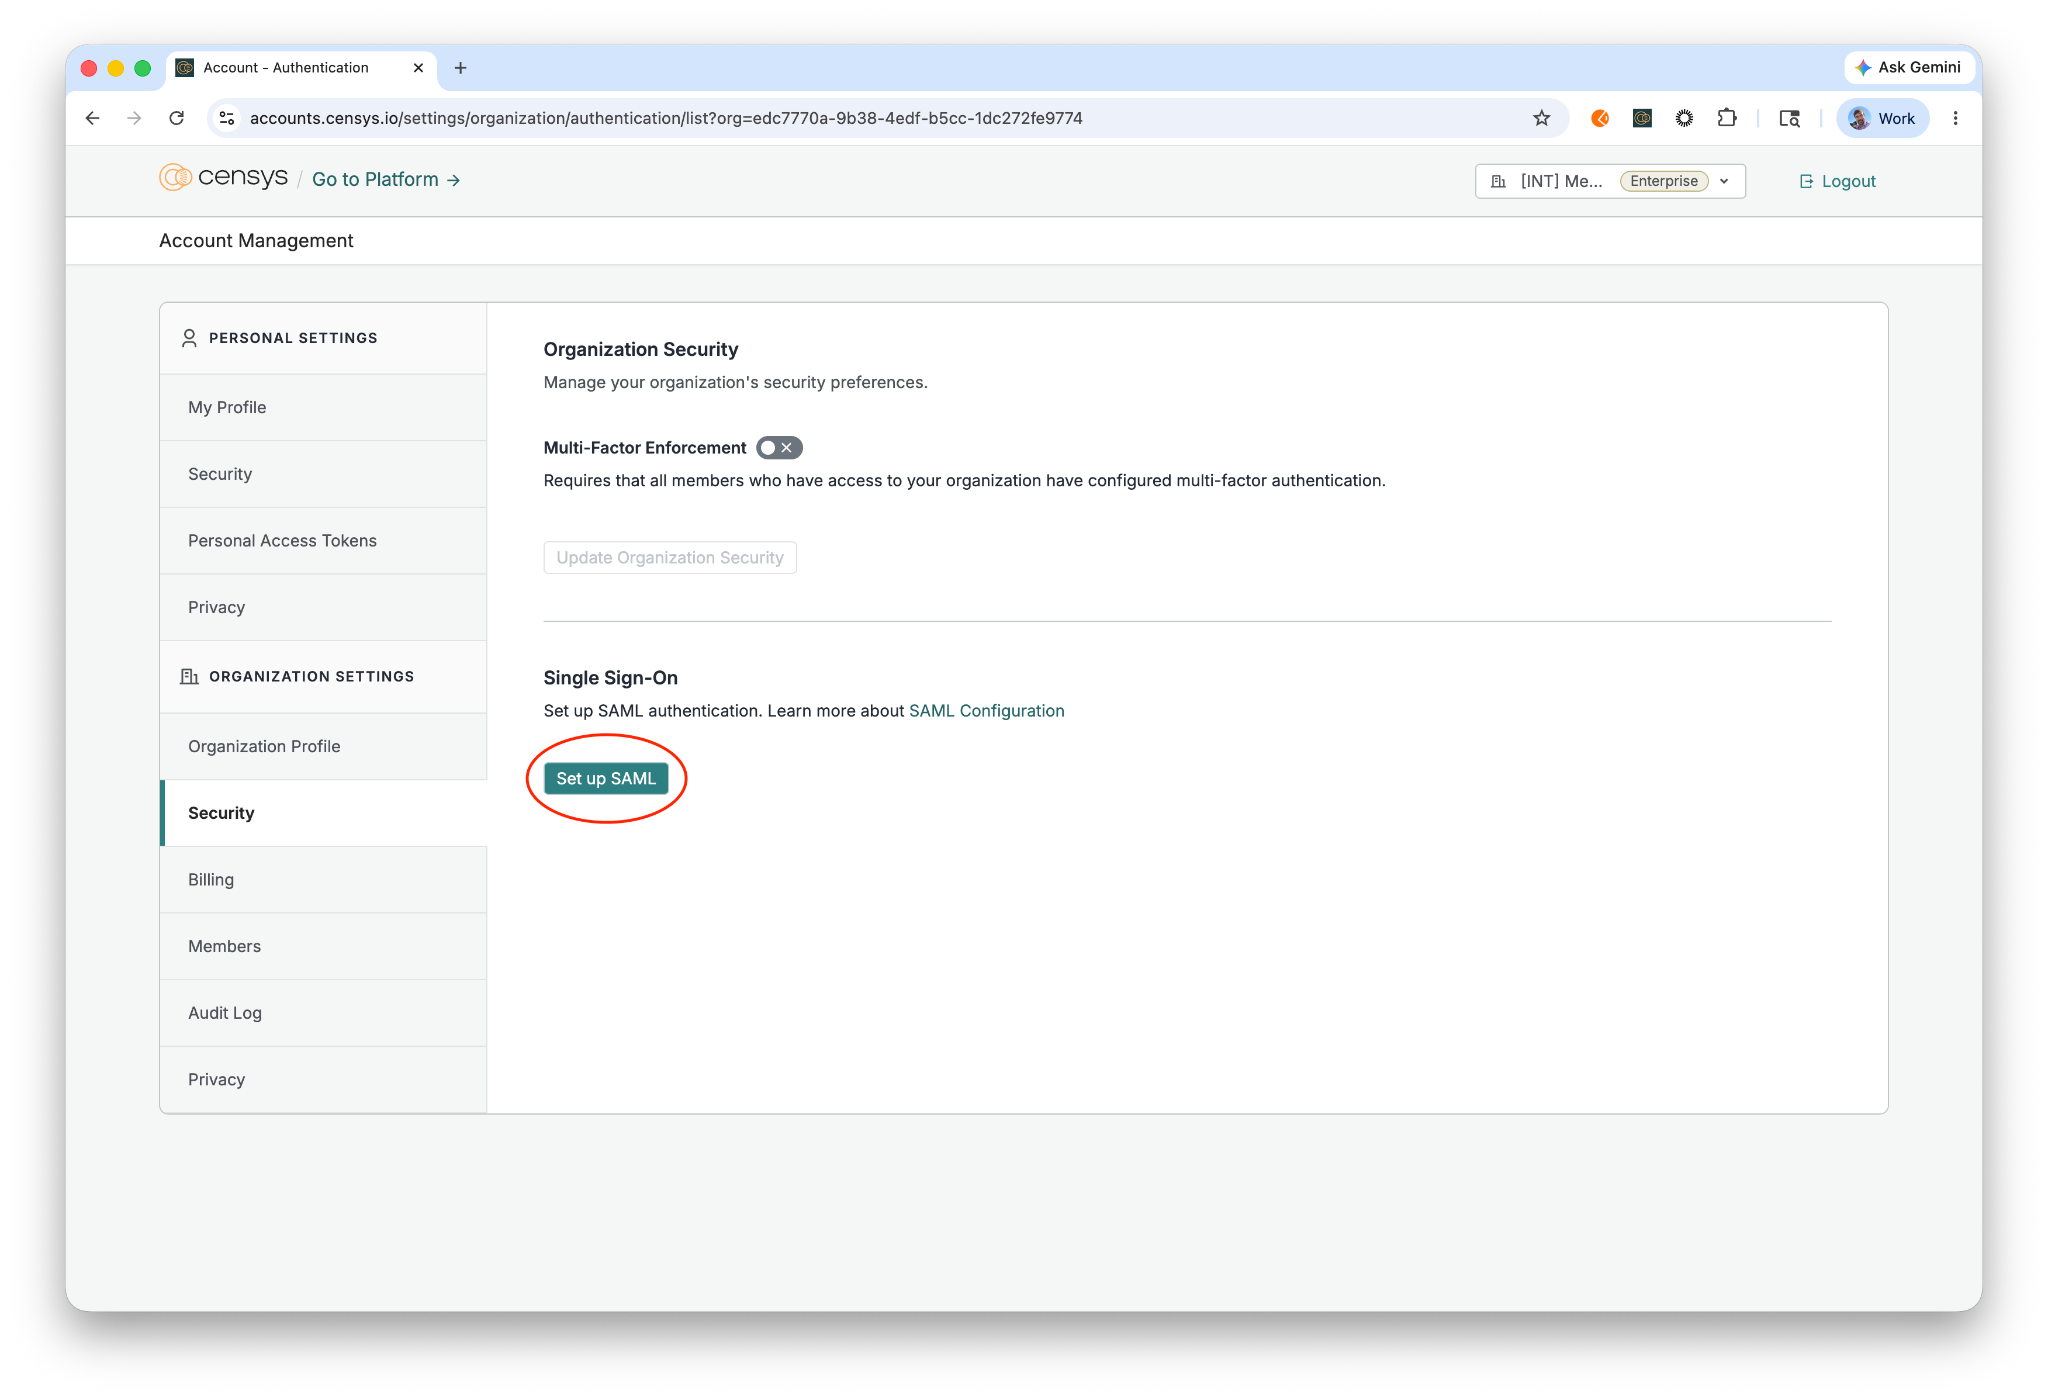
1. Configure SAML in the Censys Platform
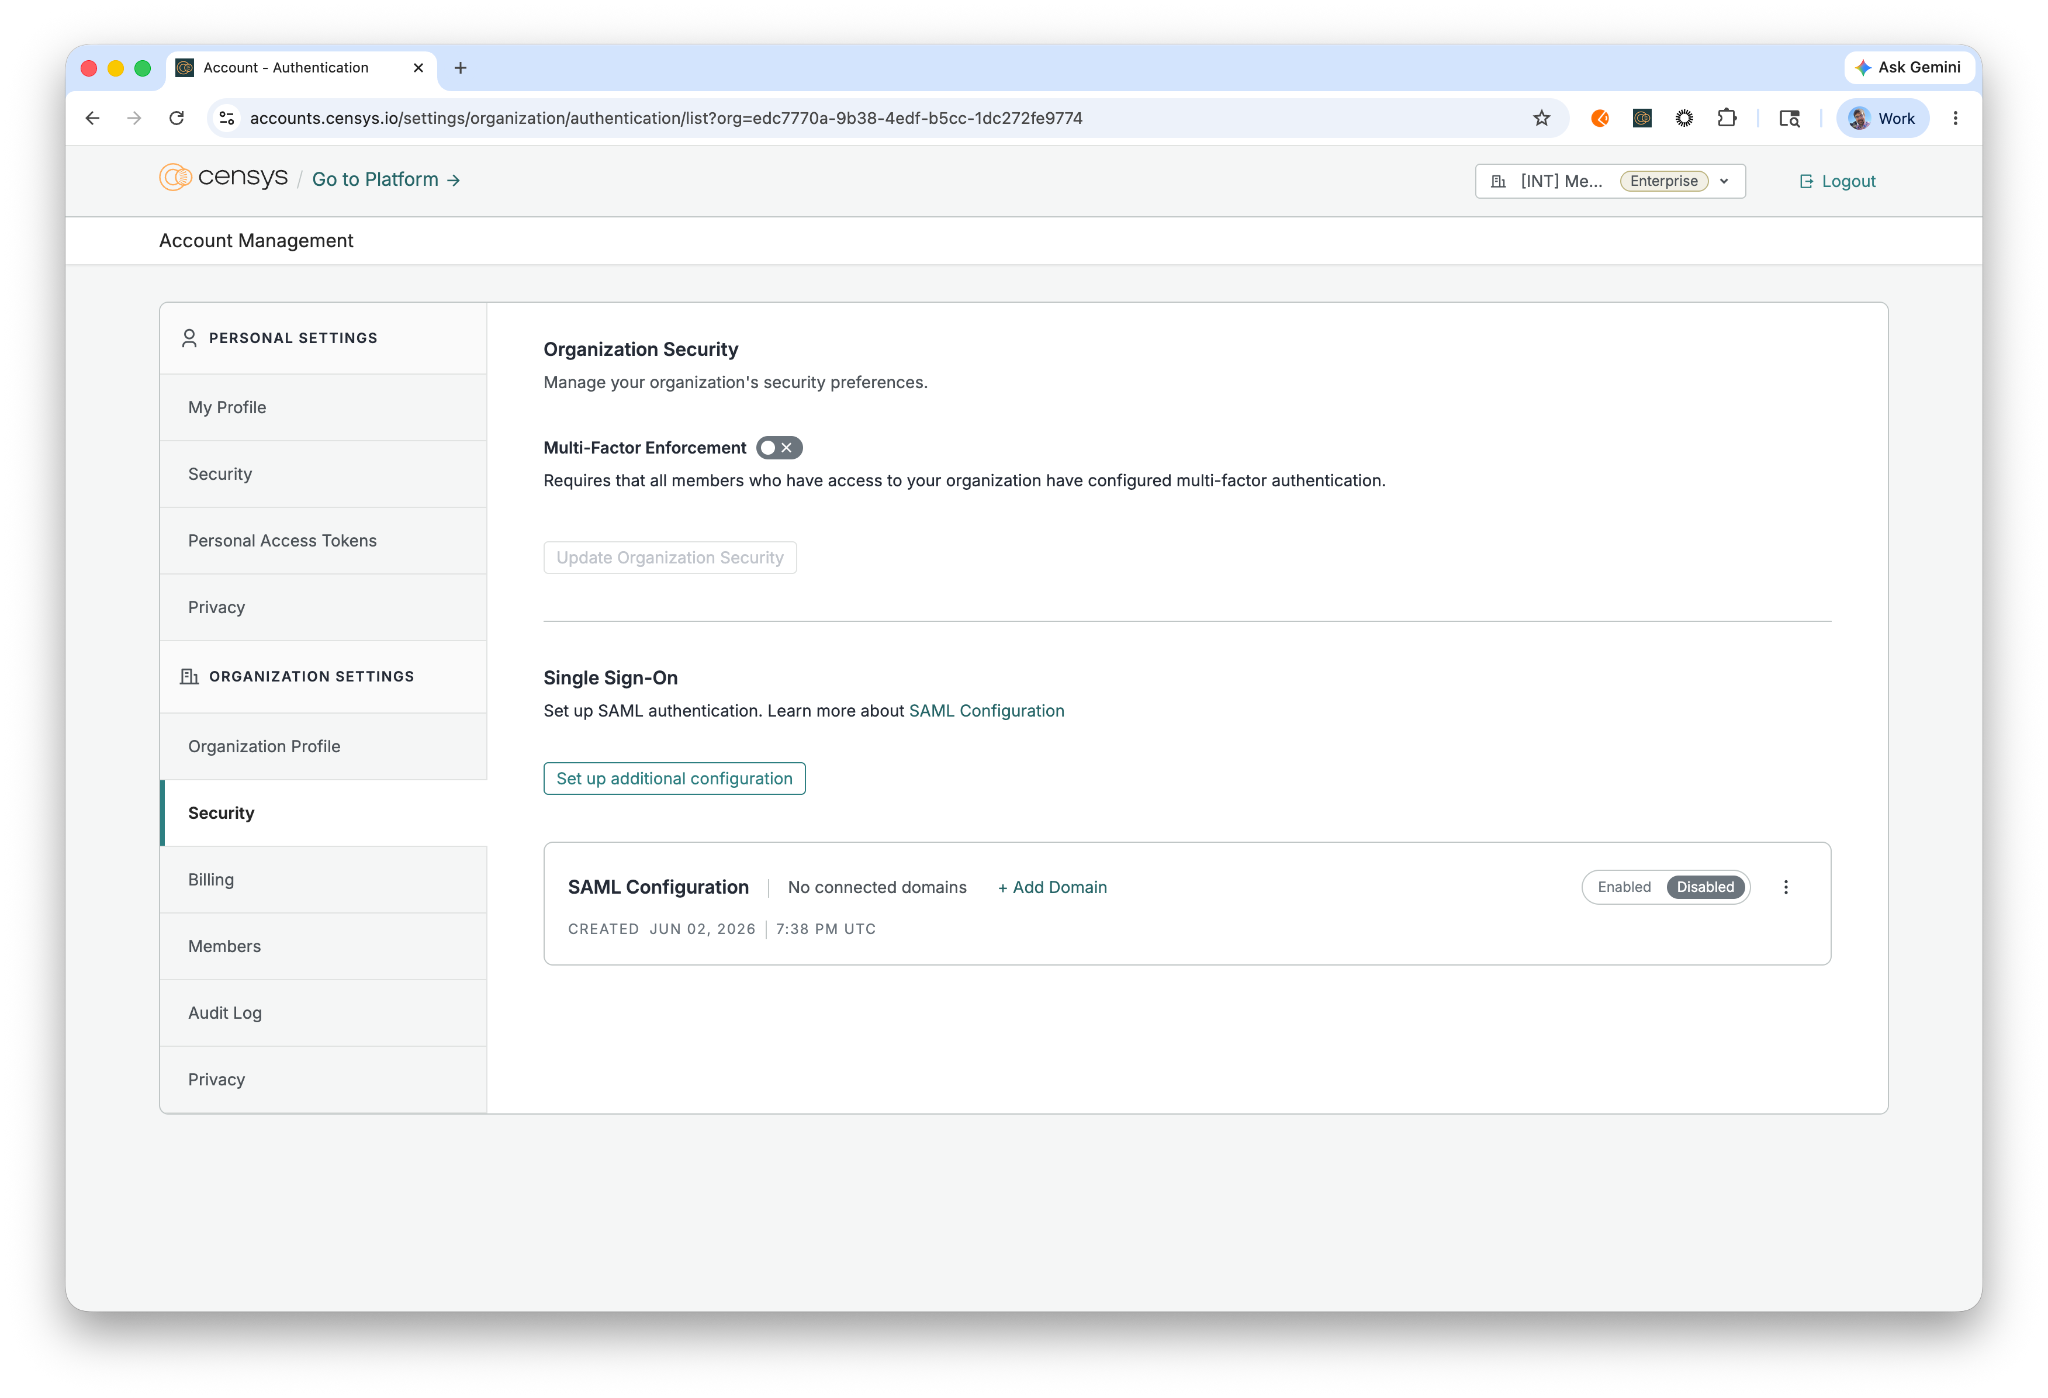
- Log in to the Censys Platform and navigate to Account Management > Organization Settings > Security > Single Sign-On.
- Click the Set up SAML button.
-
Copy the SAML ID from the bottom of the Edit/Configure SAML page. This ID will be used in the Okta application configuration.
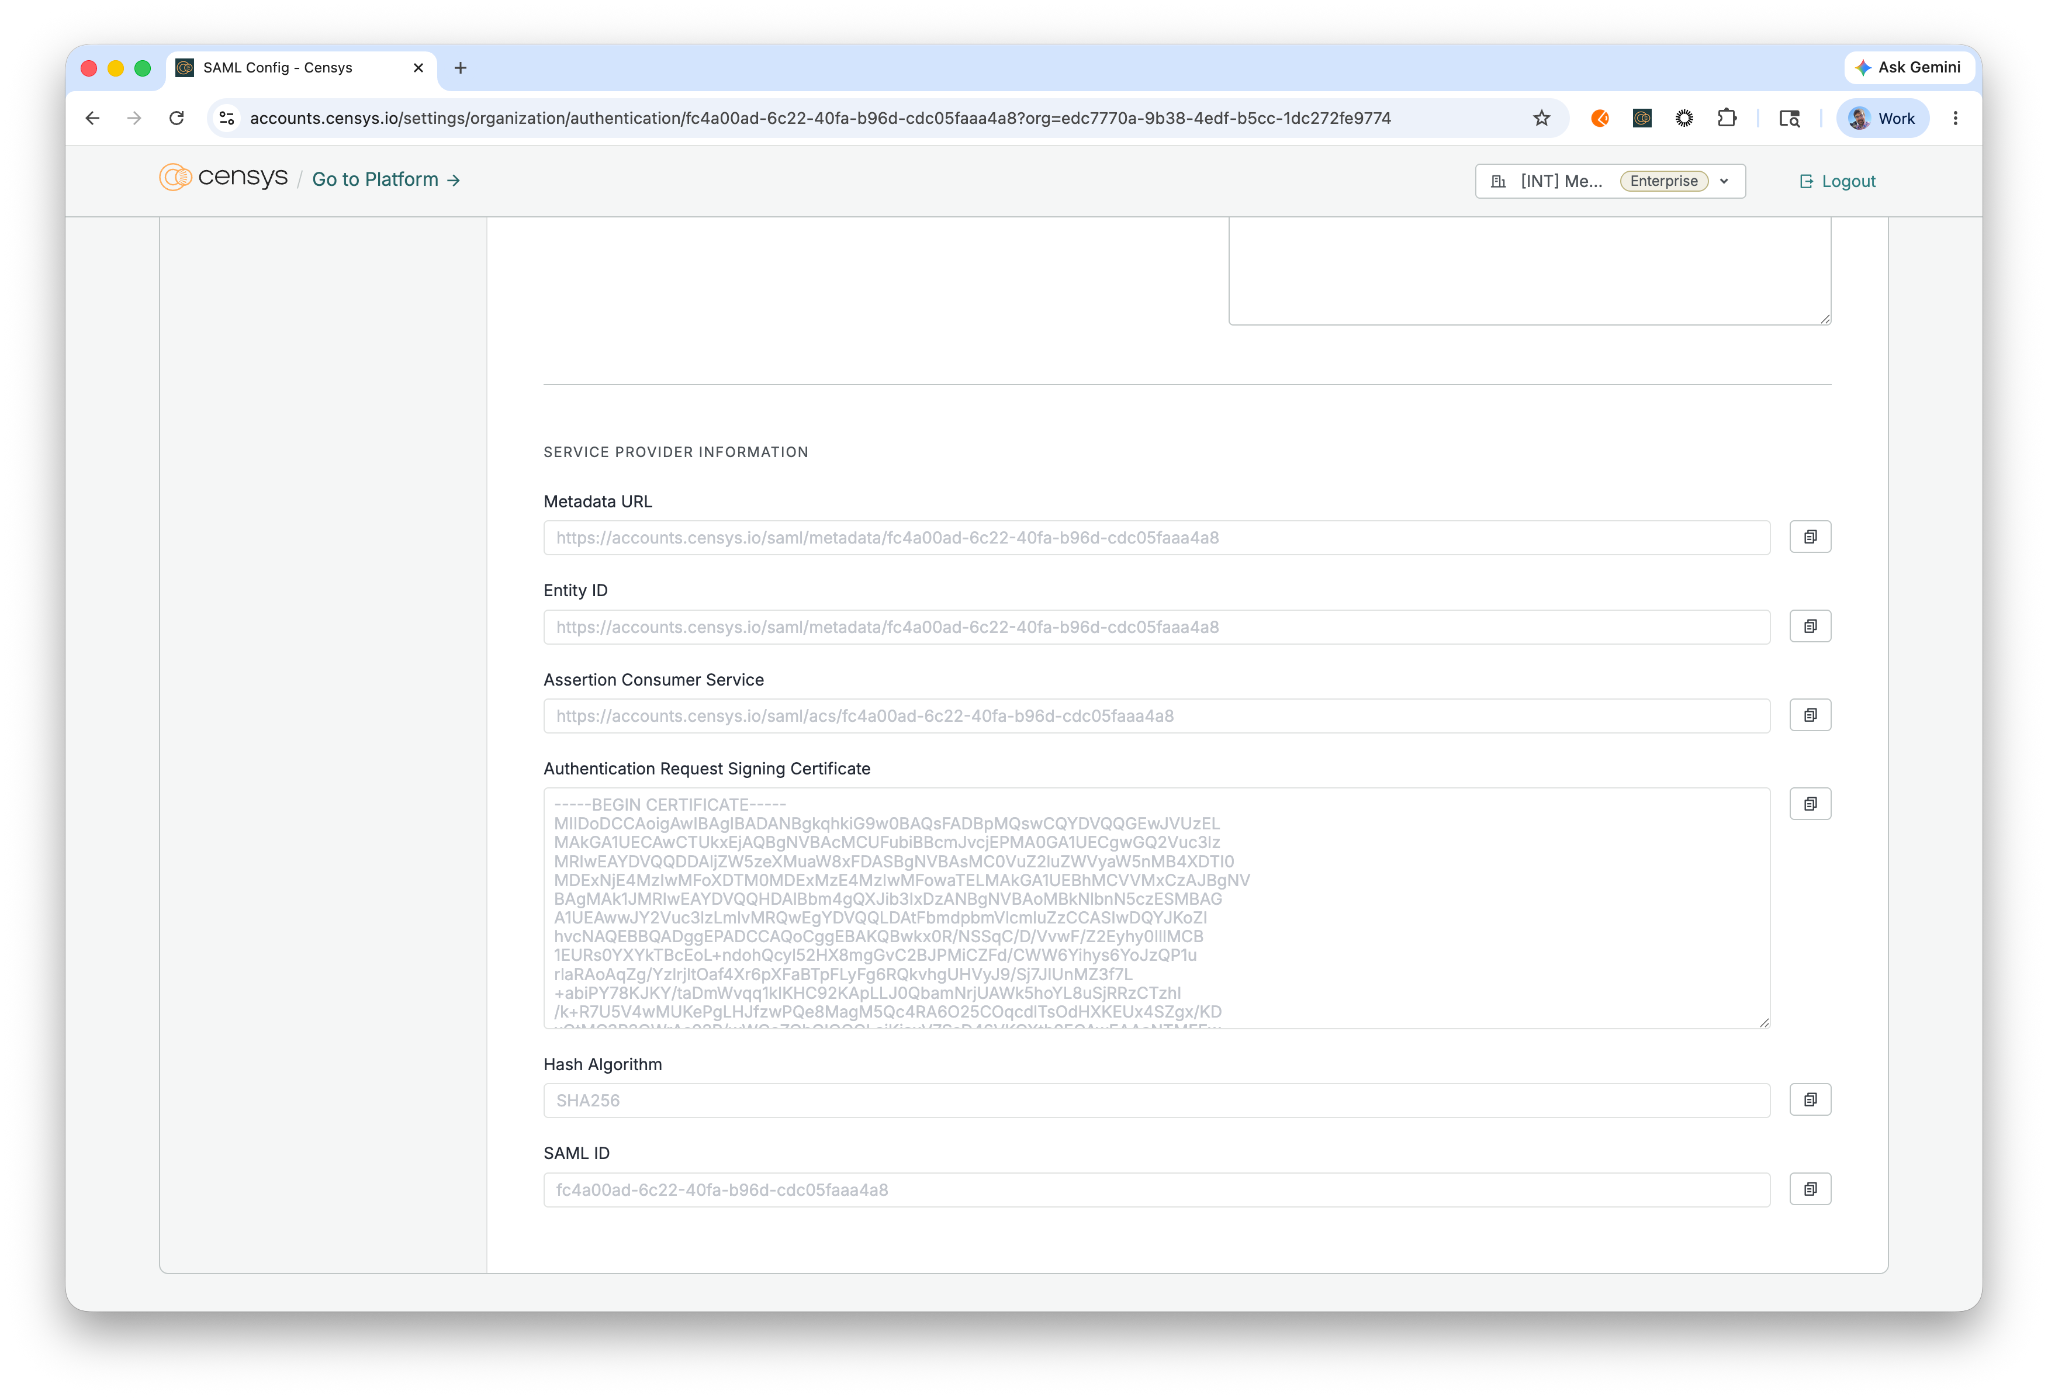
-
Keep this page open to complete the configuration later.
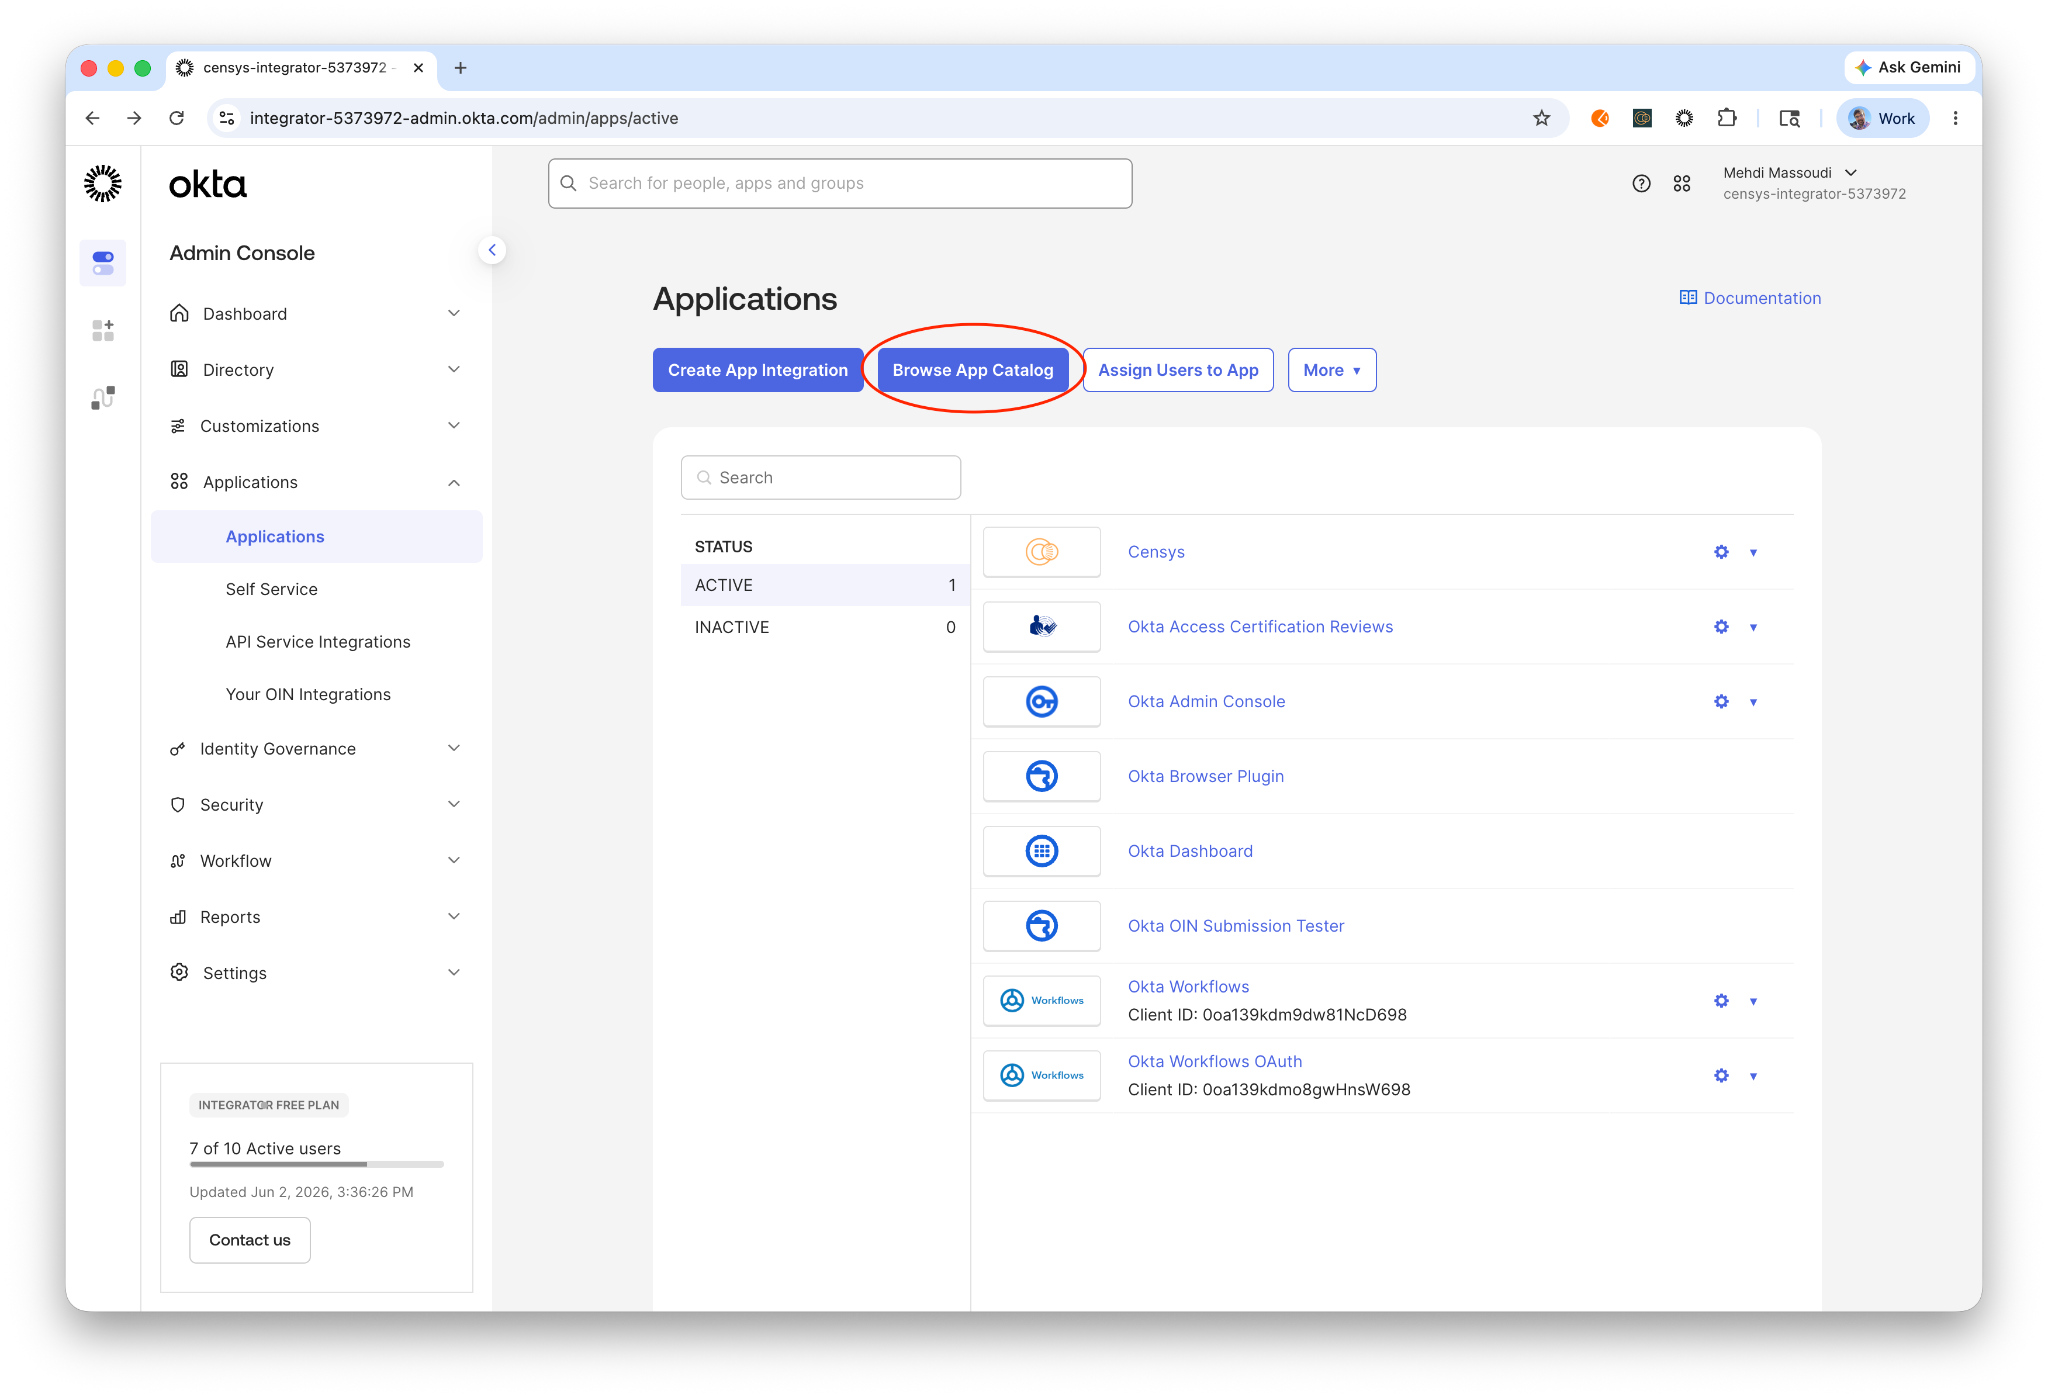
2. Add the Censys App from the Okta Catalog
-
Log in to your Okta Admin Console.
-
Navigate to Applications > Applications > Browse App Catalog.
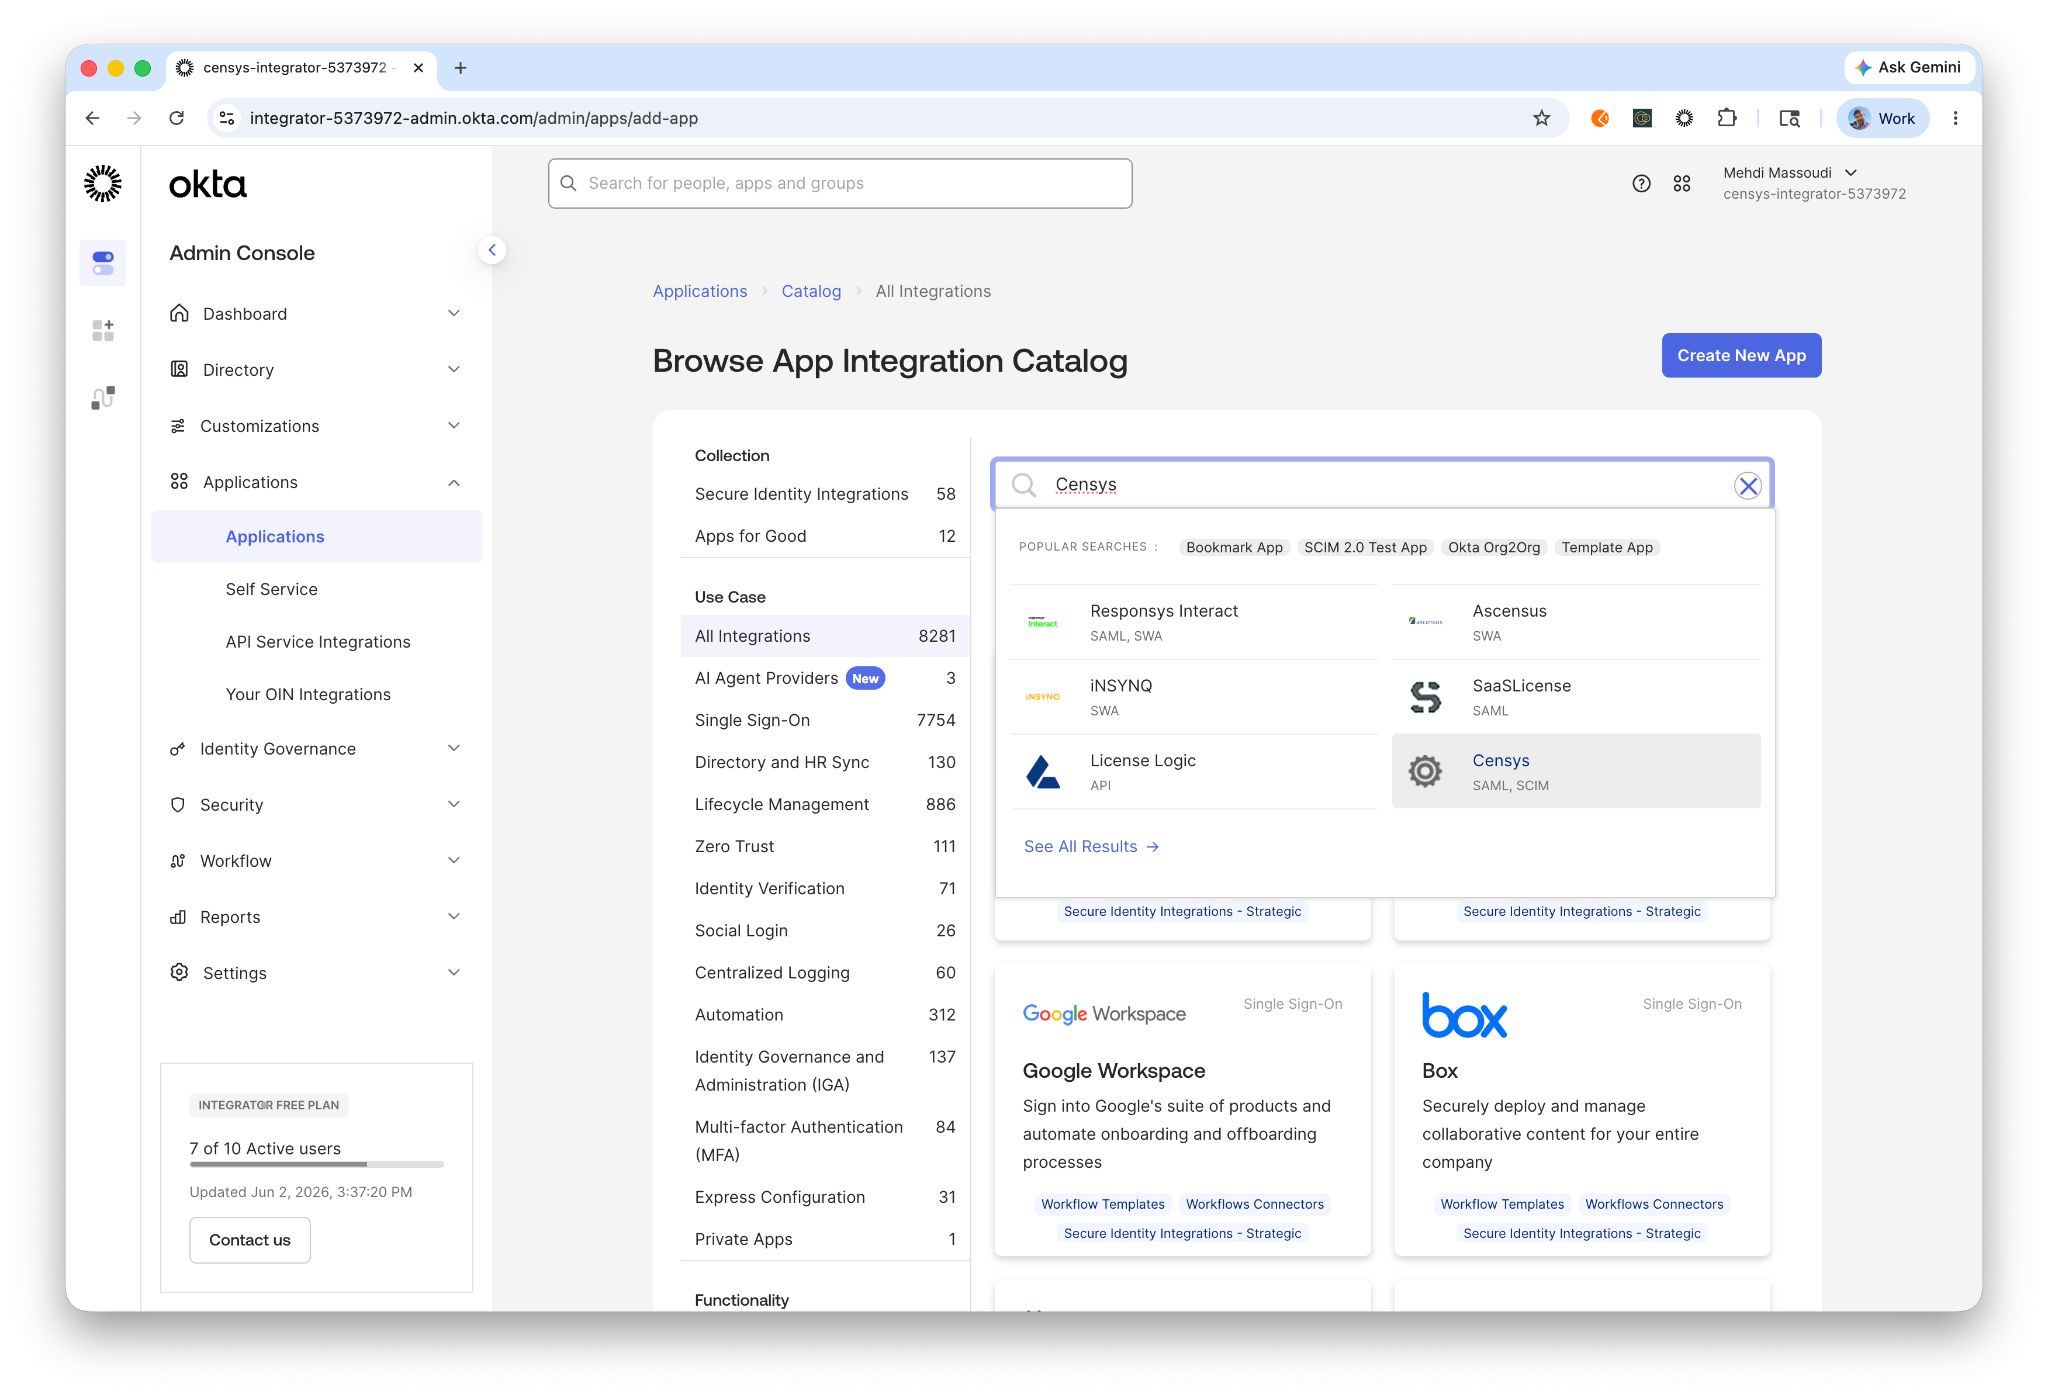
-
Search for "Censys" and select Add Integration.
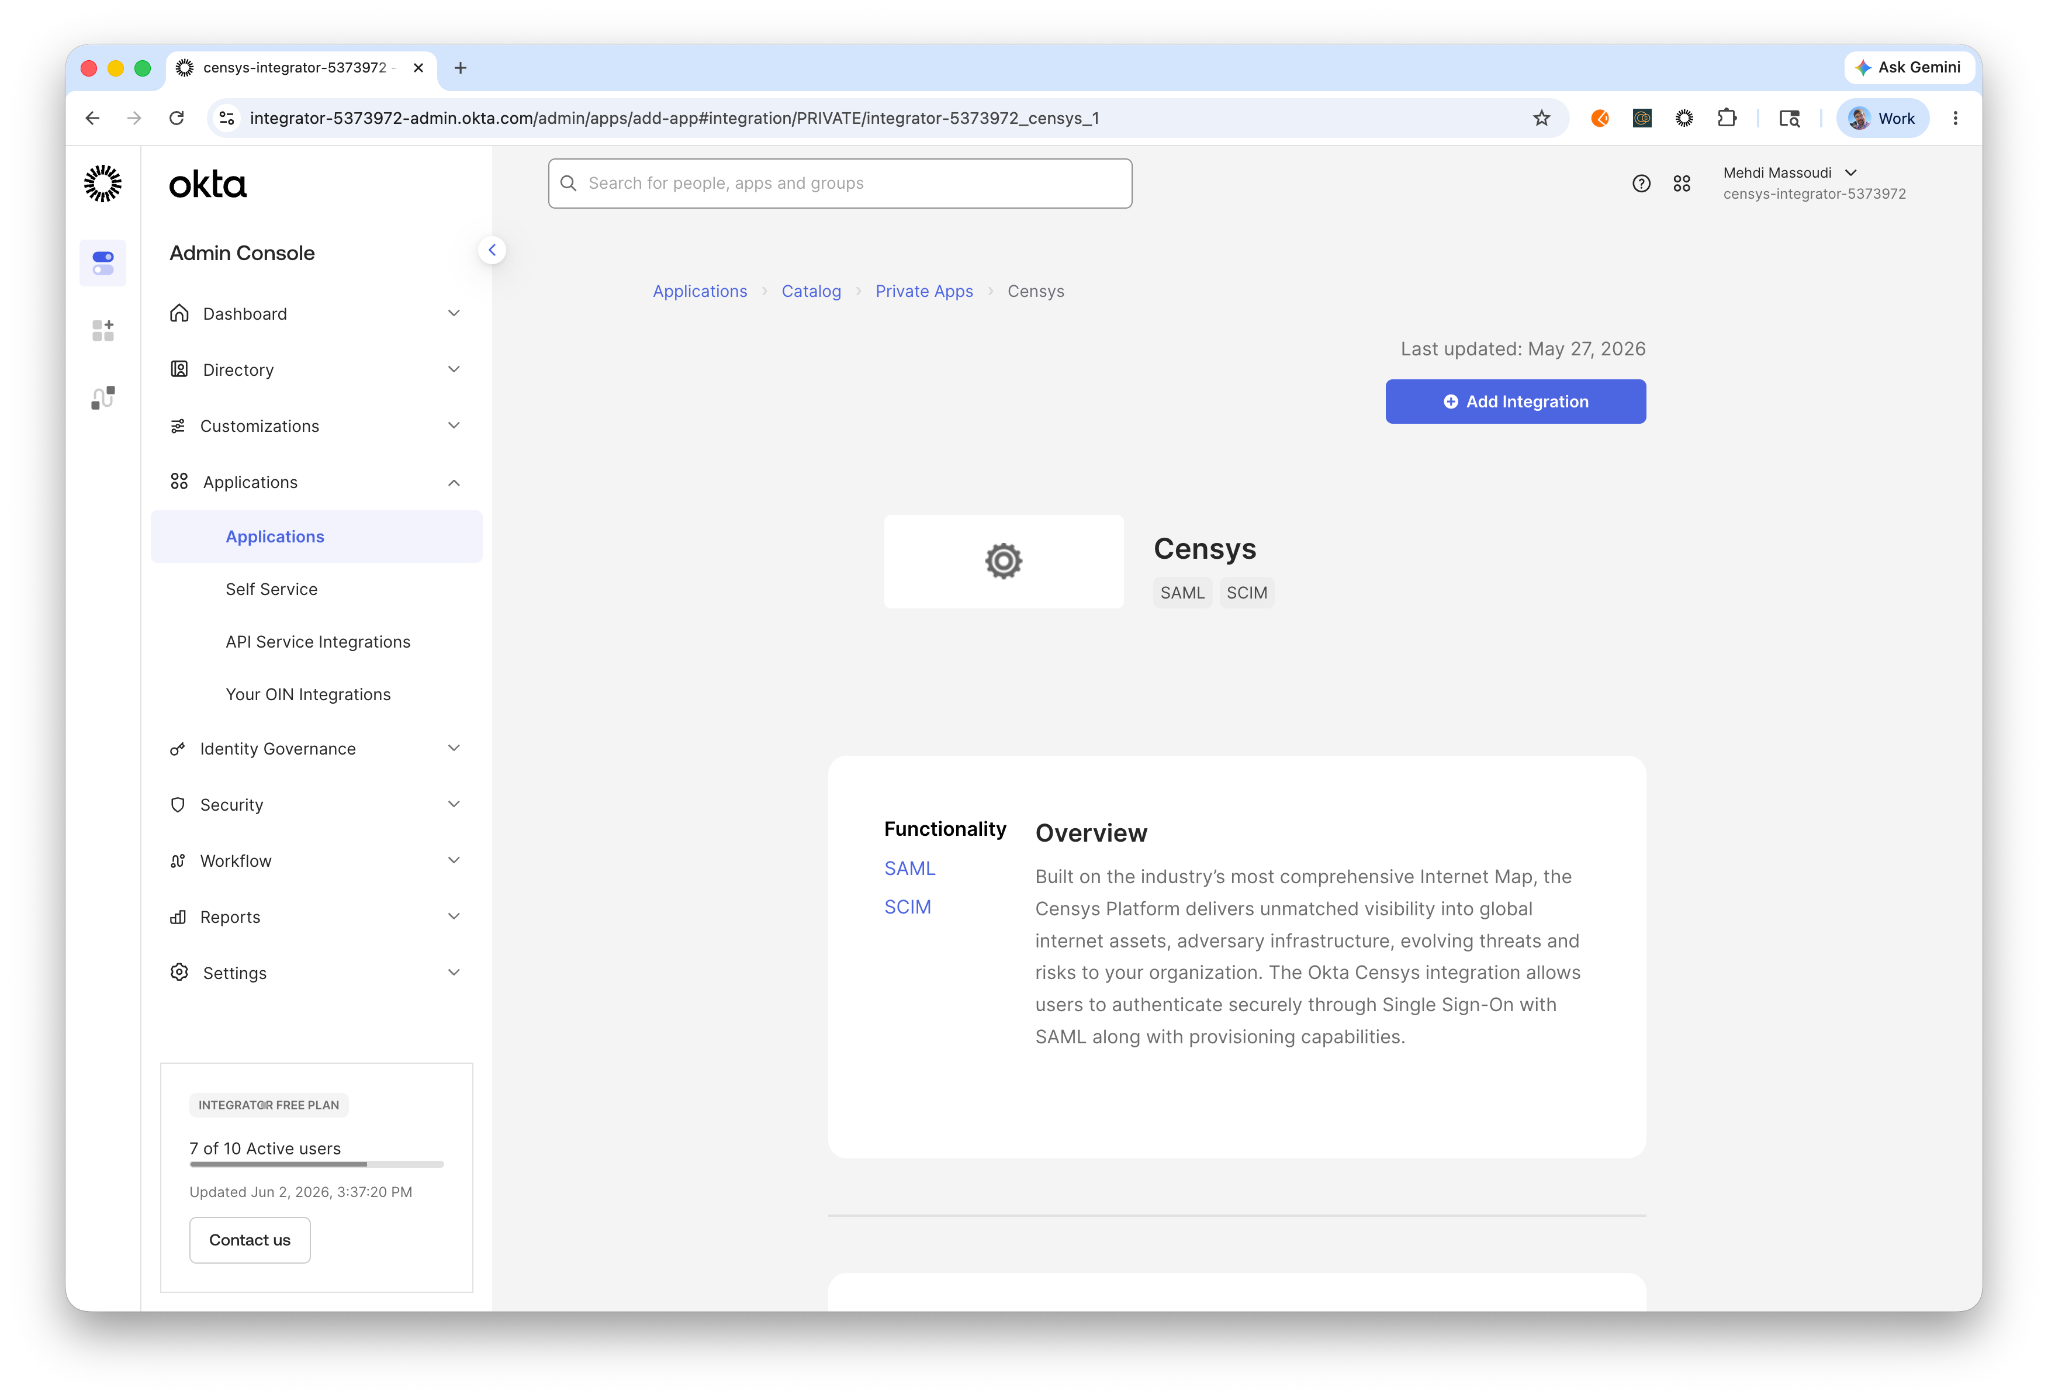
-
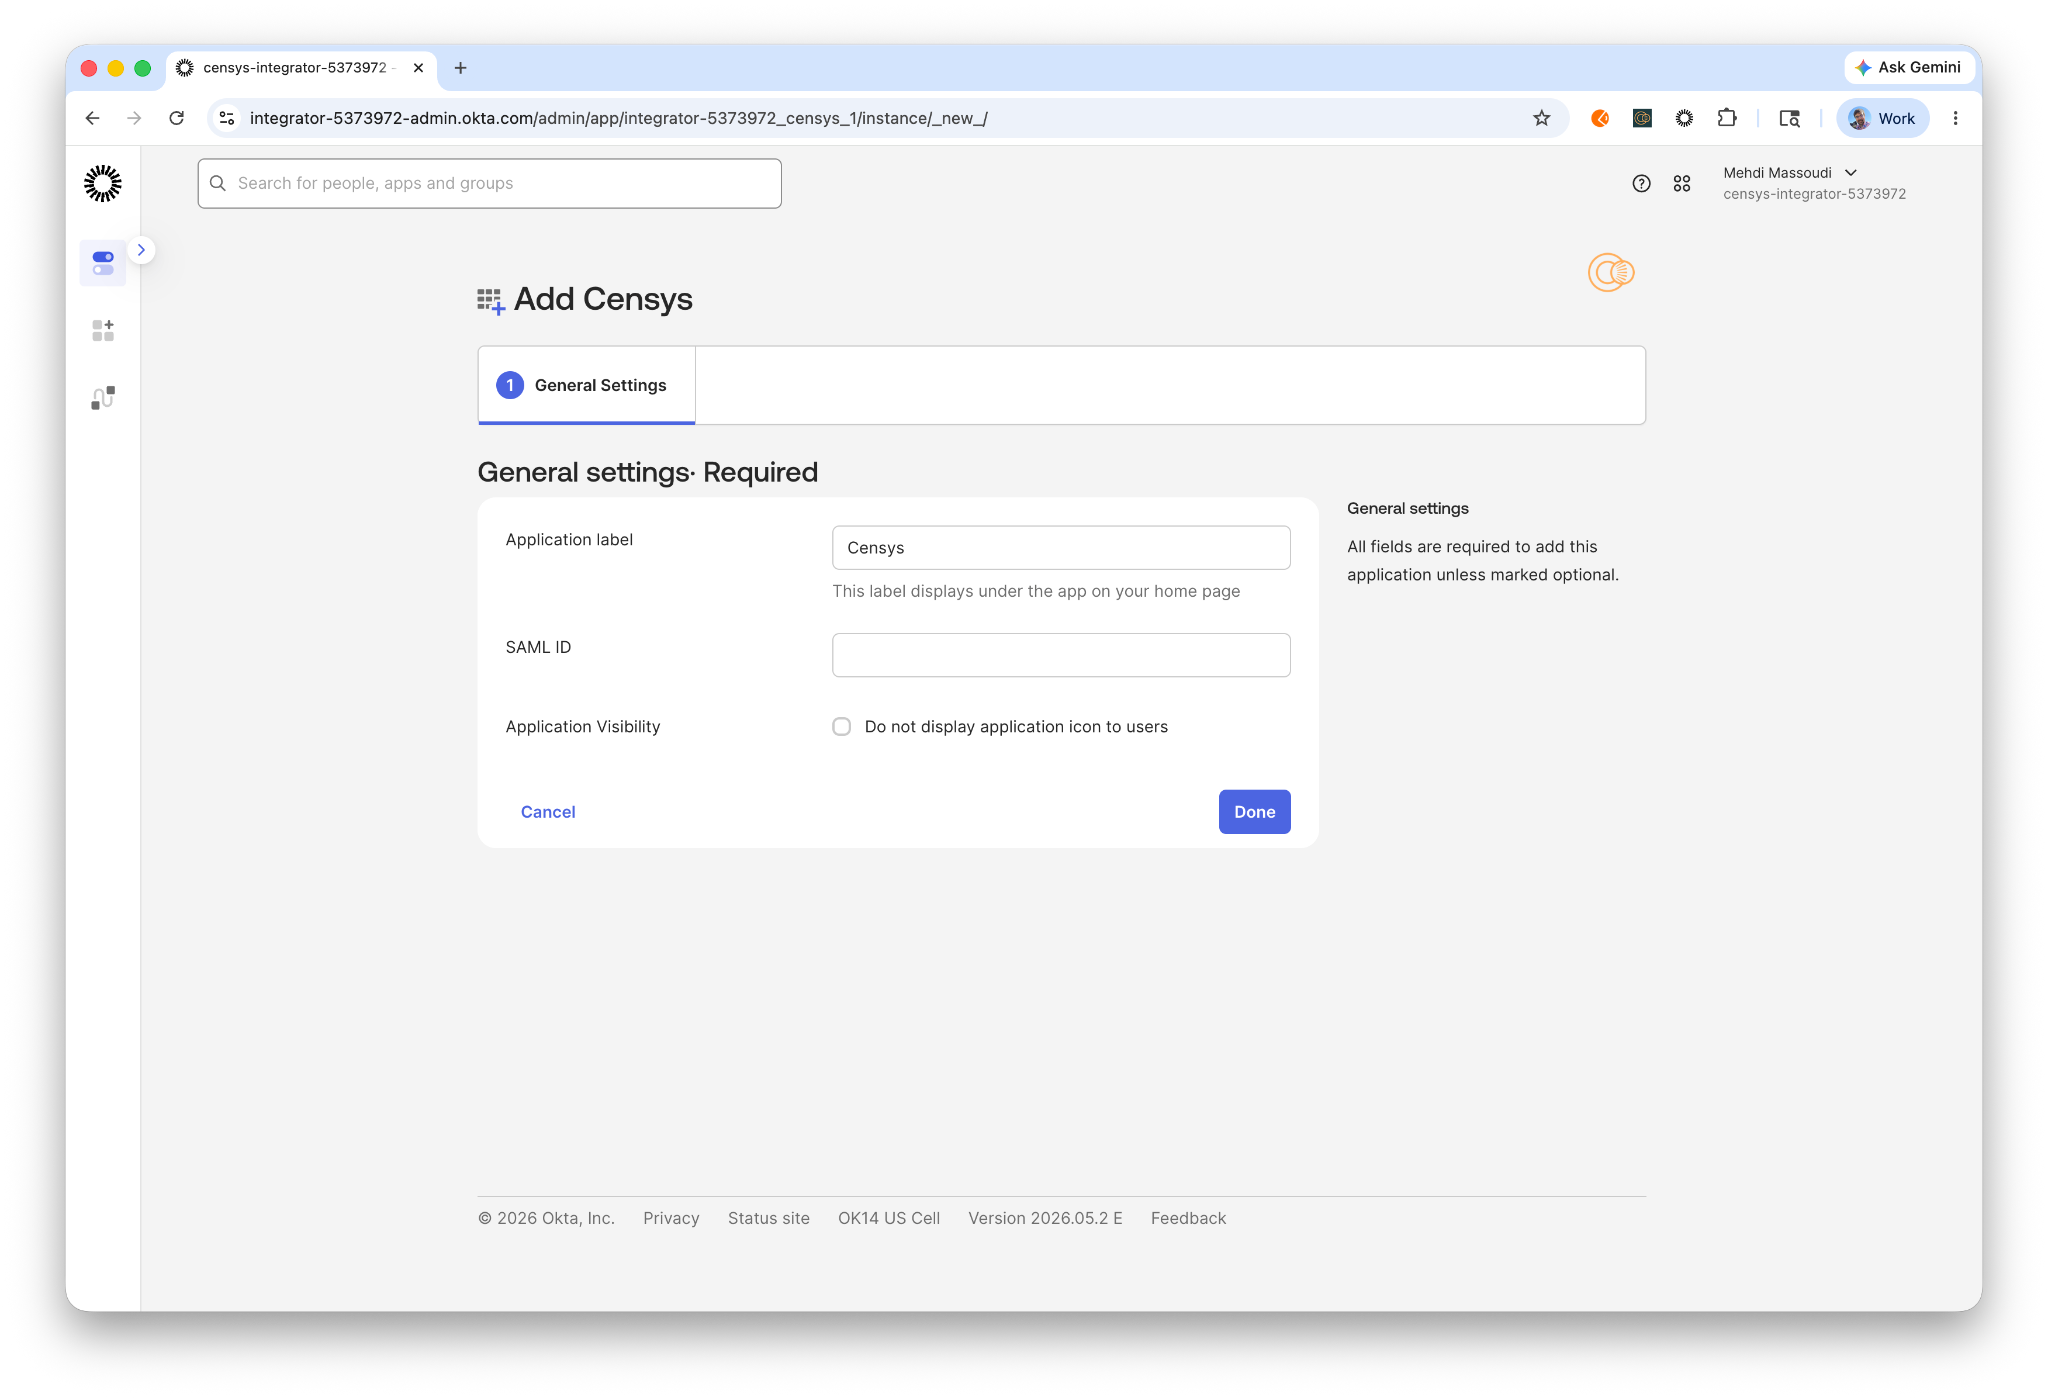
In General Settings, enter a label (e.g., "Censys"). Then, scroll to the SAML ID field and paste the SAML ID copied from the Censys platform. Click Done.
-
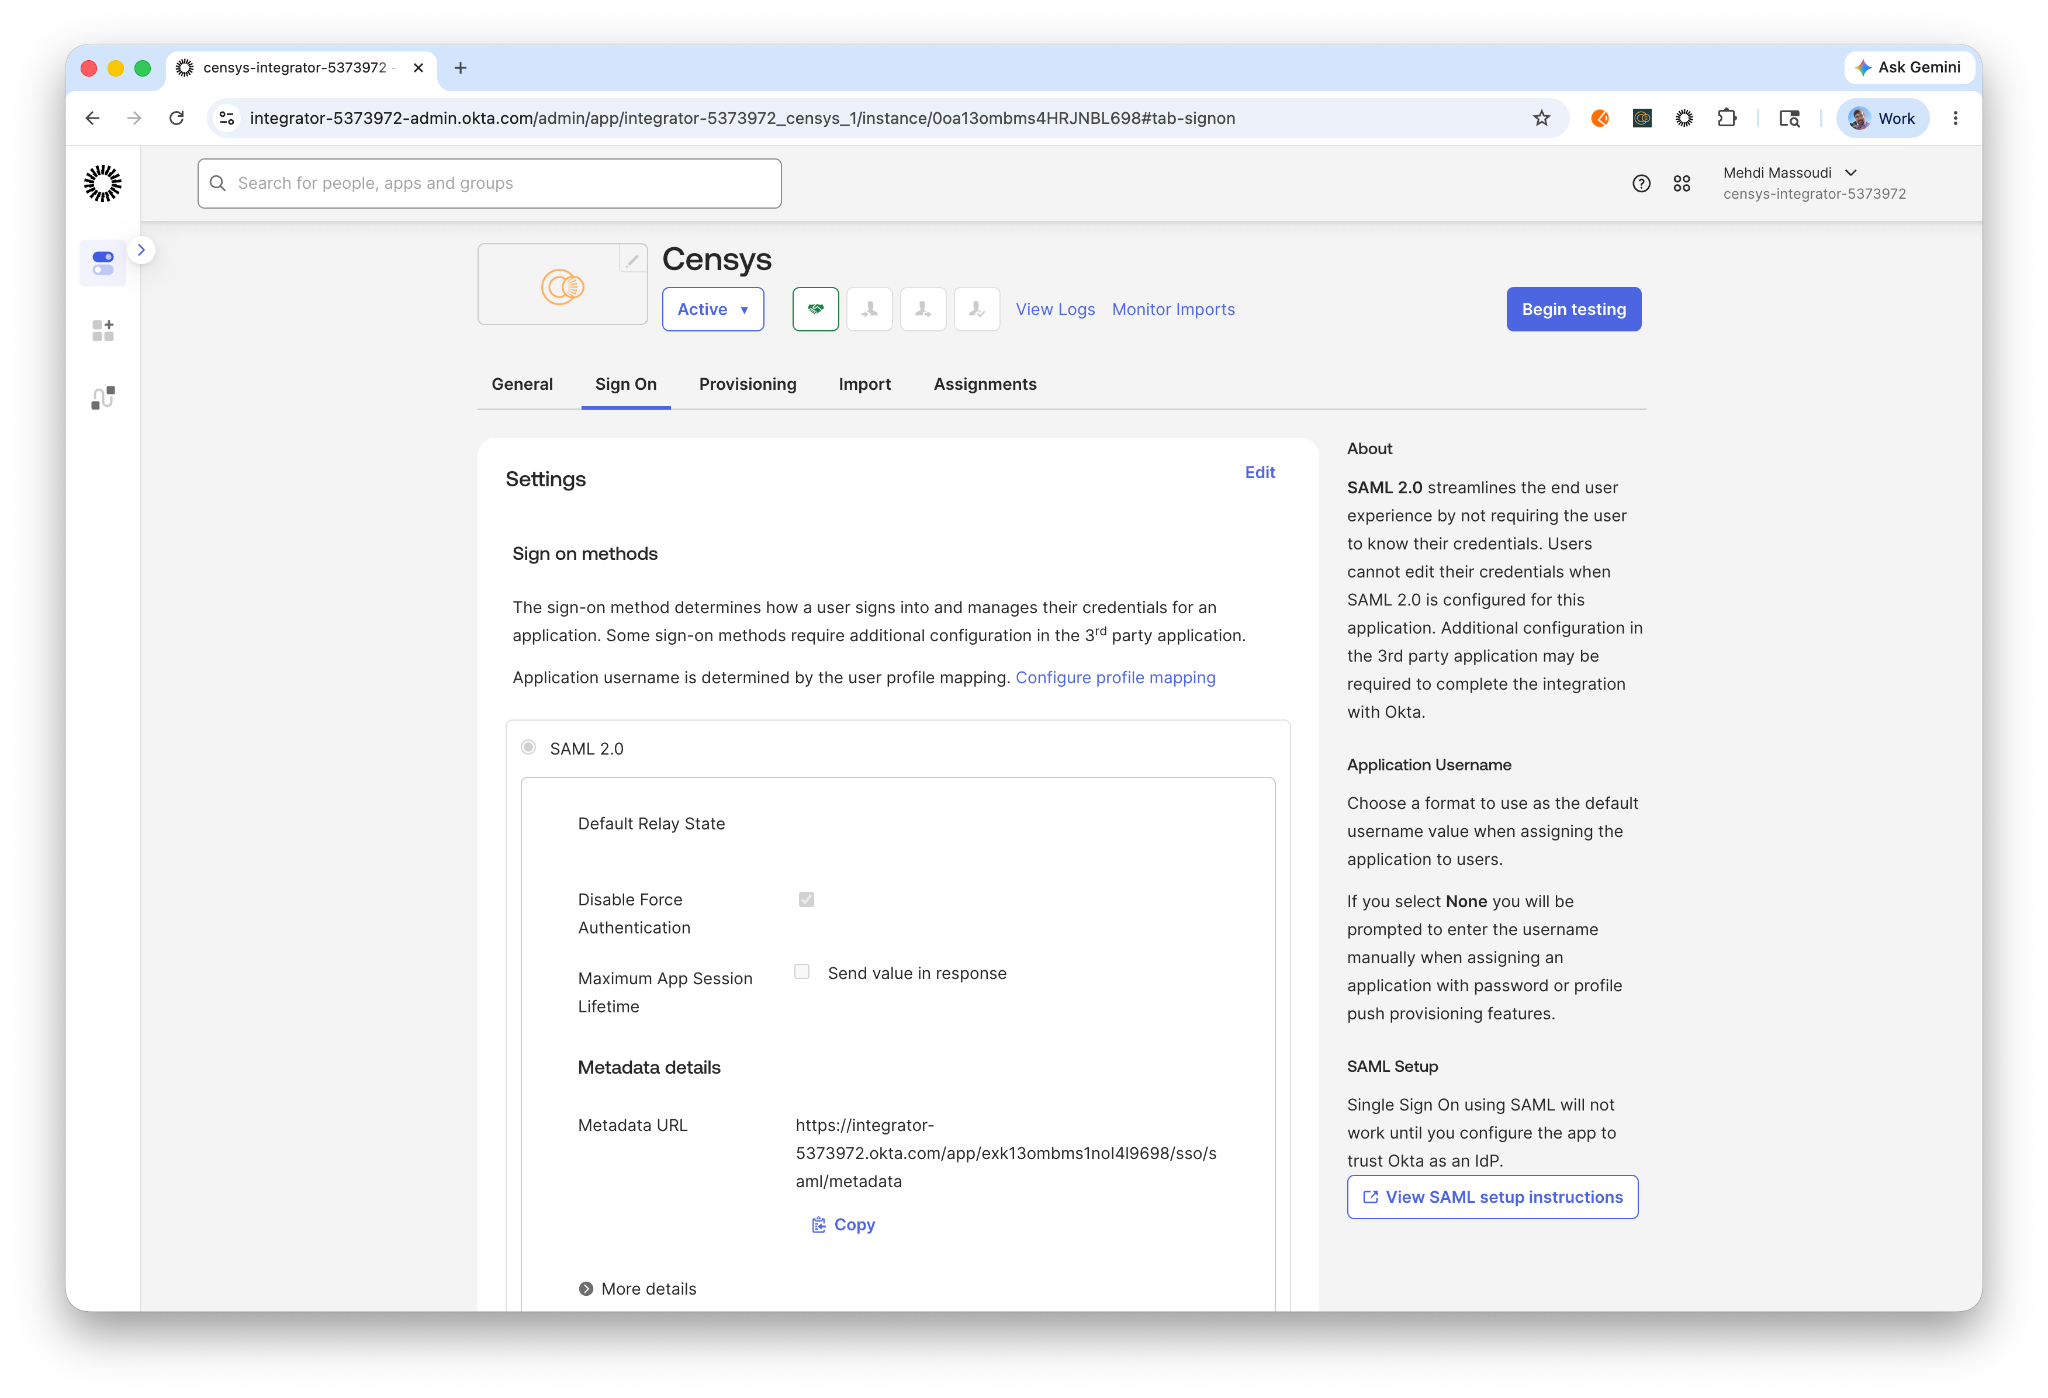
In Sign On, copy the Metadata URL for the Okta app.
3. Finalize SAML Configuration in Censys
-
Return to the Censys SAML configuration page.
-
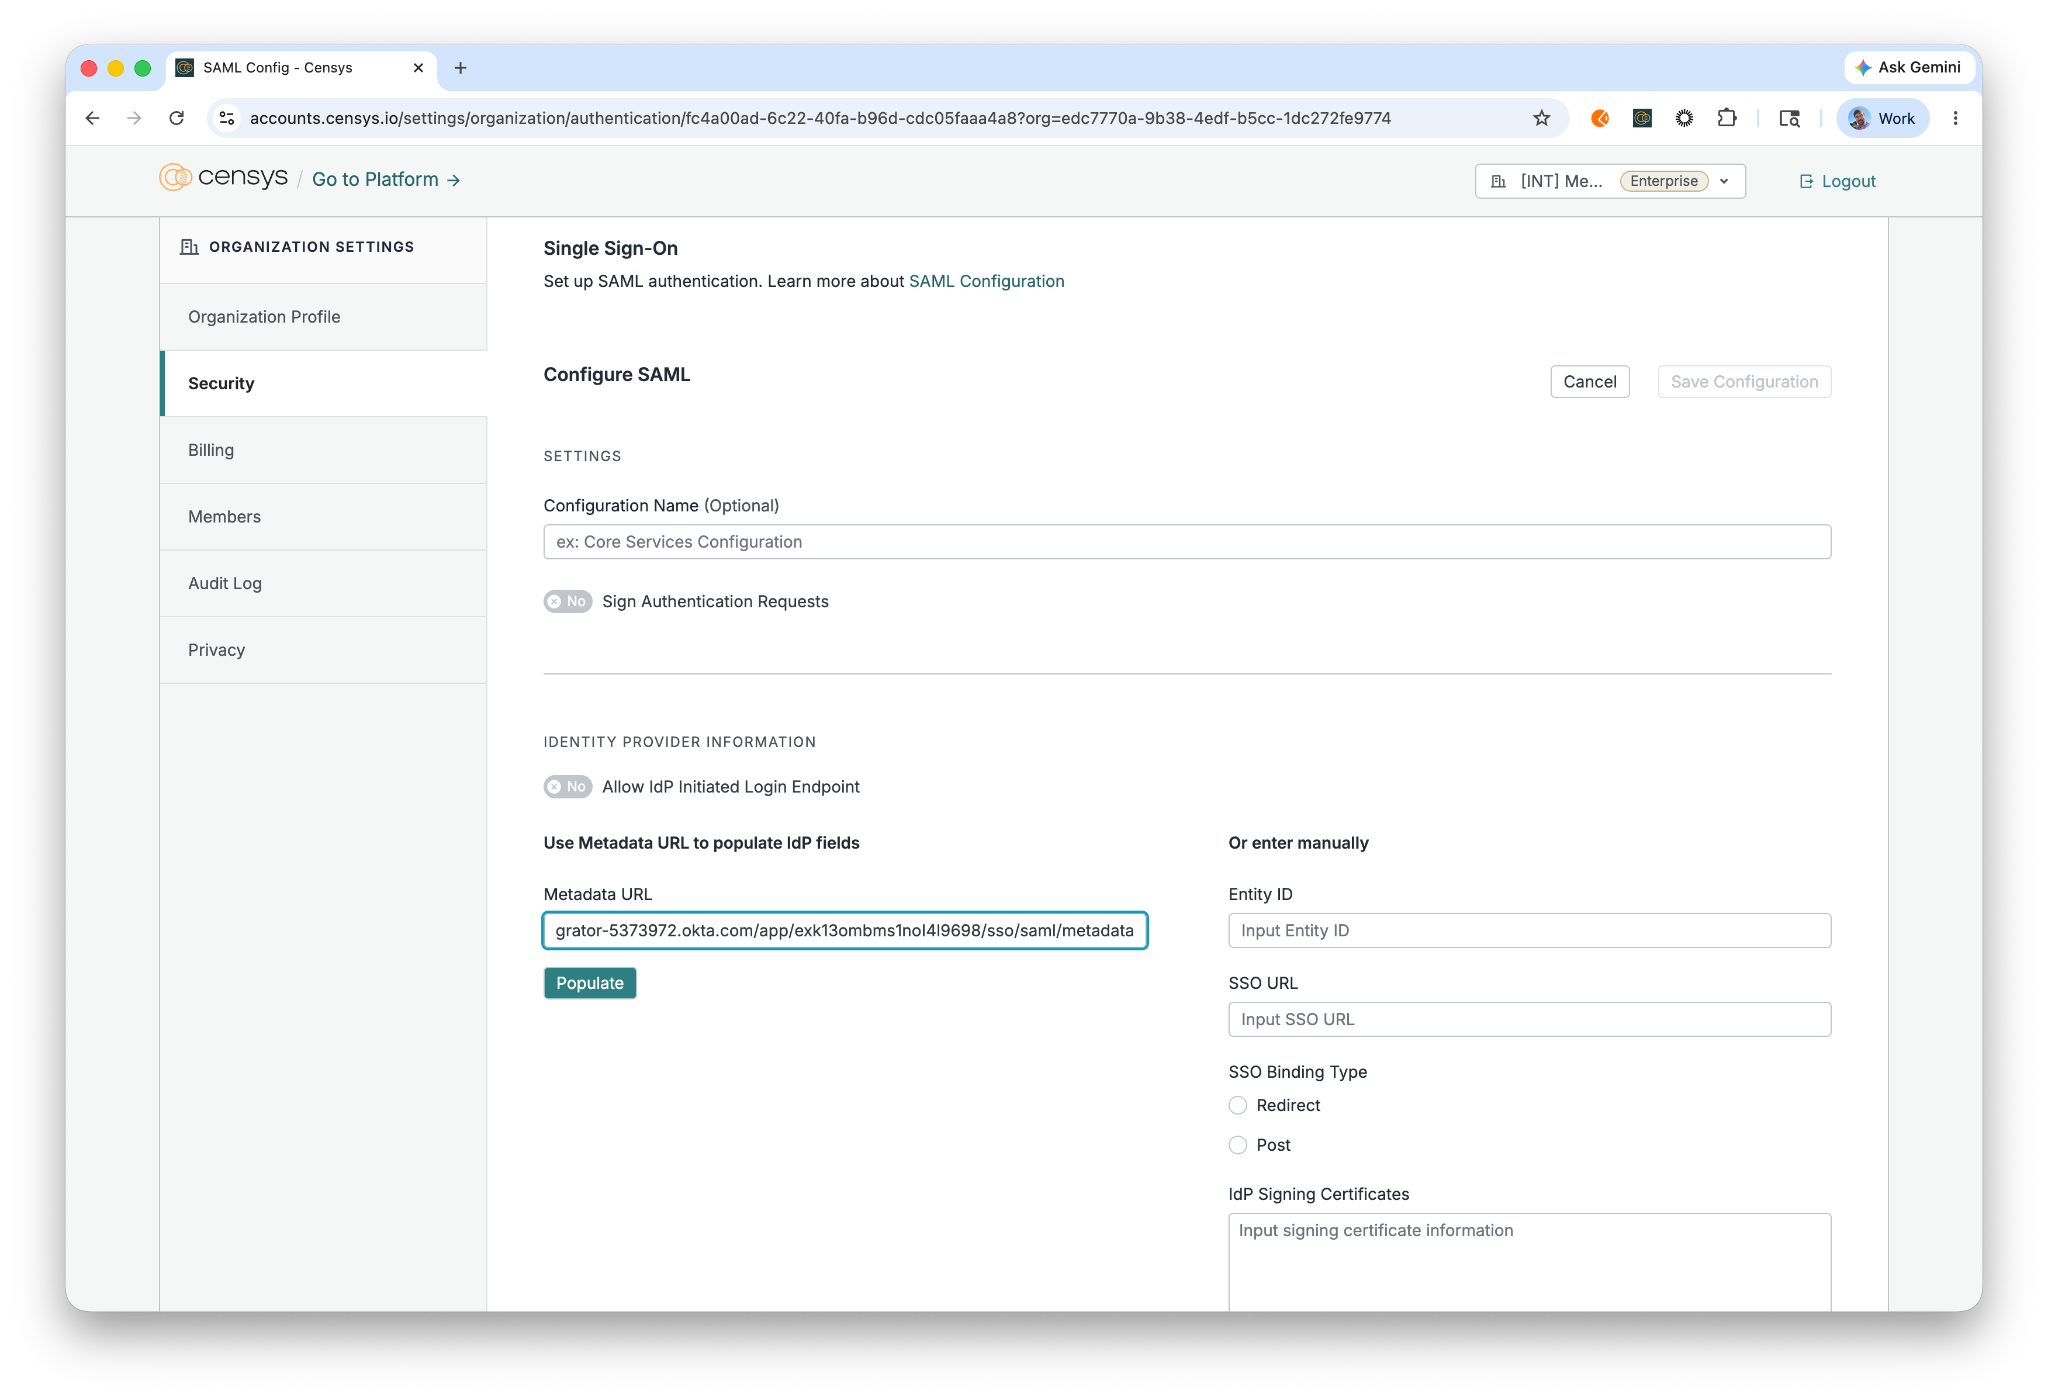
Under Identity Provider Information > Use Metadata URL to populate IdP fields, paste the copied Okta Metadata URL into the Metadata URL field.
-
Click Populate.
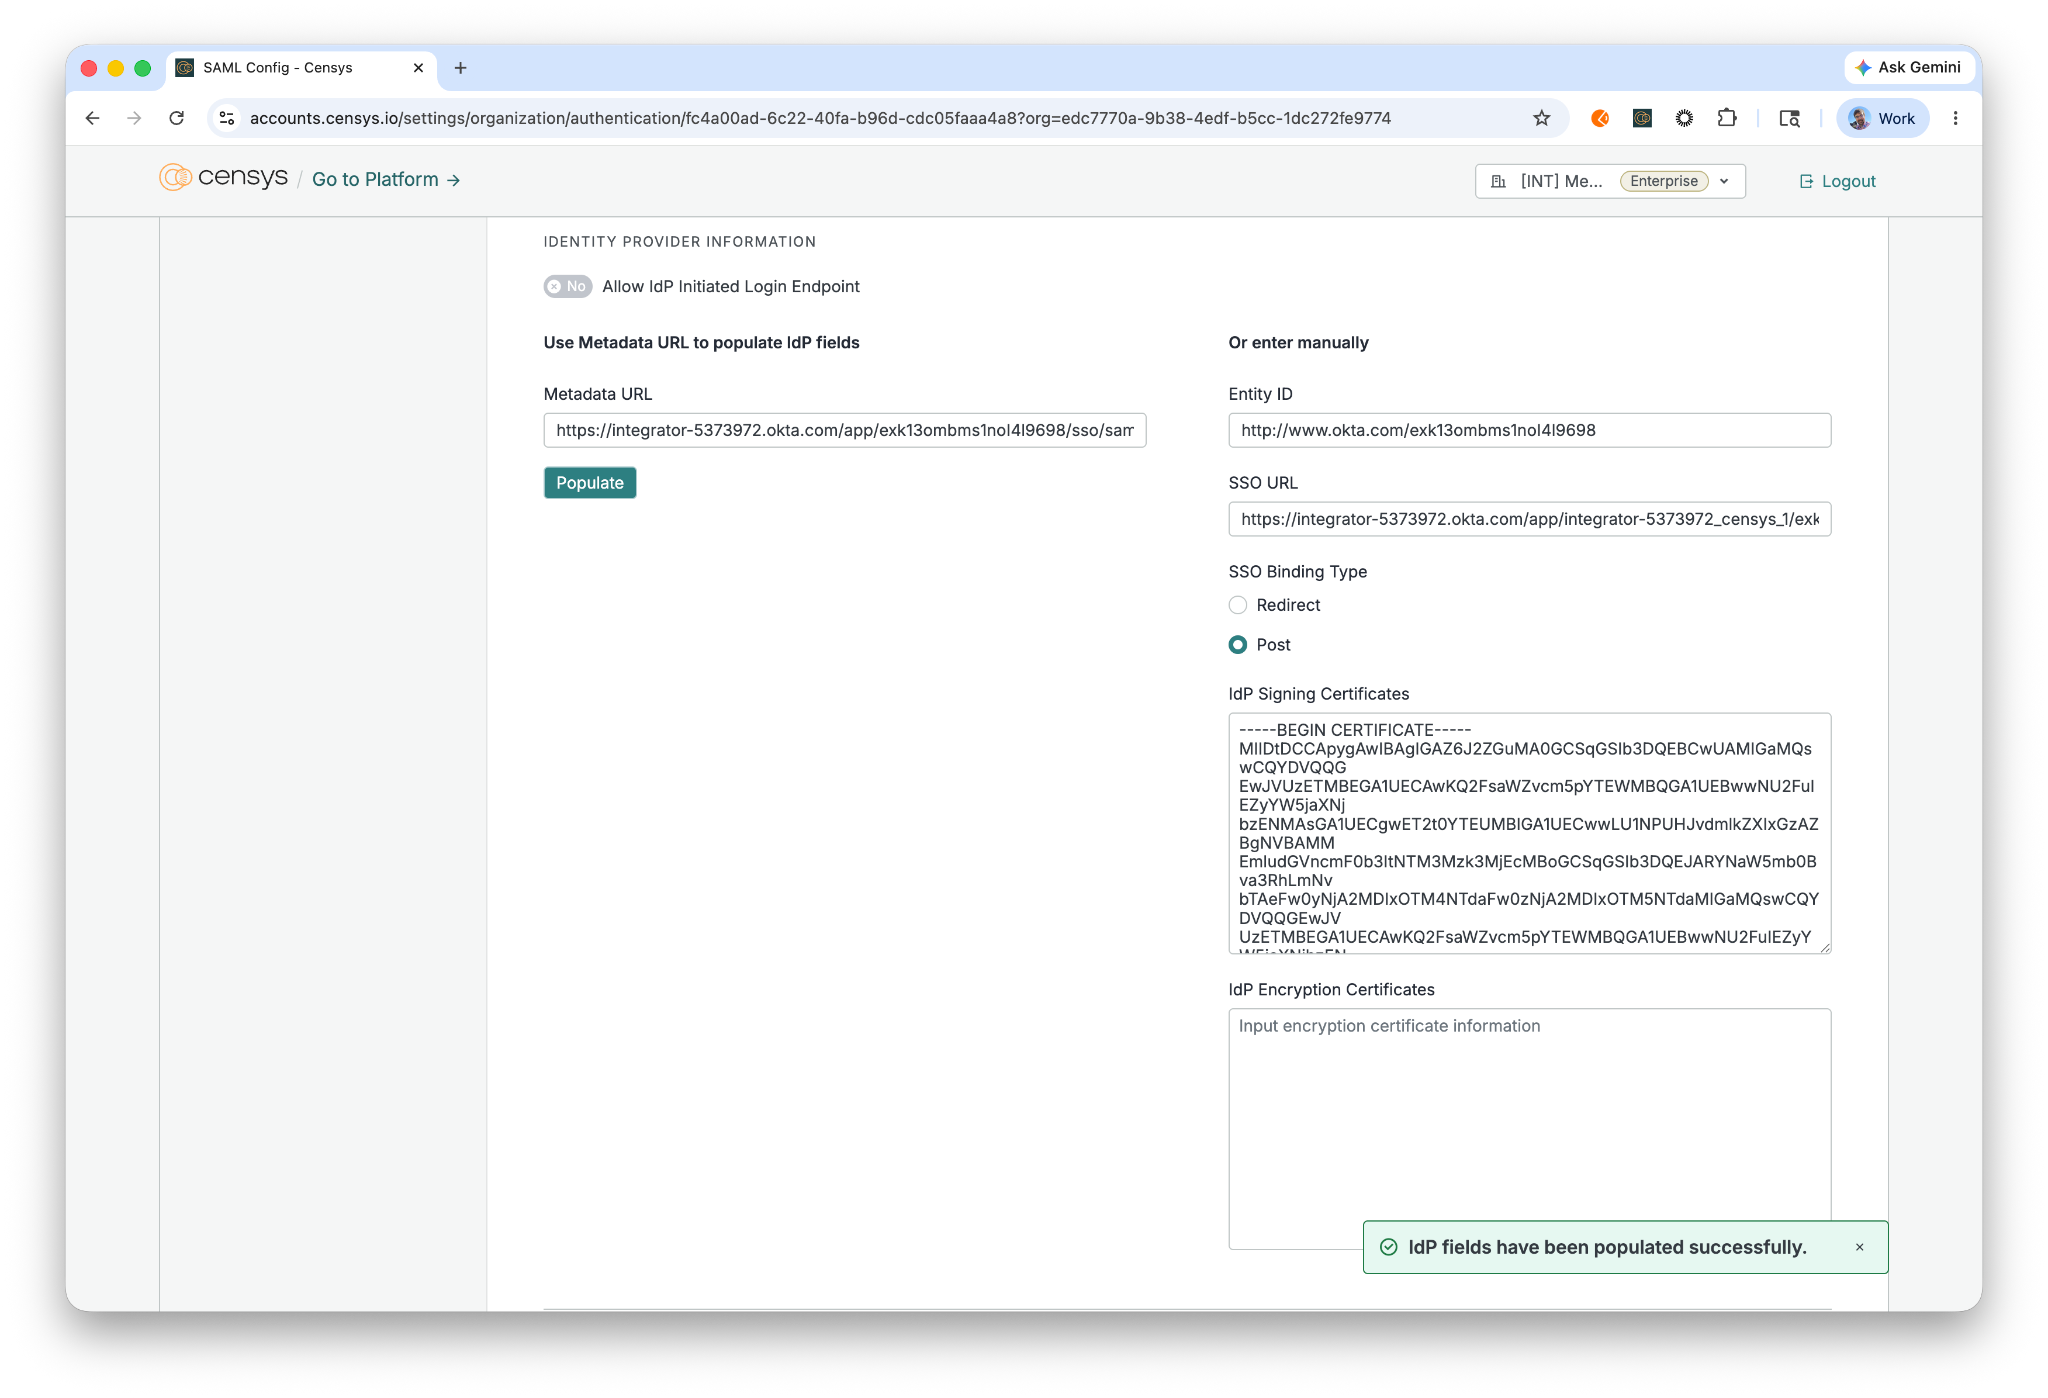
-
If you want to allow IdP initiated logins make sure Allow IdP Initiated Login Endpoint is enabled.
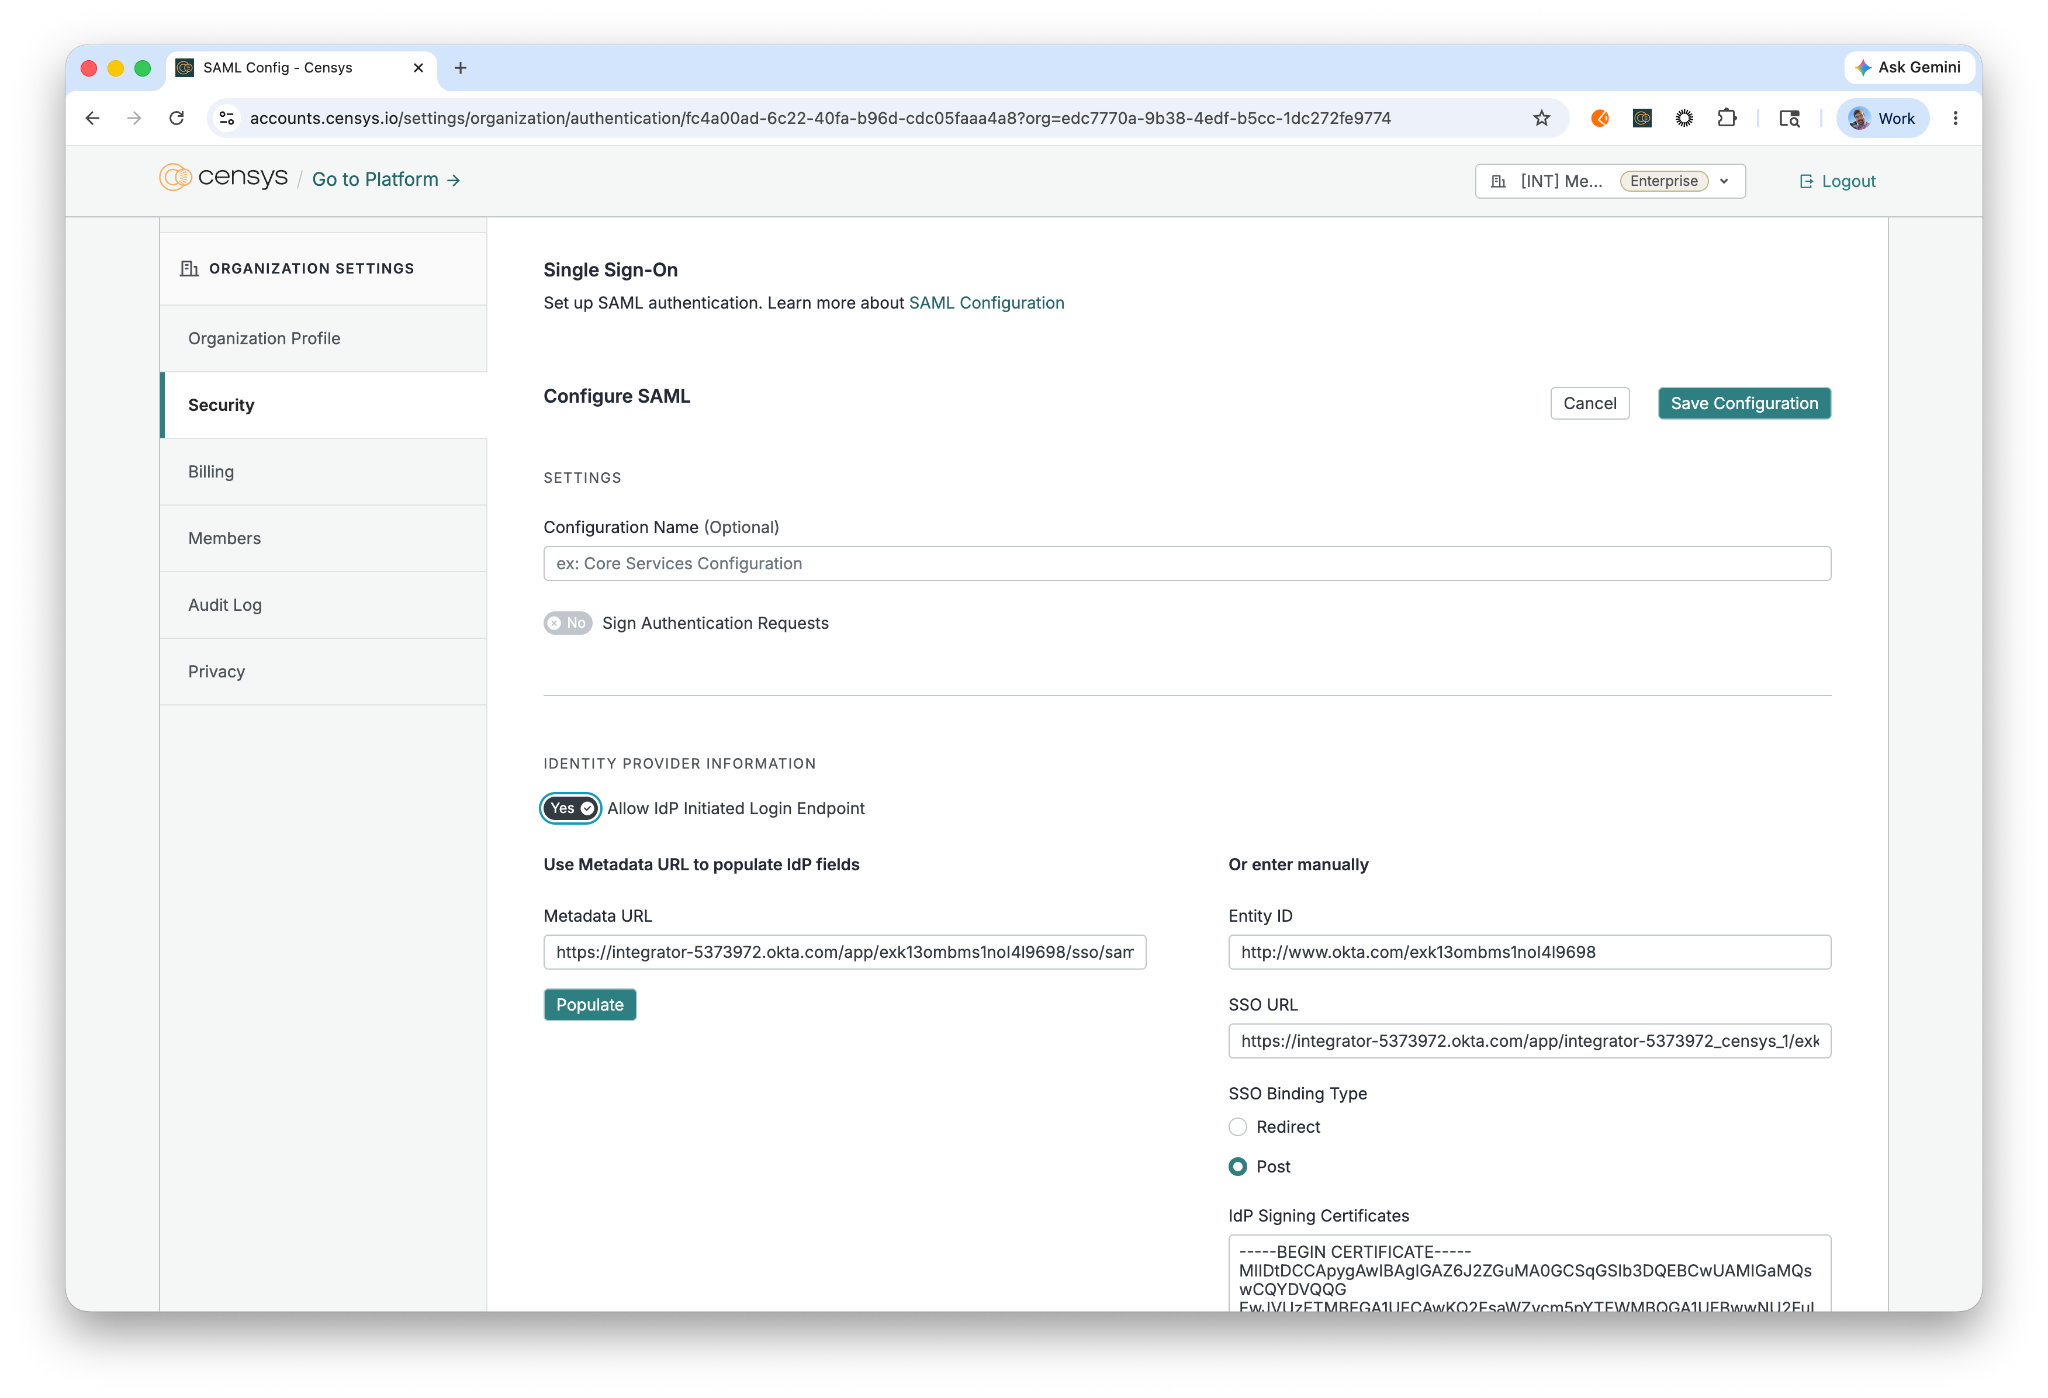
-
Click the Save Configuration button at the top of the page.
4. Verify Domain(s)
-
Click on the + Add Domain button.
-
Enter the domain name and click the input button.
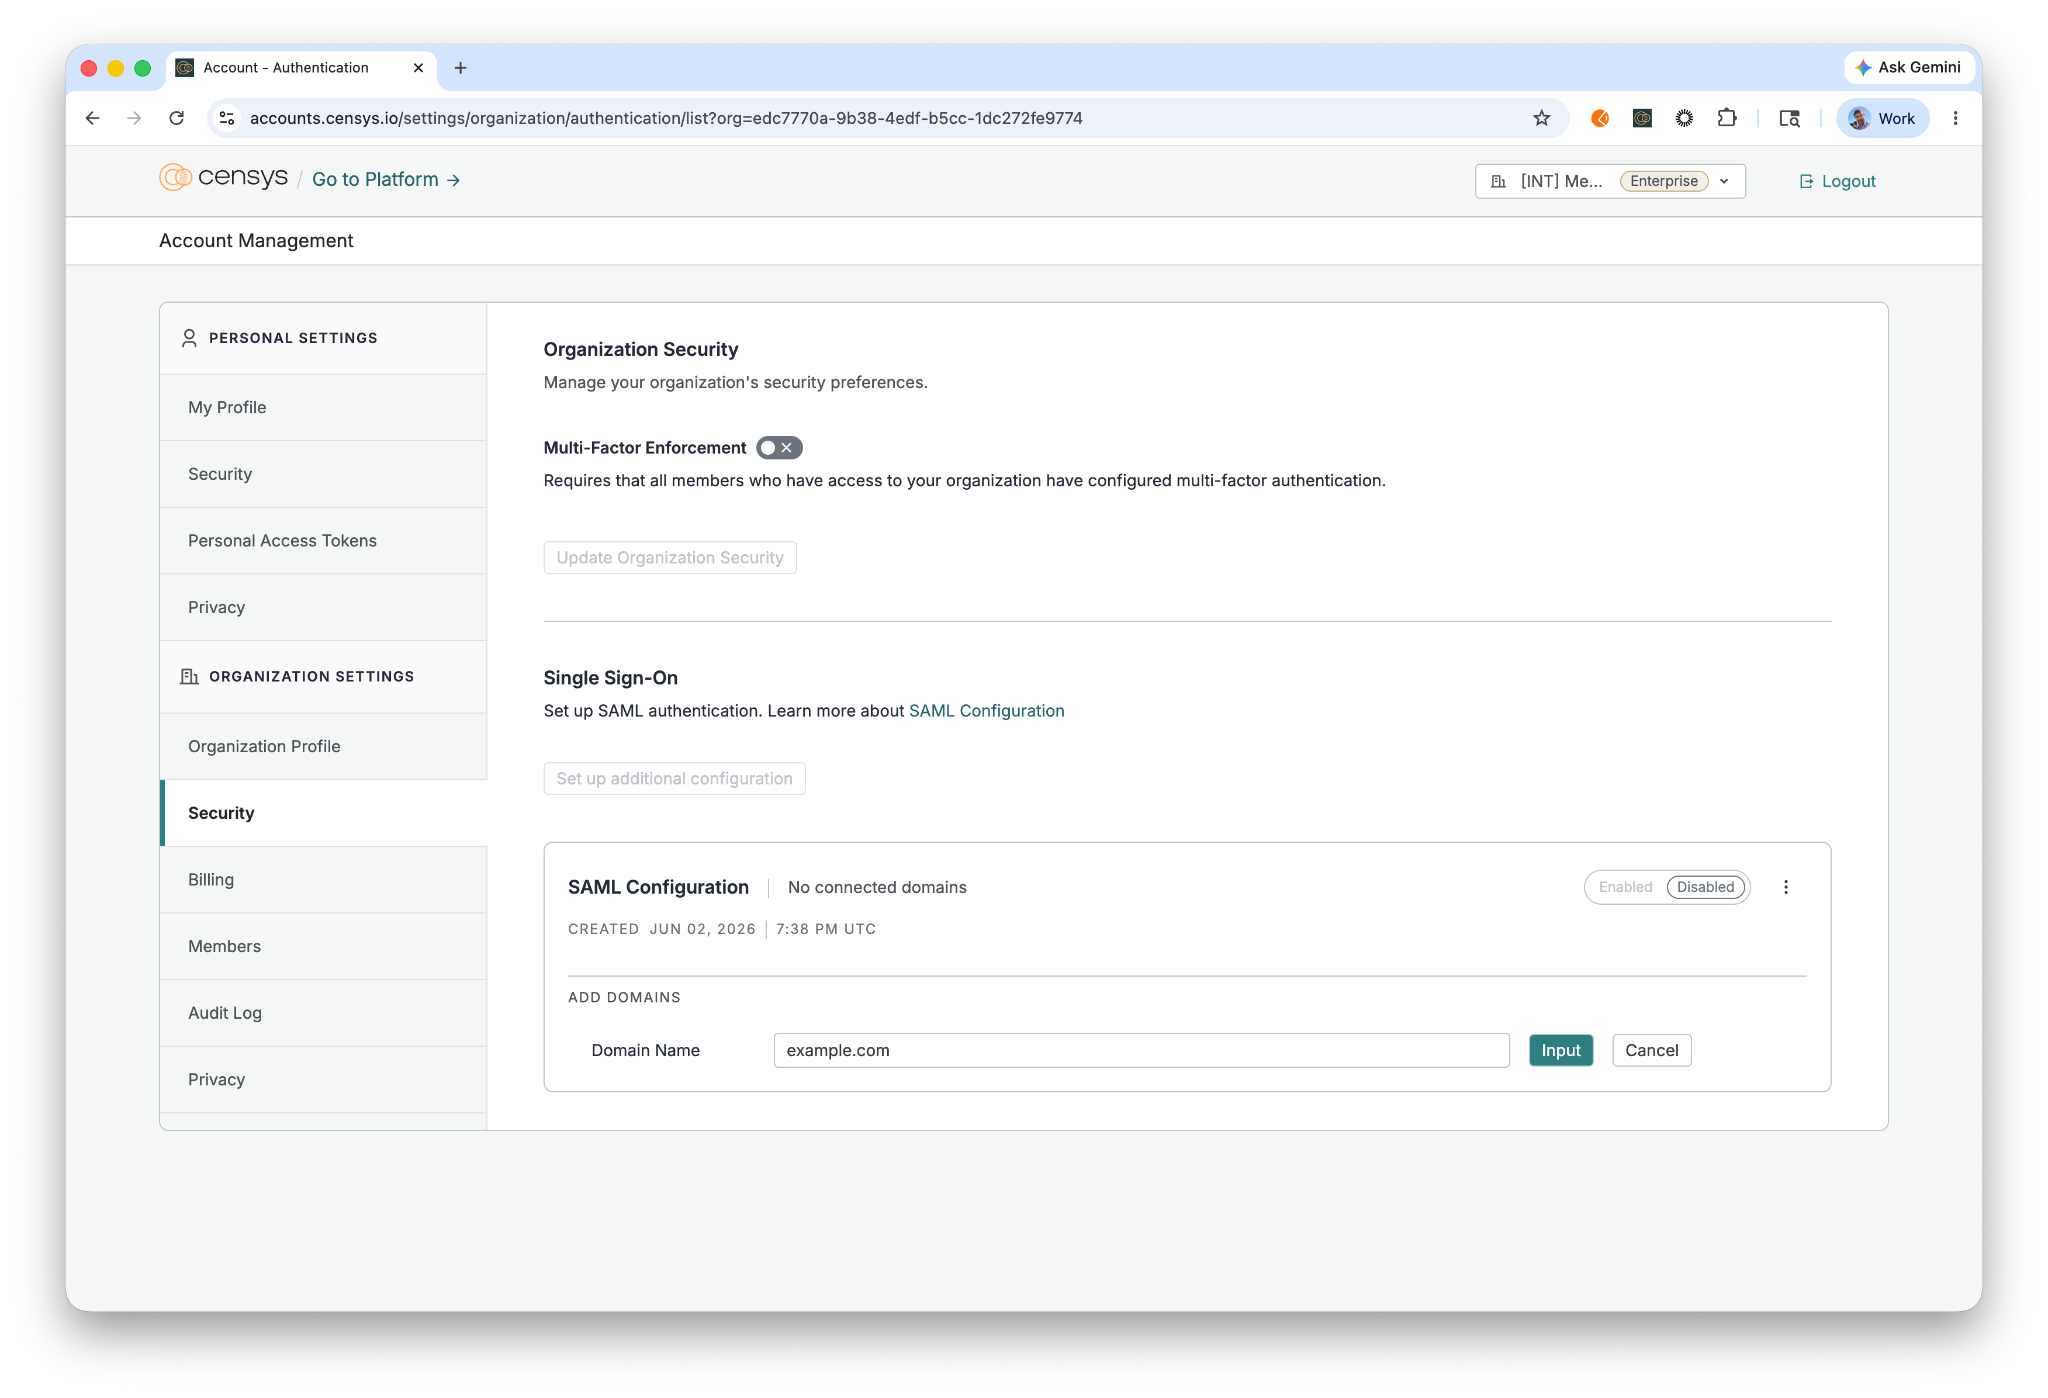
-
Copy the text starting with censys-domain-verification= and create a TXT record in your DNS provider. Each domain needs to be verified with its unique TXT record. Reach out to your Censys customer representative if you are unable to use TXT records for domain verification.
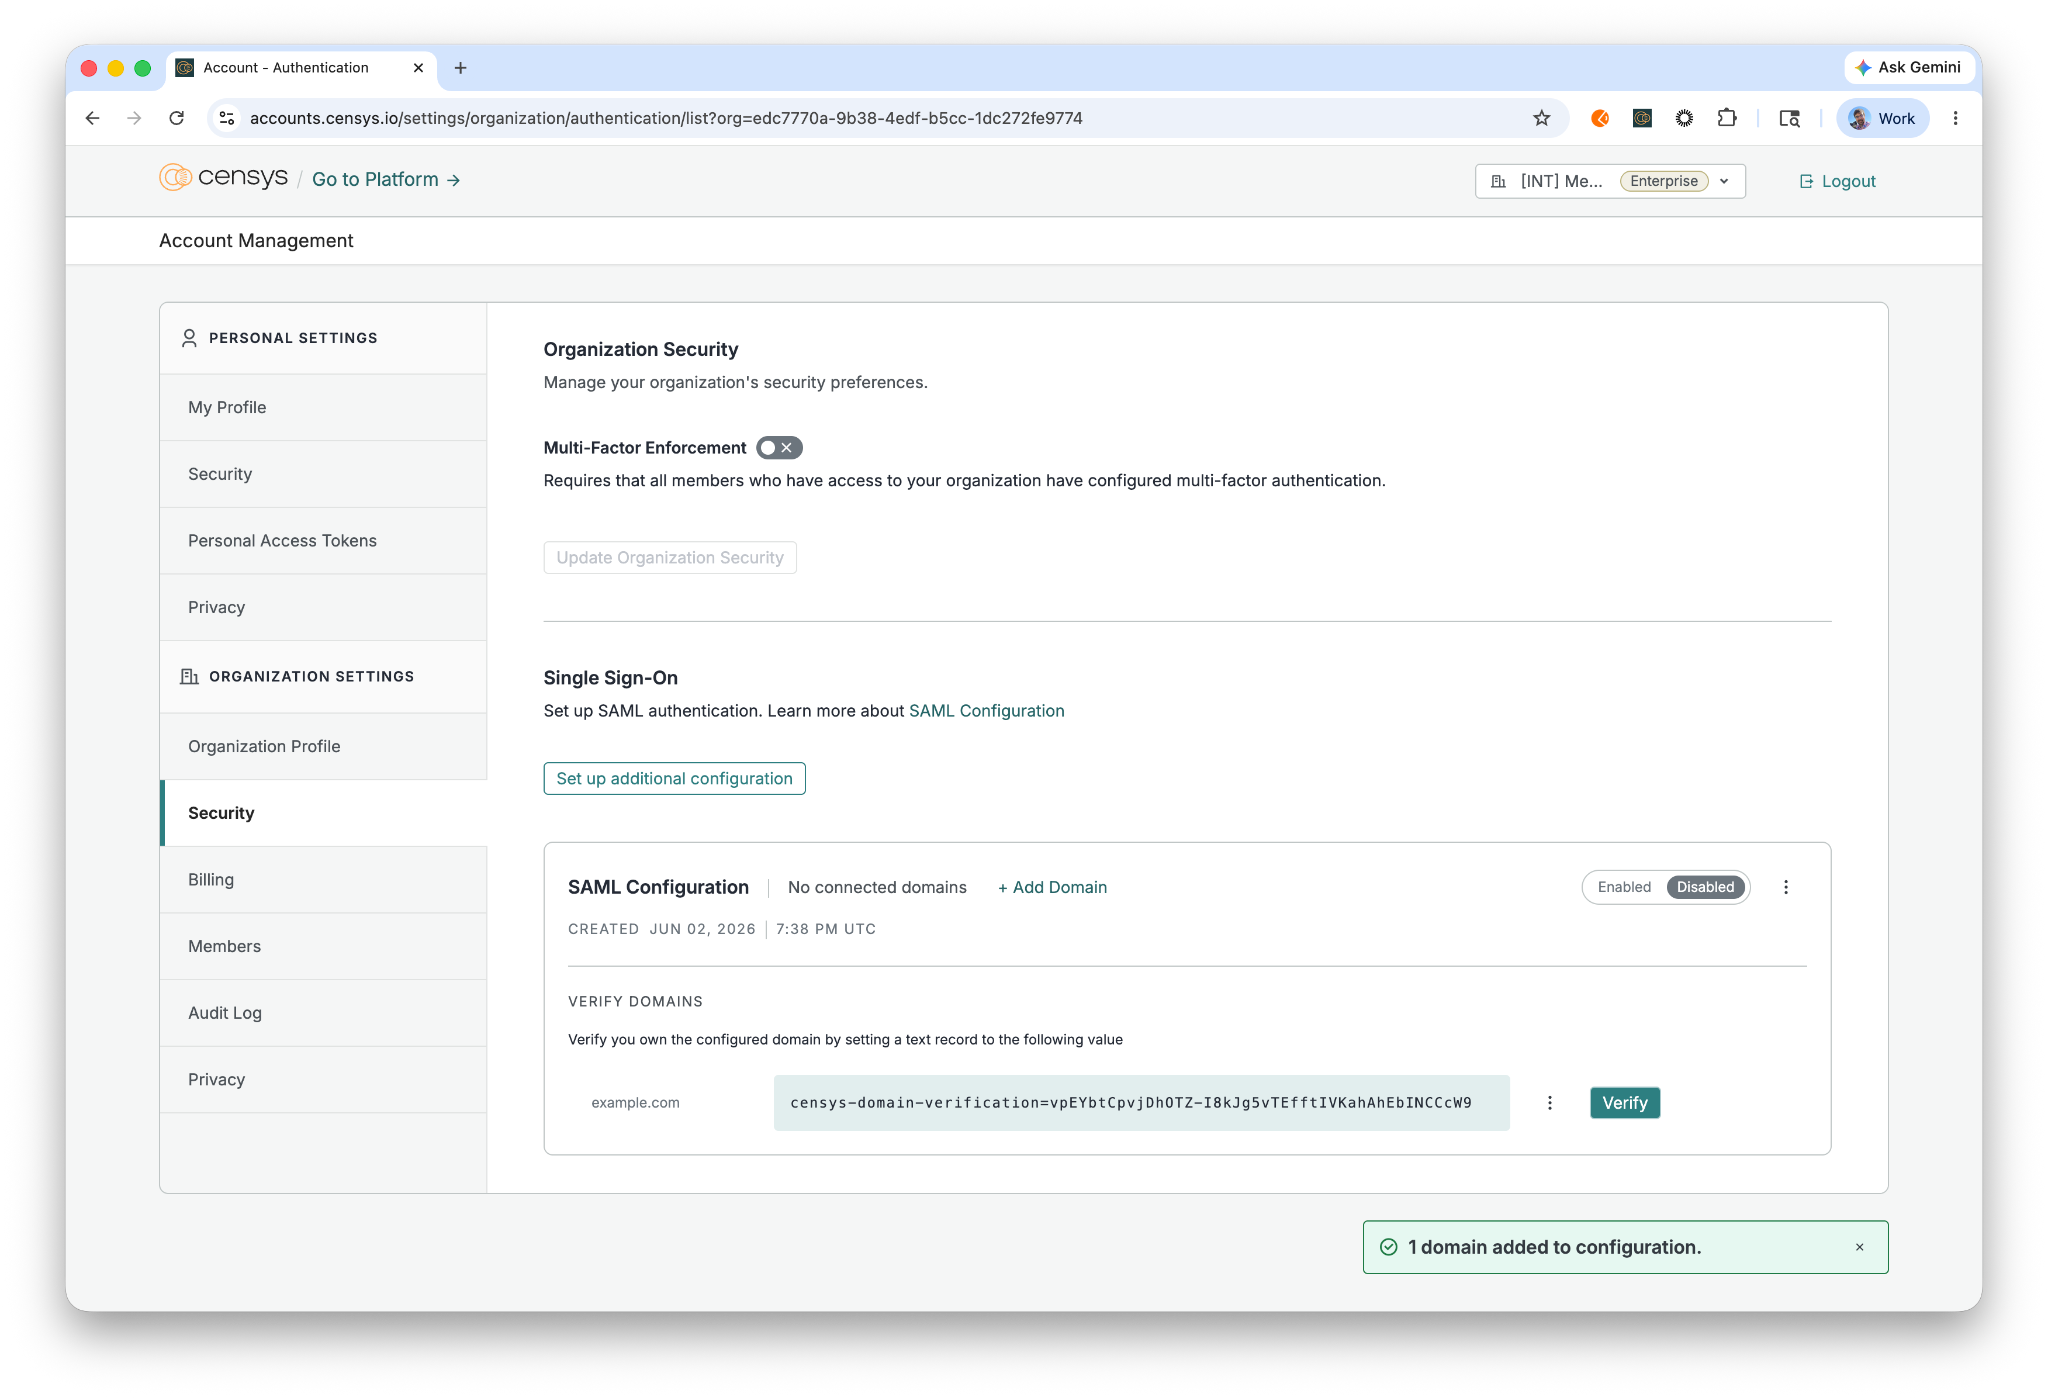
-
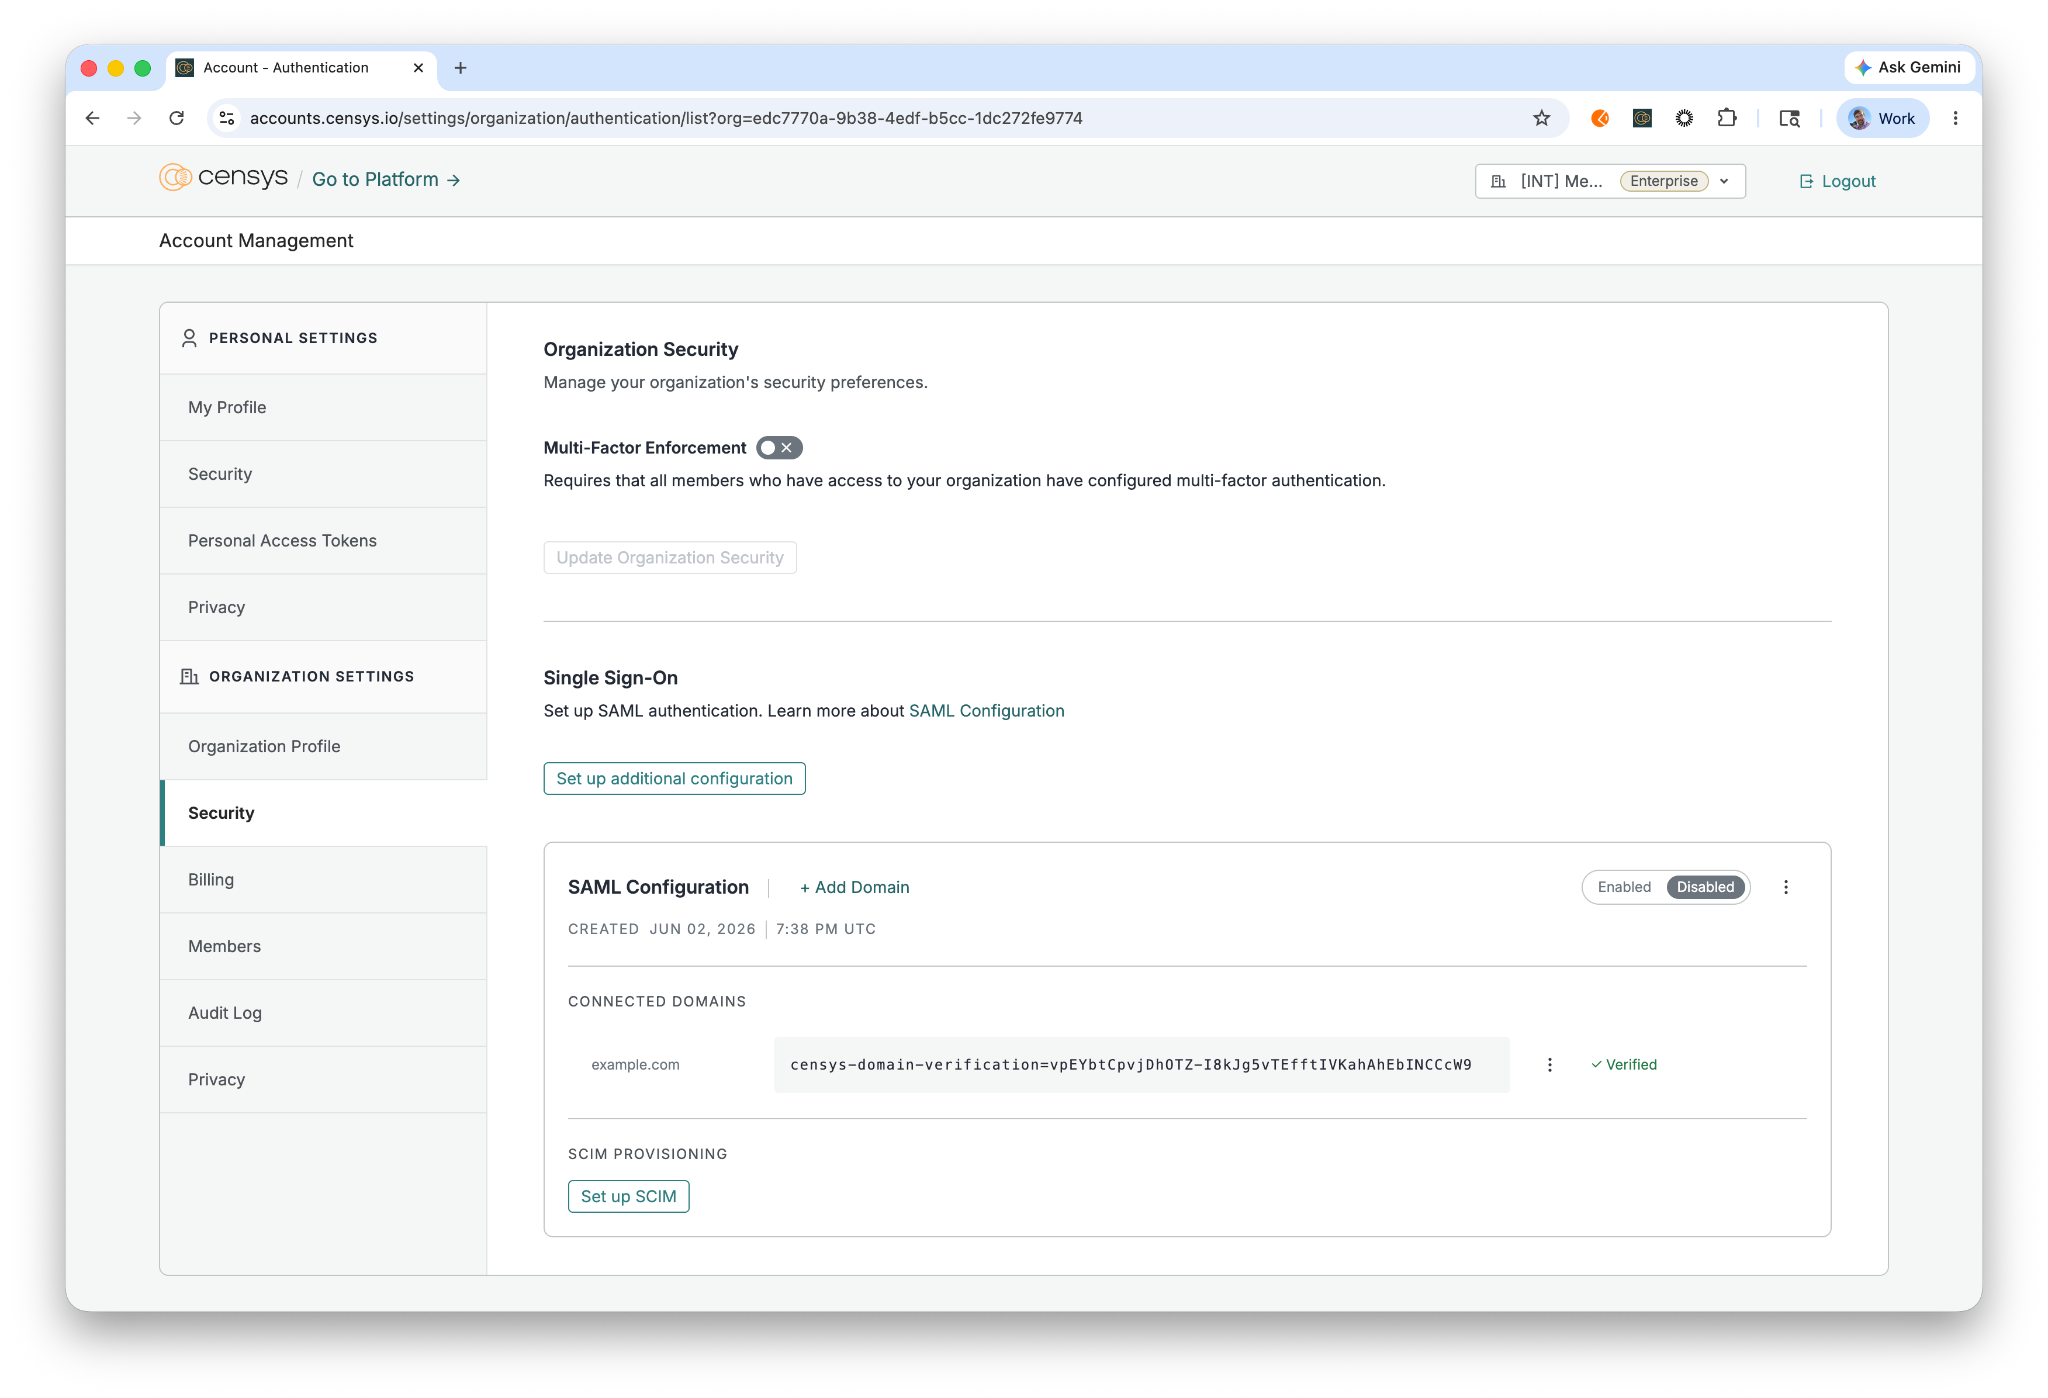
Click the verify button to verify control of the domain.

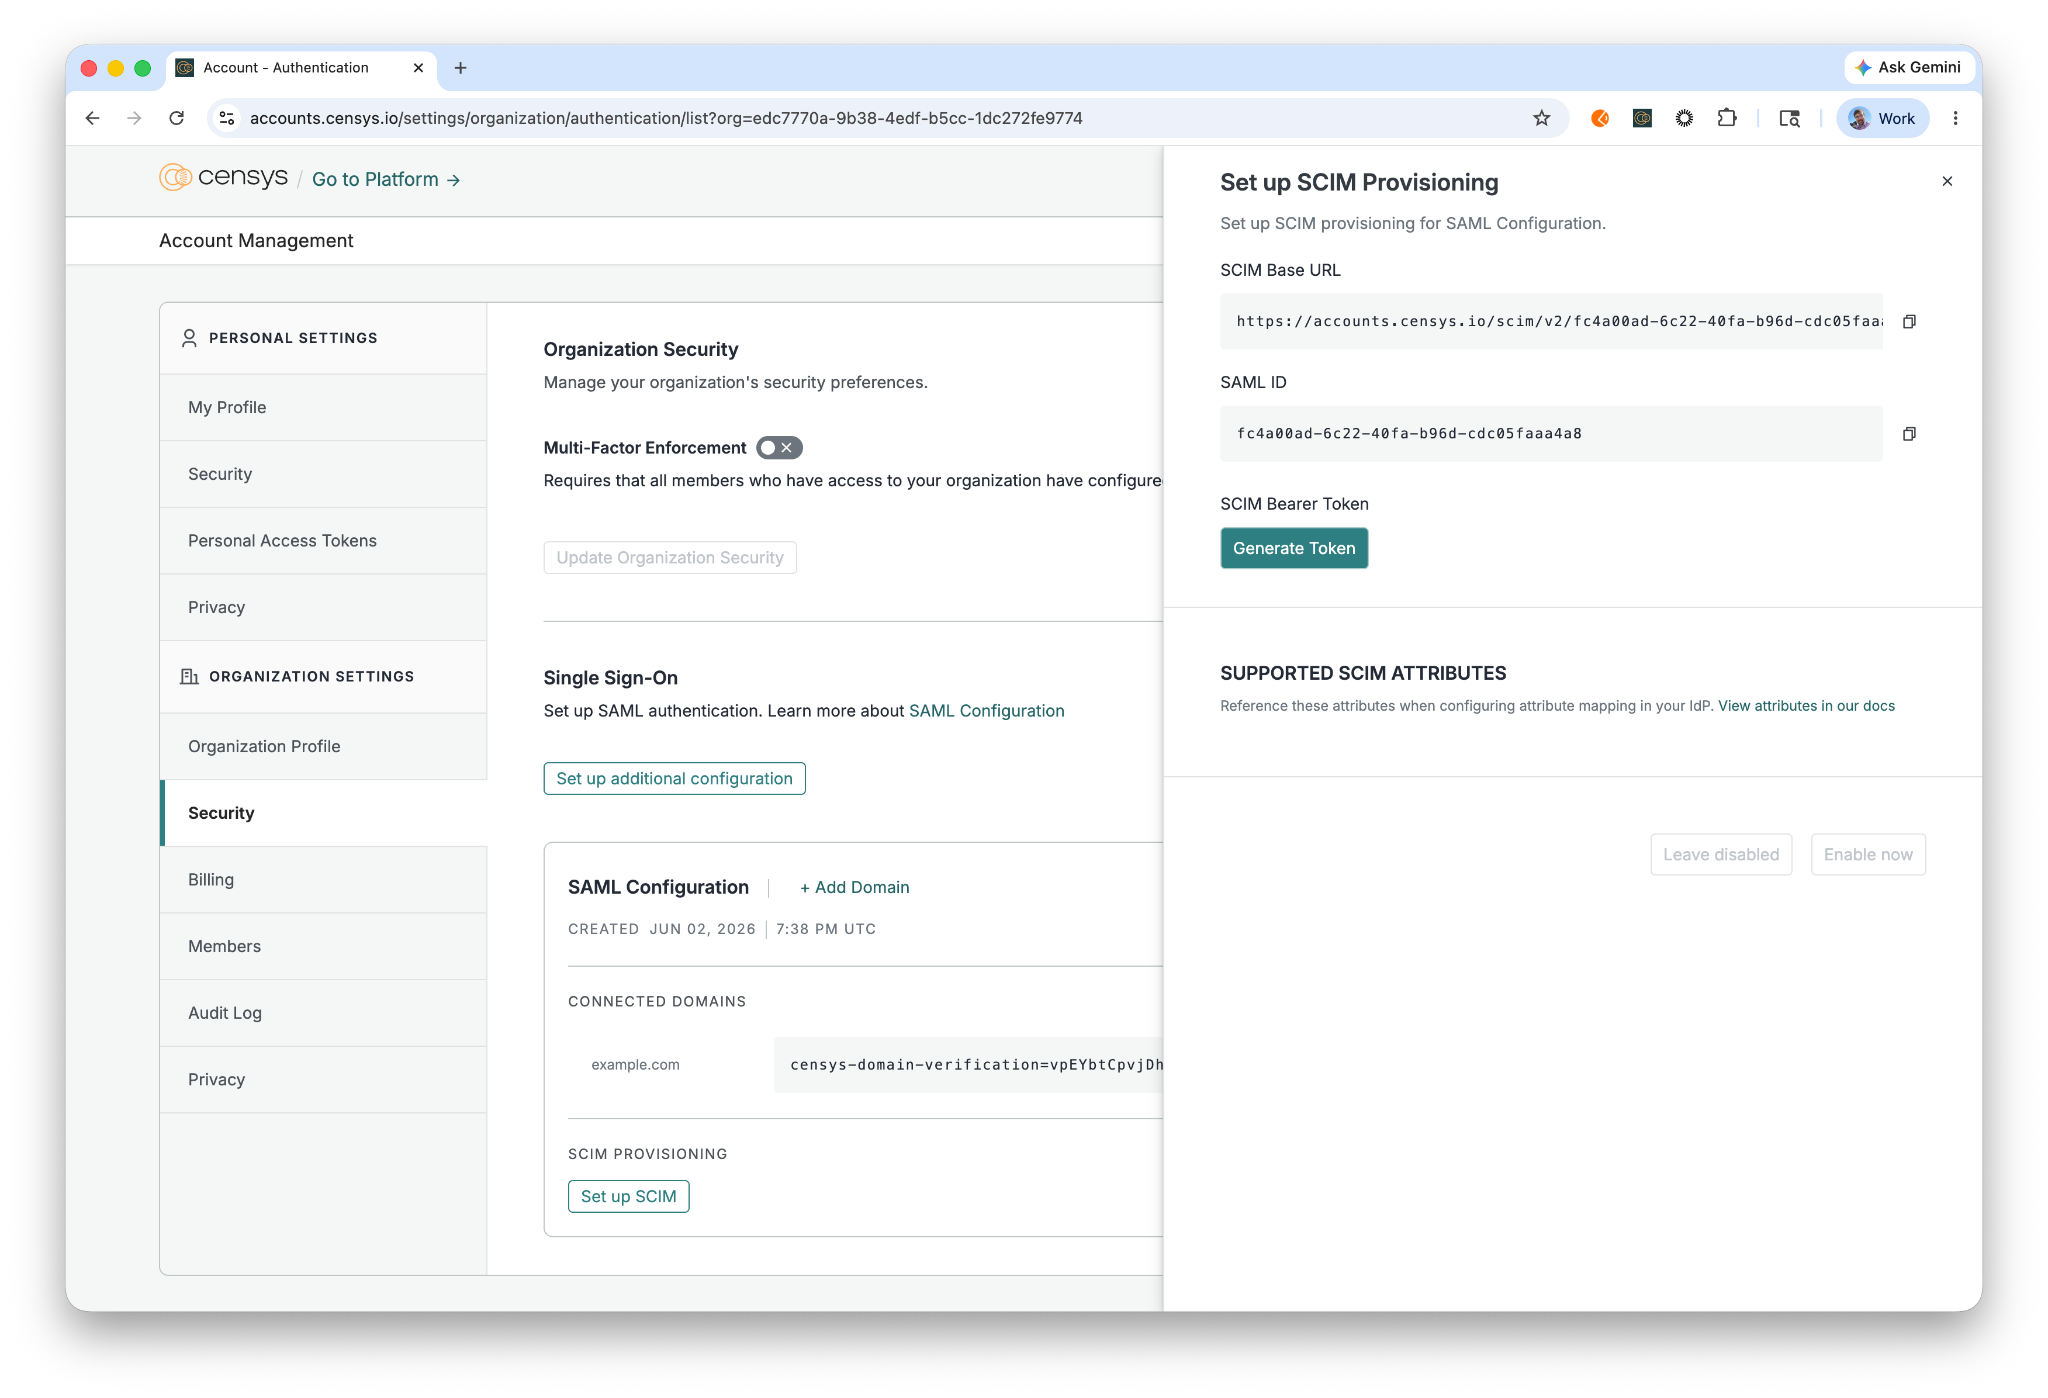
5. Generate SCIM Bearer Token in Censys
- Navigate to Account Management > Organization Settings > Security > Single Sign-On > SAML Configuration > SCIM Provisioning and click the "Set up SCIM" button.
-
In the sidebar that appears, under "SCIM Bearer Token" click the "Generate Token" button.
-
Copy the token and securely retain it, noting that tokens are only provided upon creation and cannot be recovered but can be regenerated (invalidating the existing token).
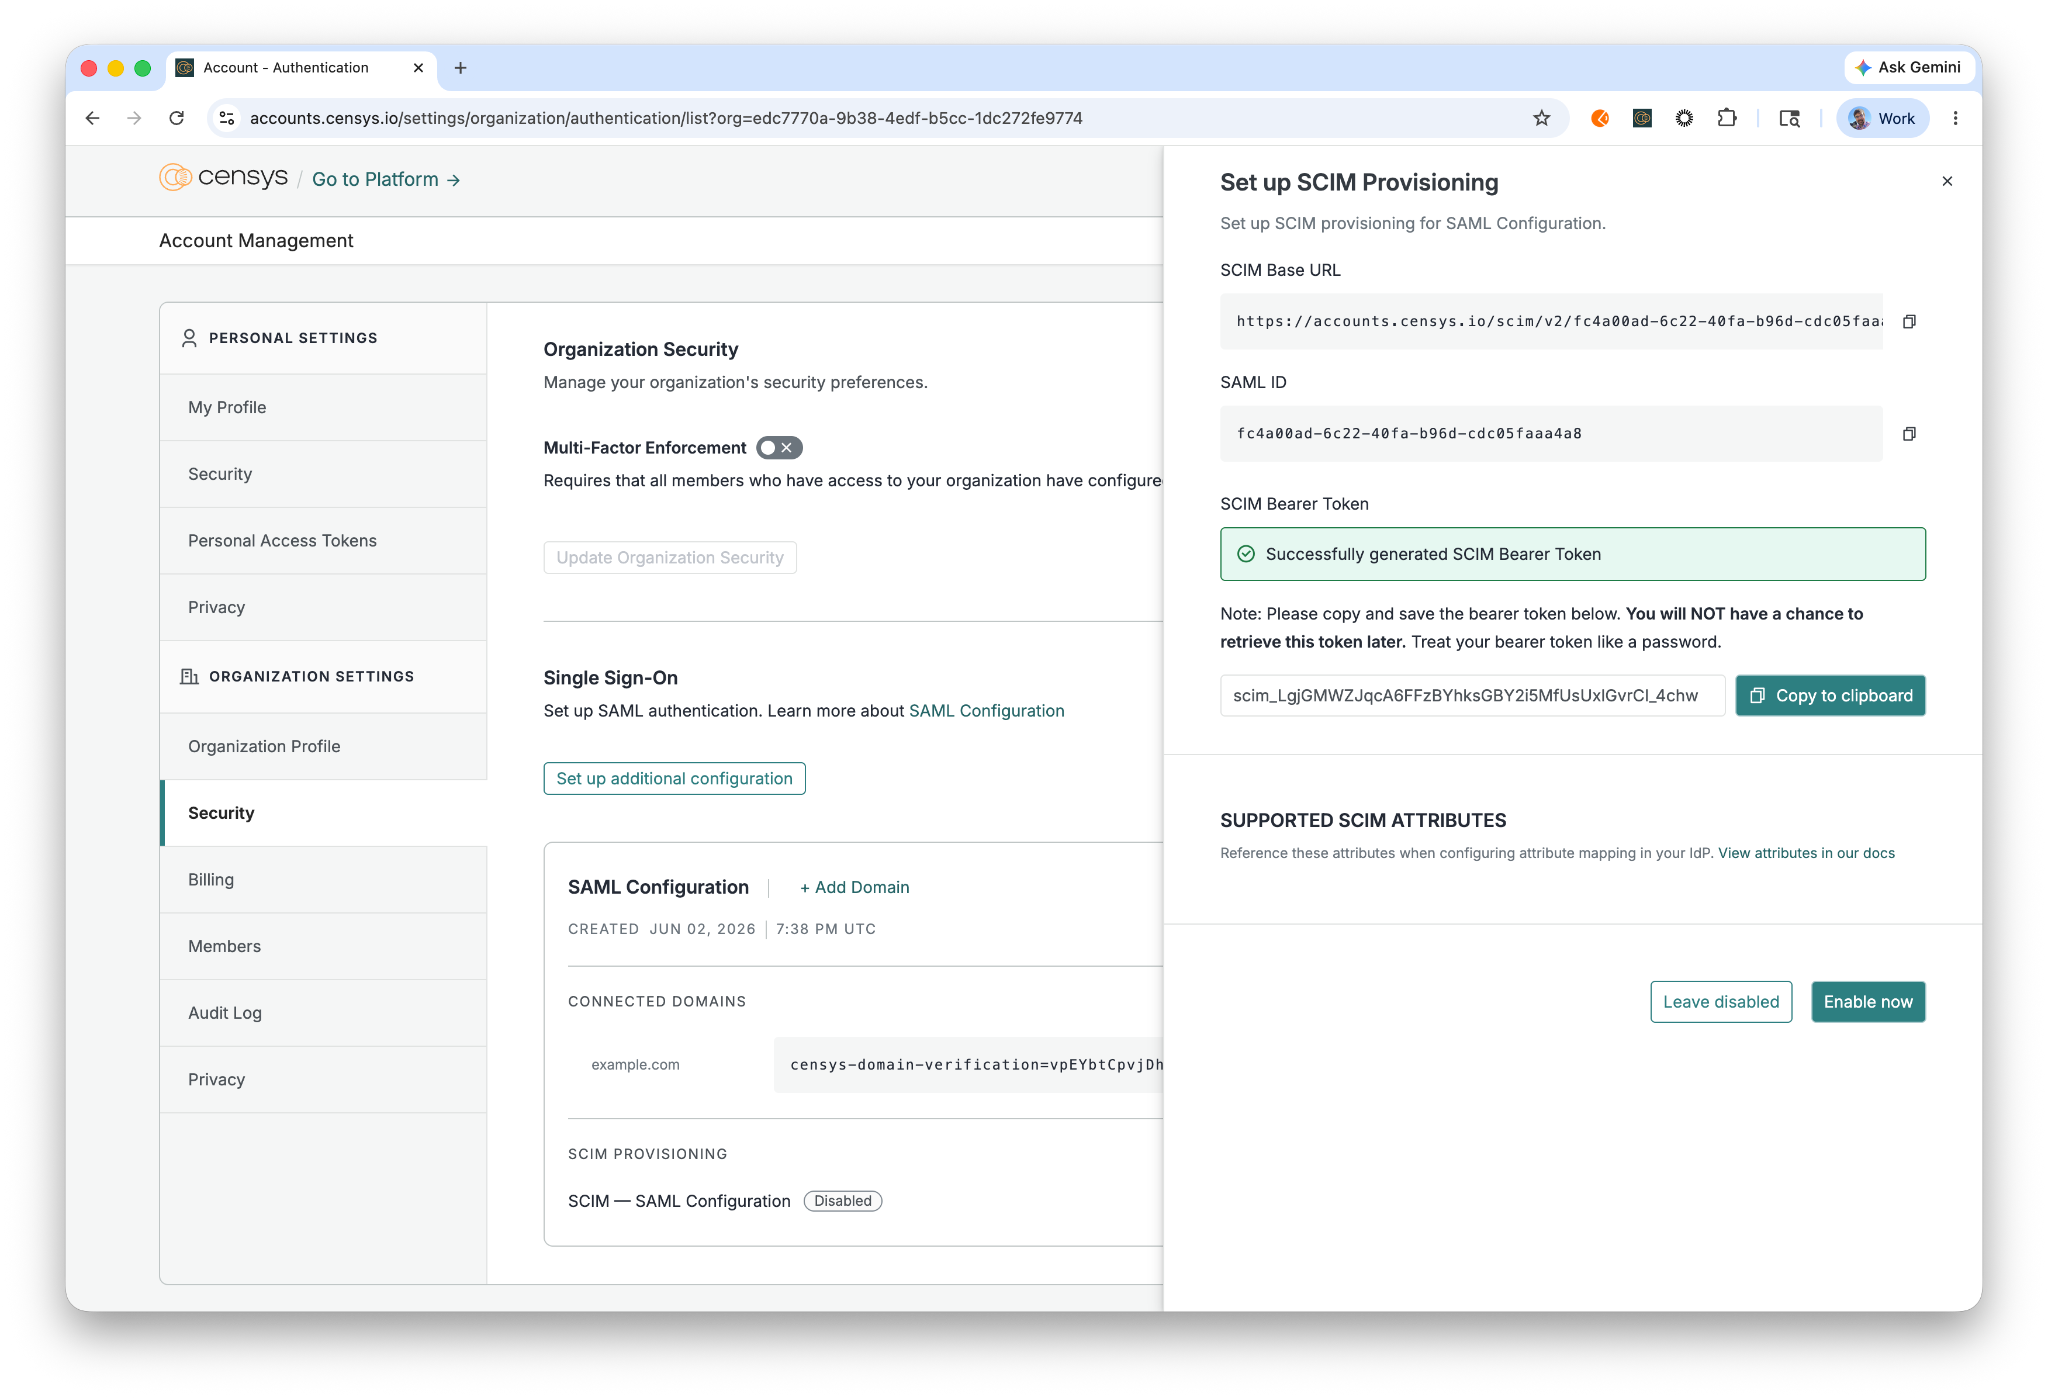
-
Click the "Enable now" button to enable the SCIM API for the SAML configuration.
 Note: SAML SSO and SCIM work together
Enabling SCIM does not restrict SAML SSO. A user who is assigned to the Censys application and signs in through SAML before SCIM has provisioned them is automatically provisioned at login (see SAML SSO with SCIM enabled). Users who are unassigned or deactivated in your IdP are blocked from signing in and are not re-provisioned.
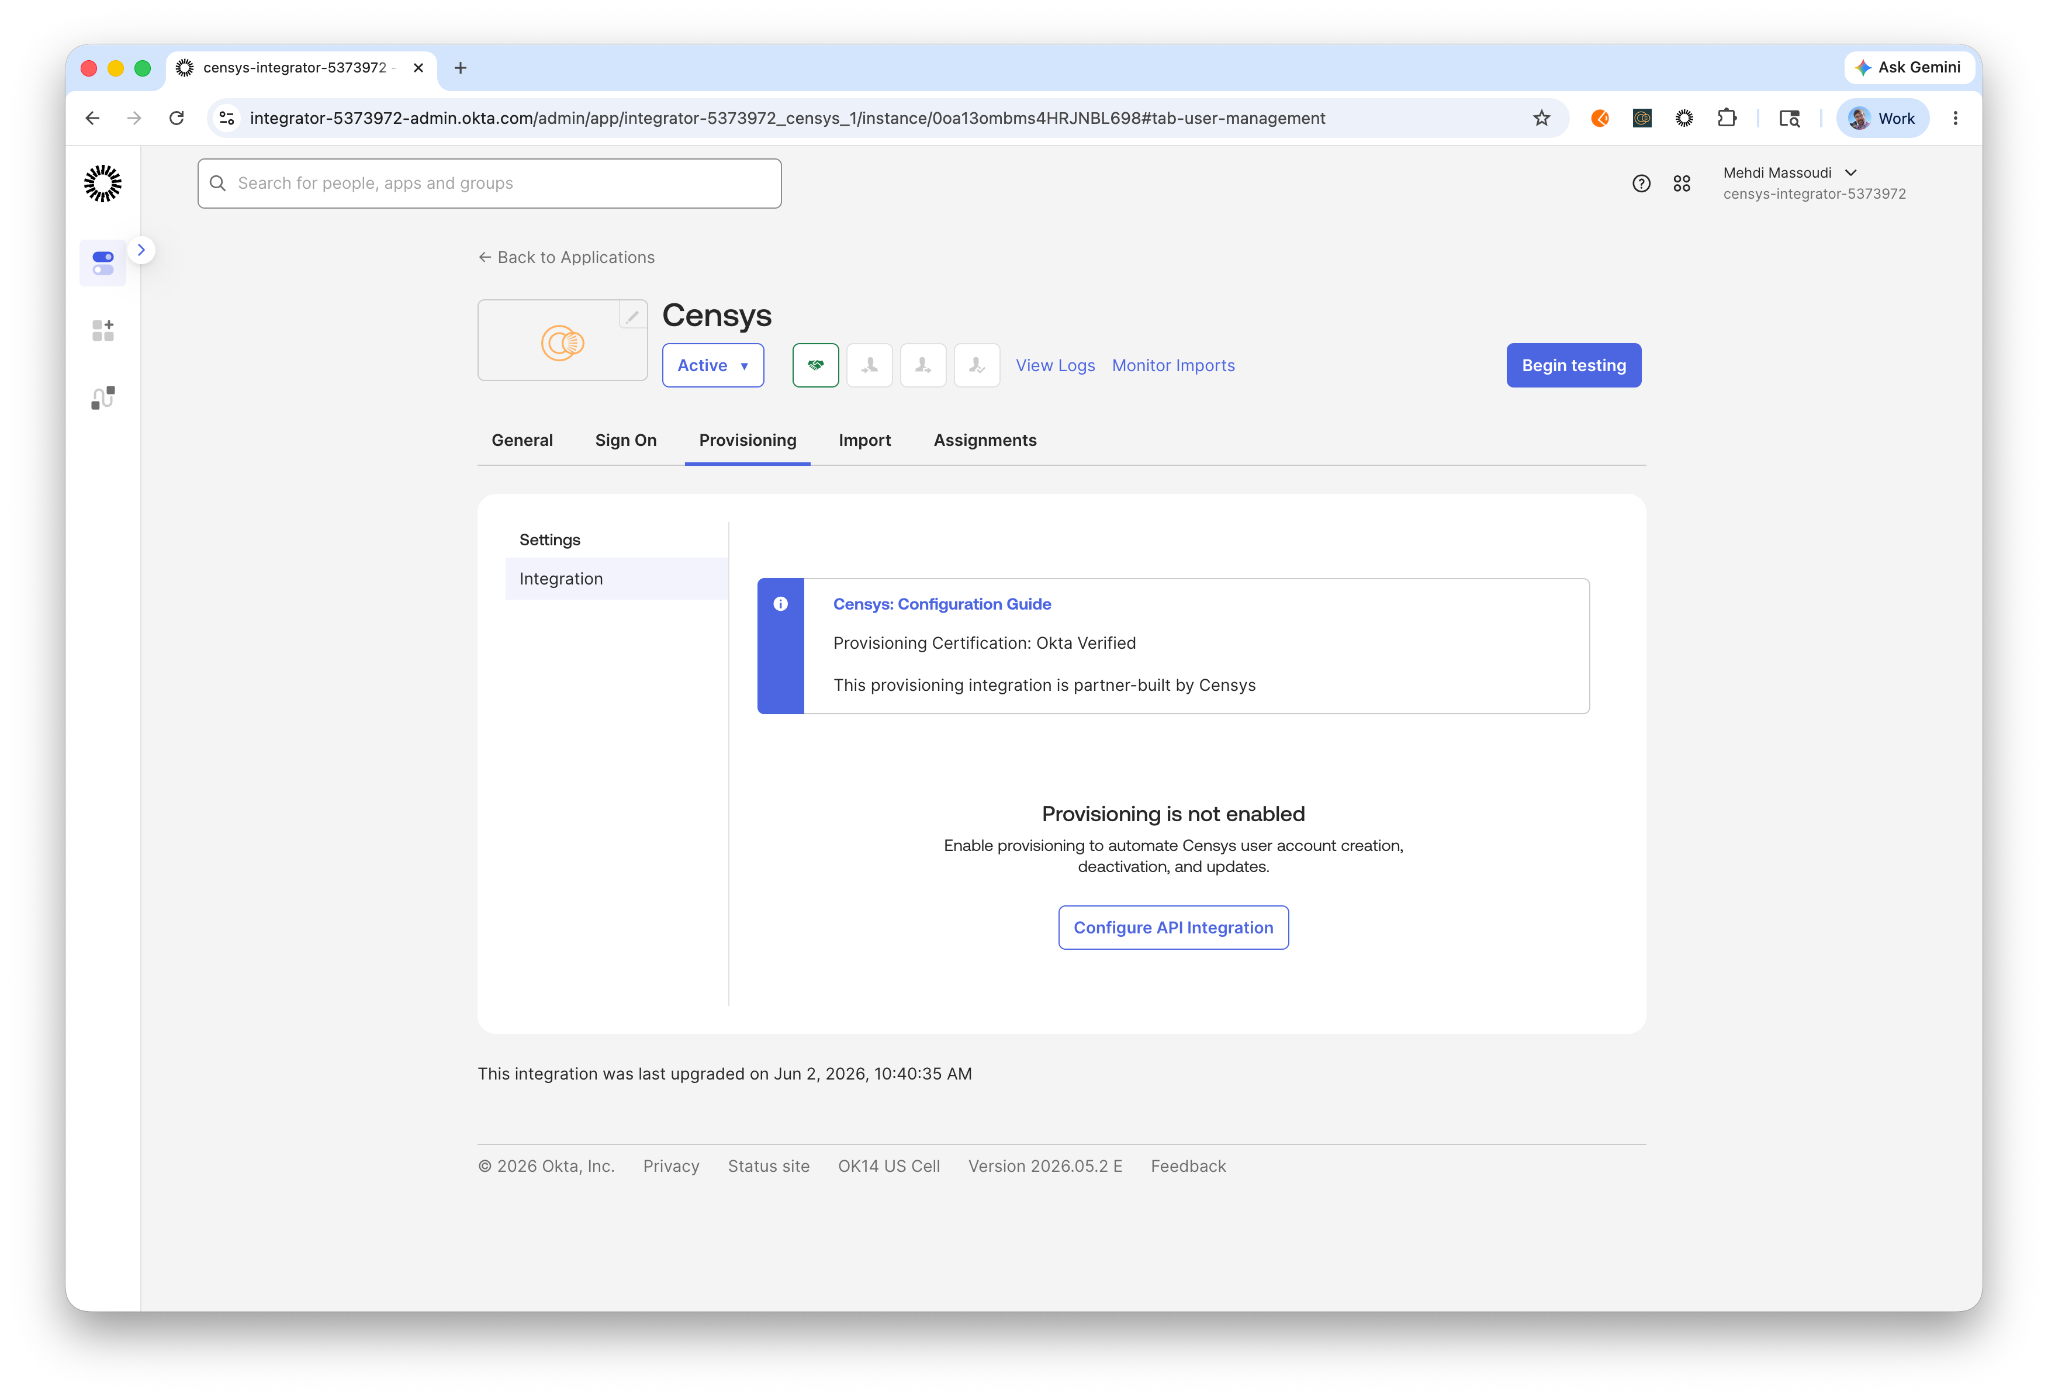
6. Configure SCIM Provisioning
-
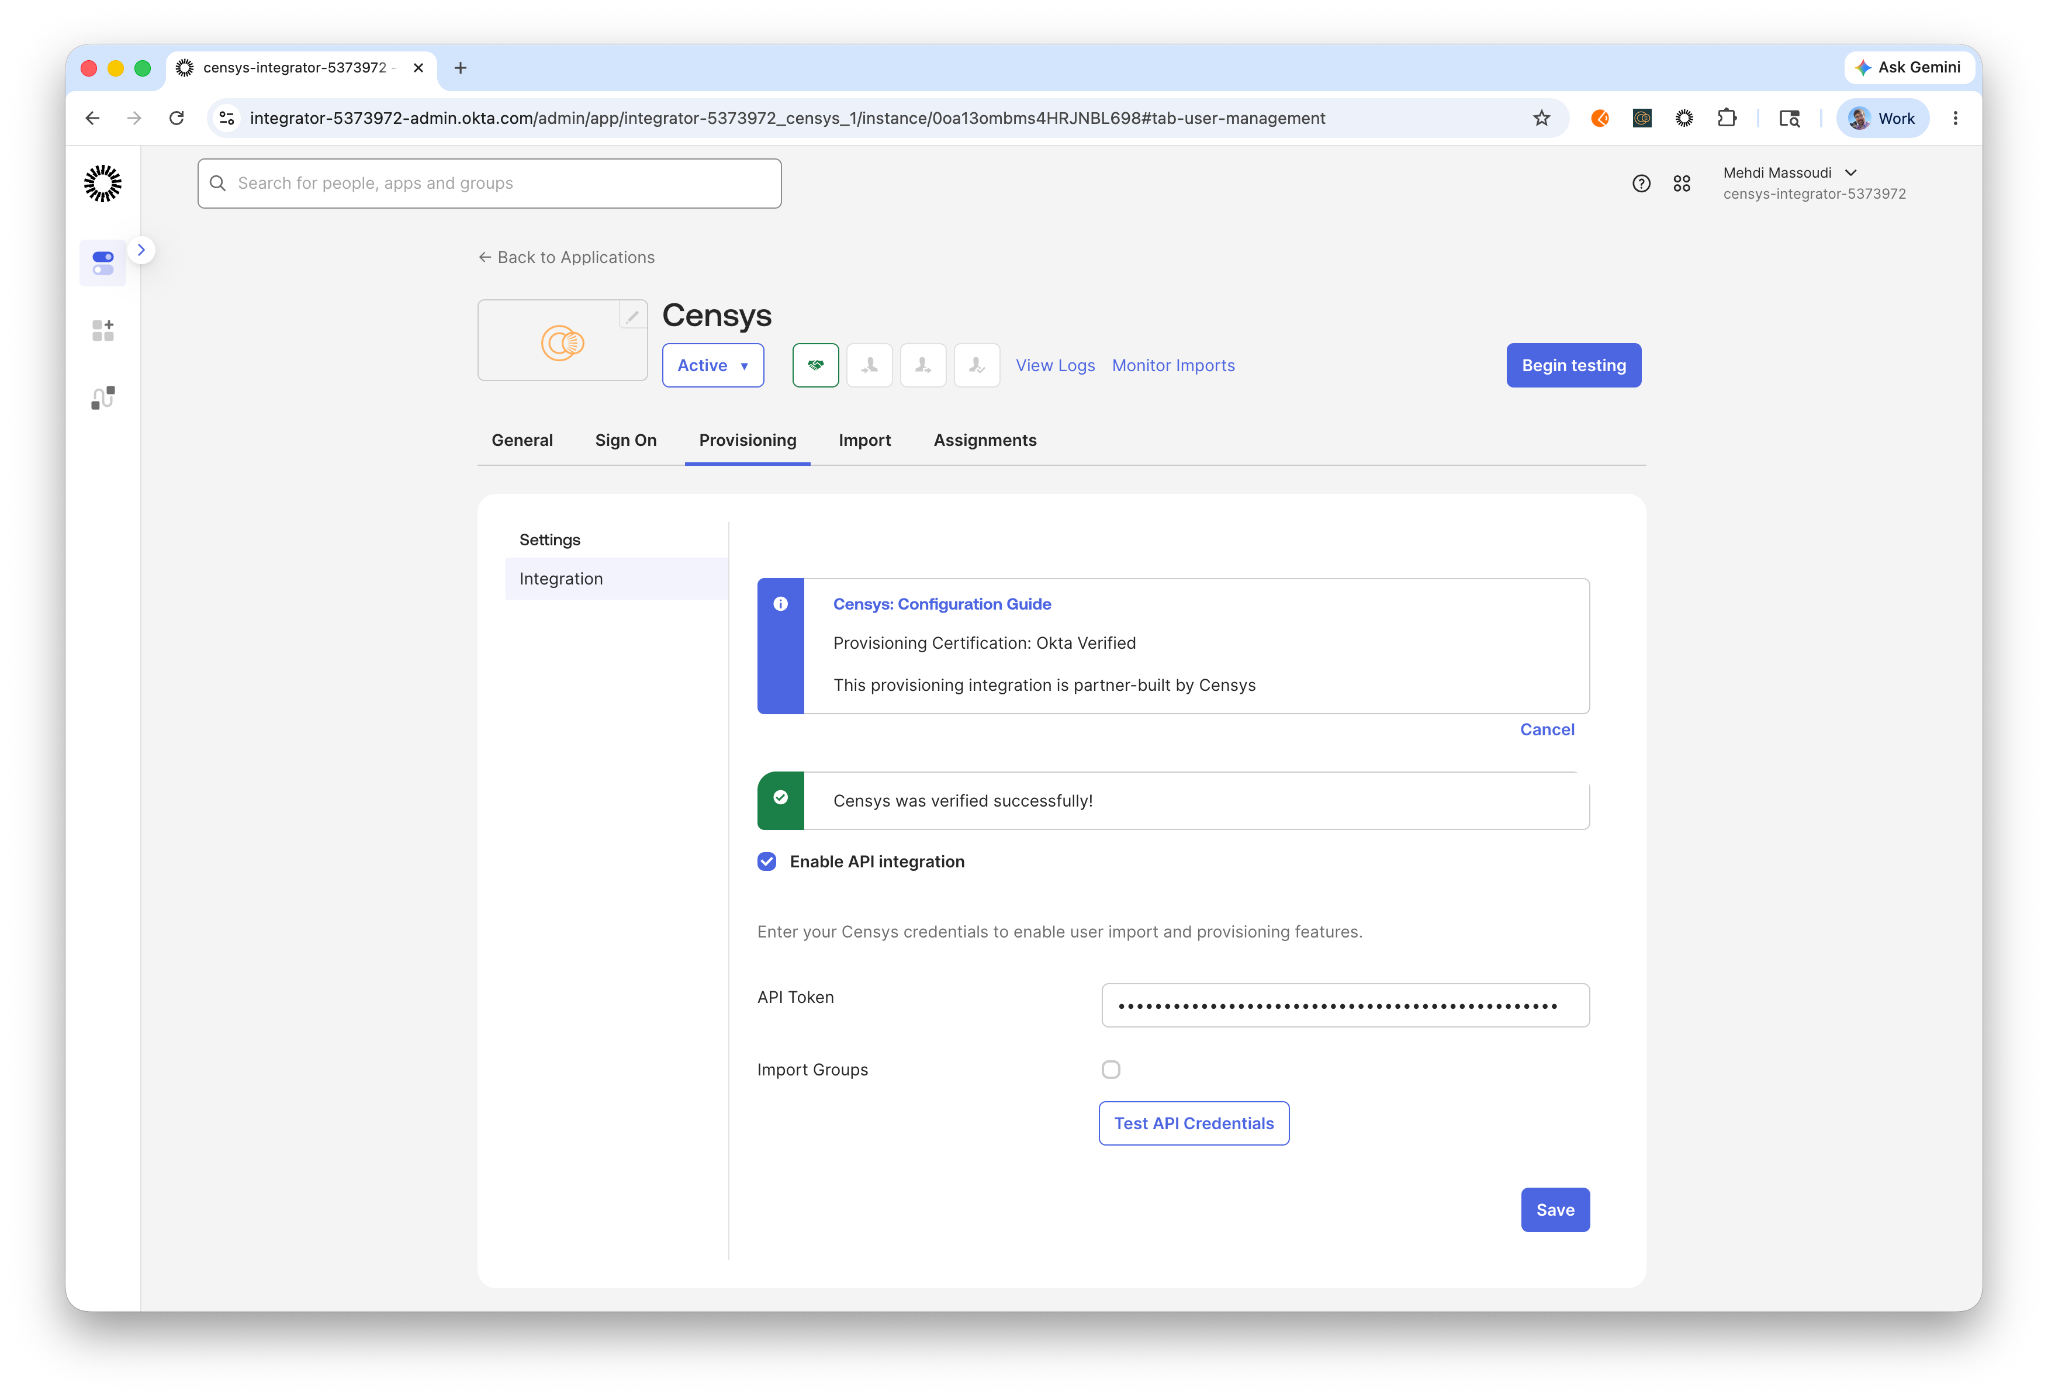
In Okta, navigate to the Provisioning tab of the Censys application and click Configure API Integration.
-
Check Enable API integration
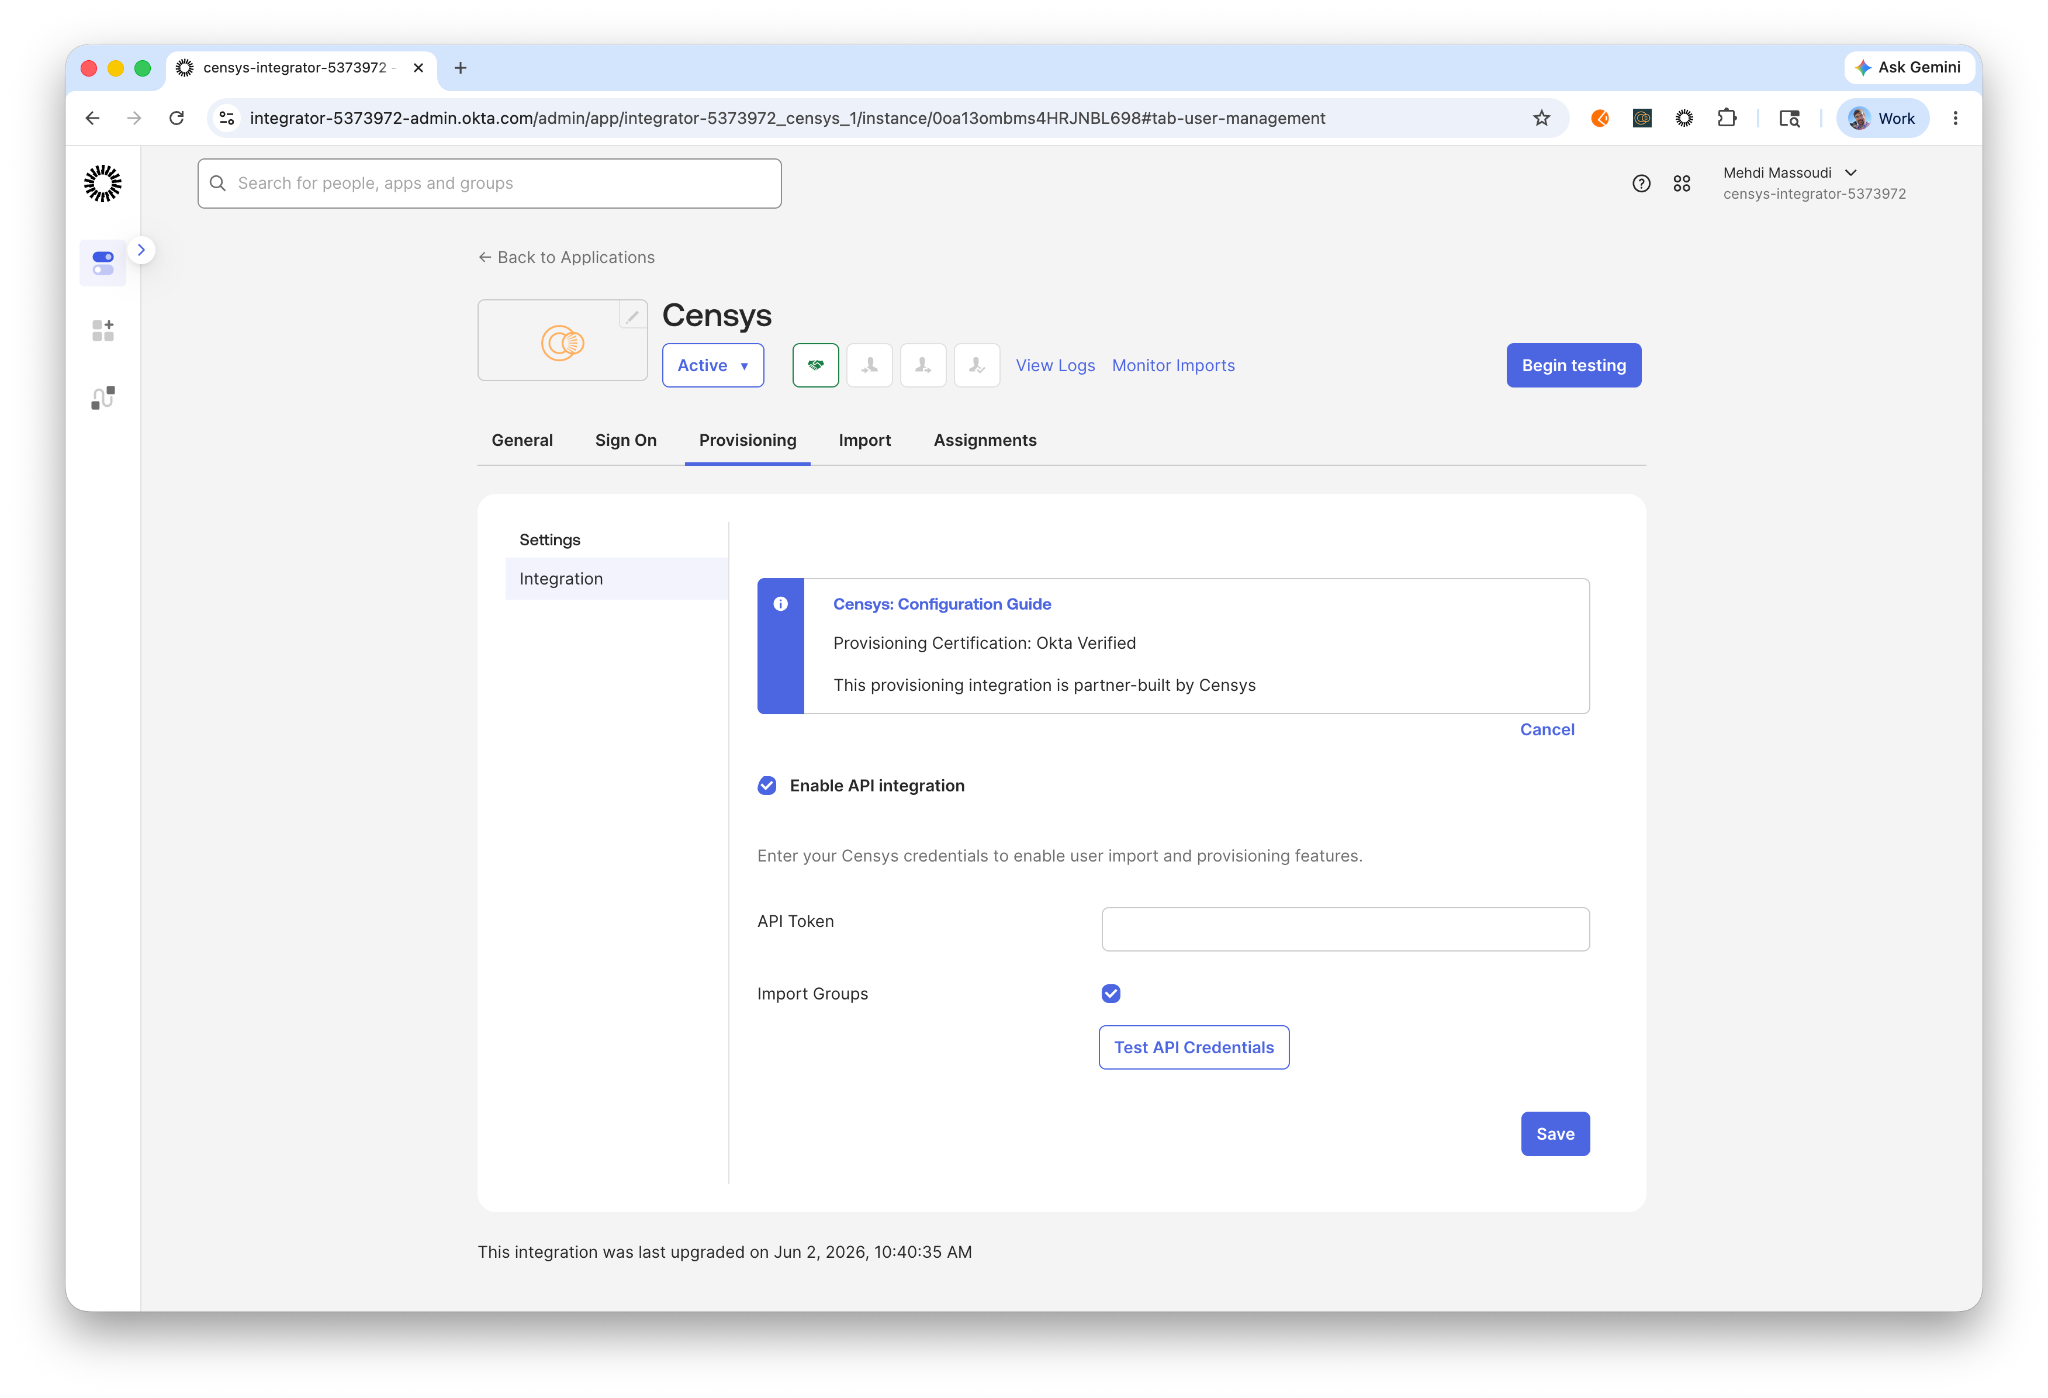
-
Enter your API Token generated from the Censys platform.
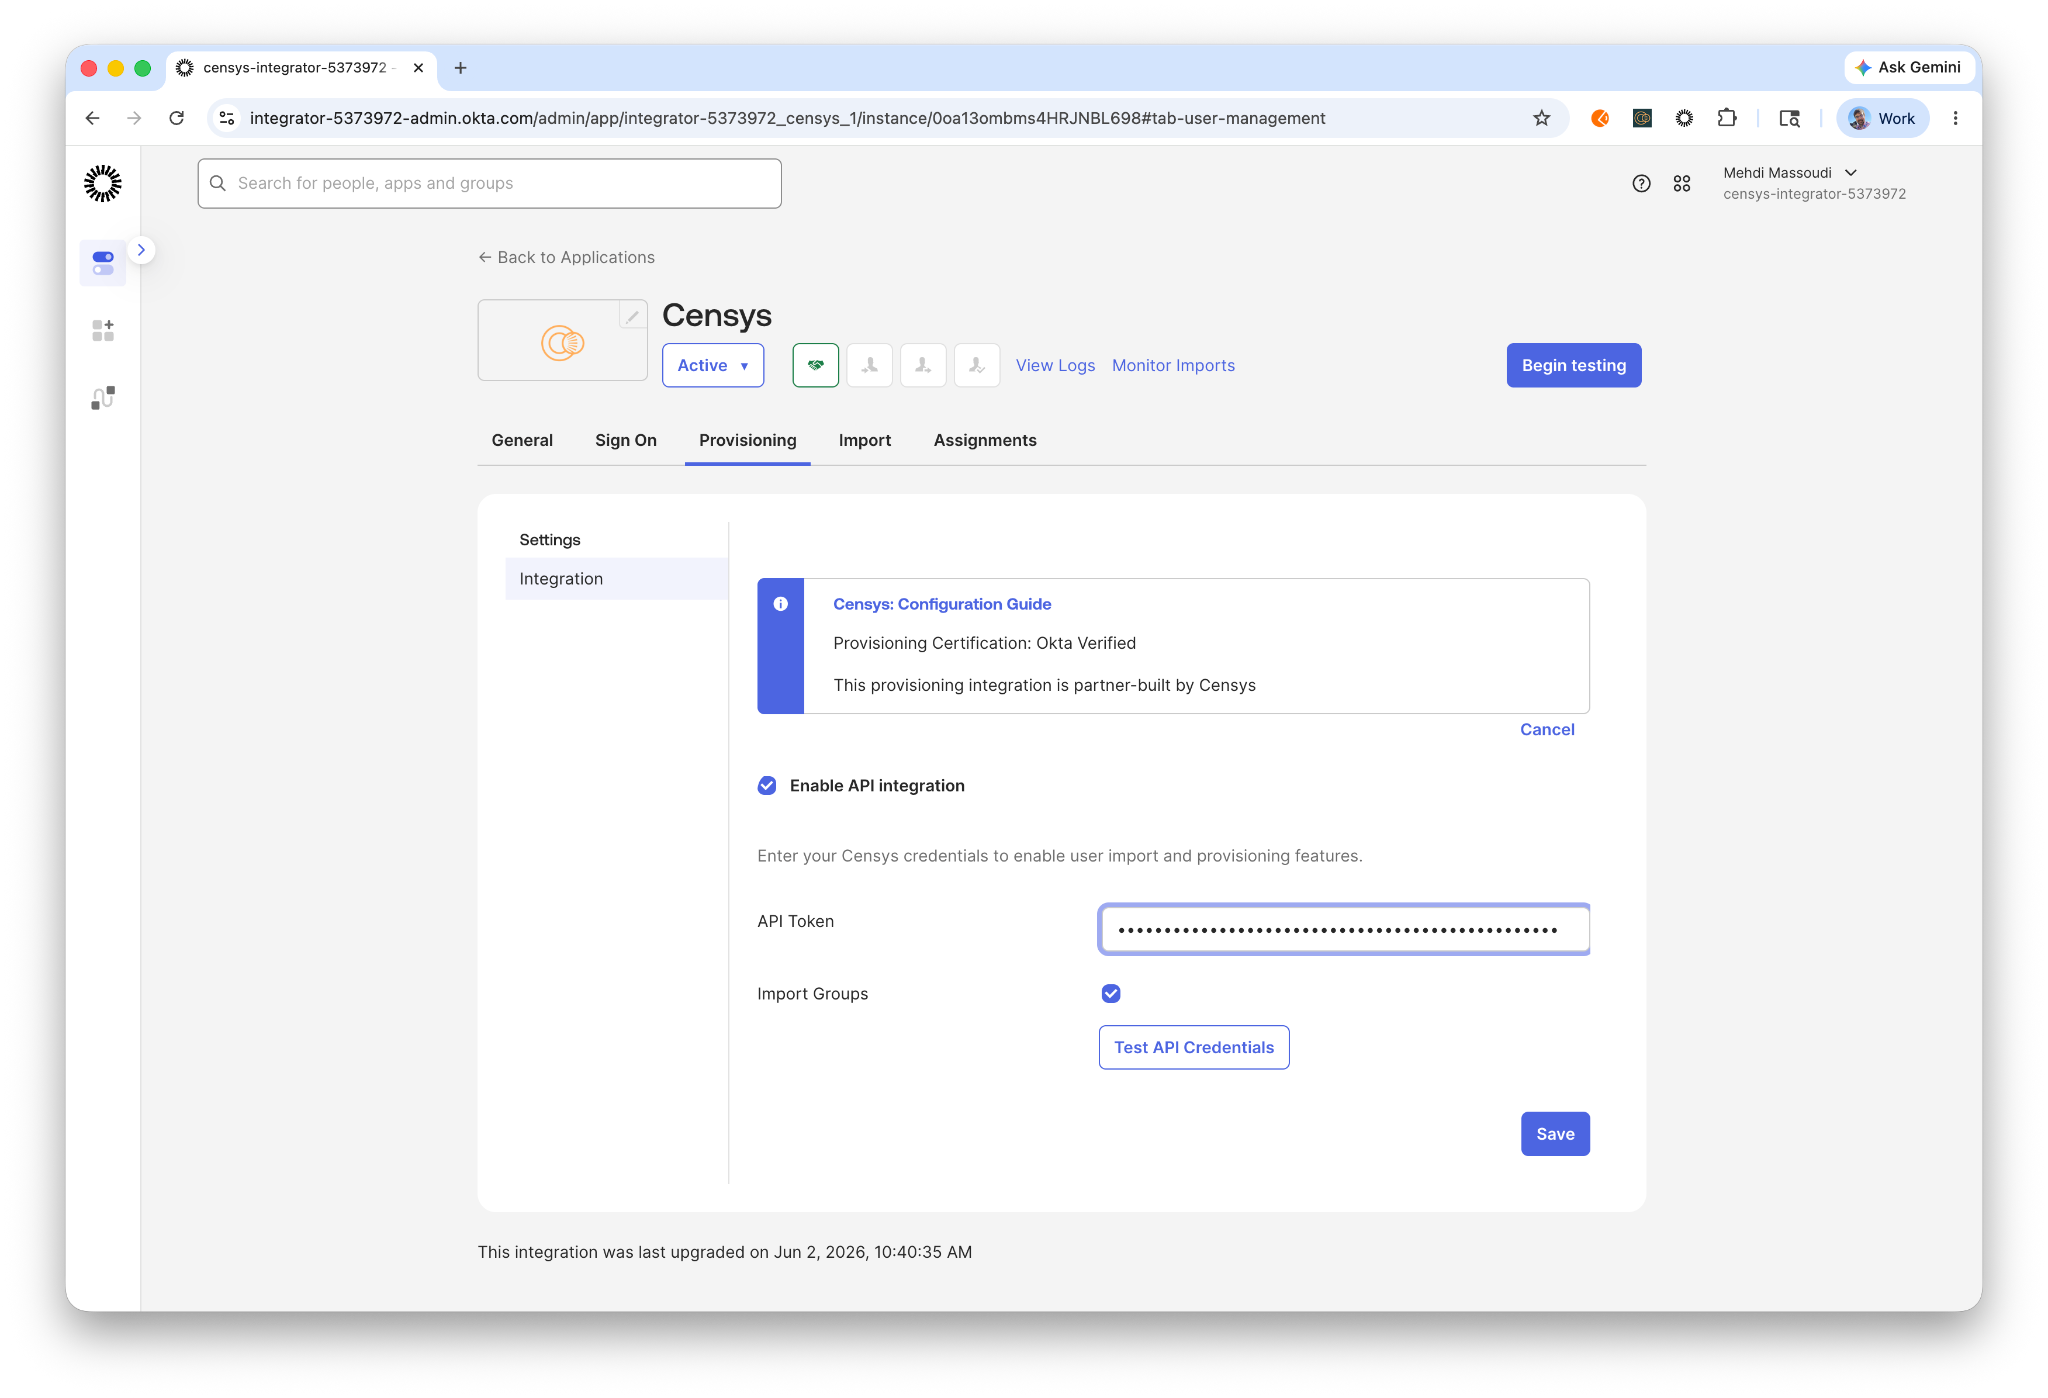
-
Click Test API Credentials to verify the connection, then click Save.
-
In the To App settings, click Edit and enable the following features:
- Create Users
- Update User Attributes
- Deactivate Users

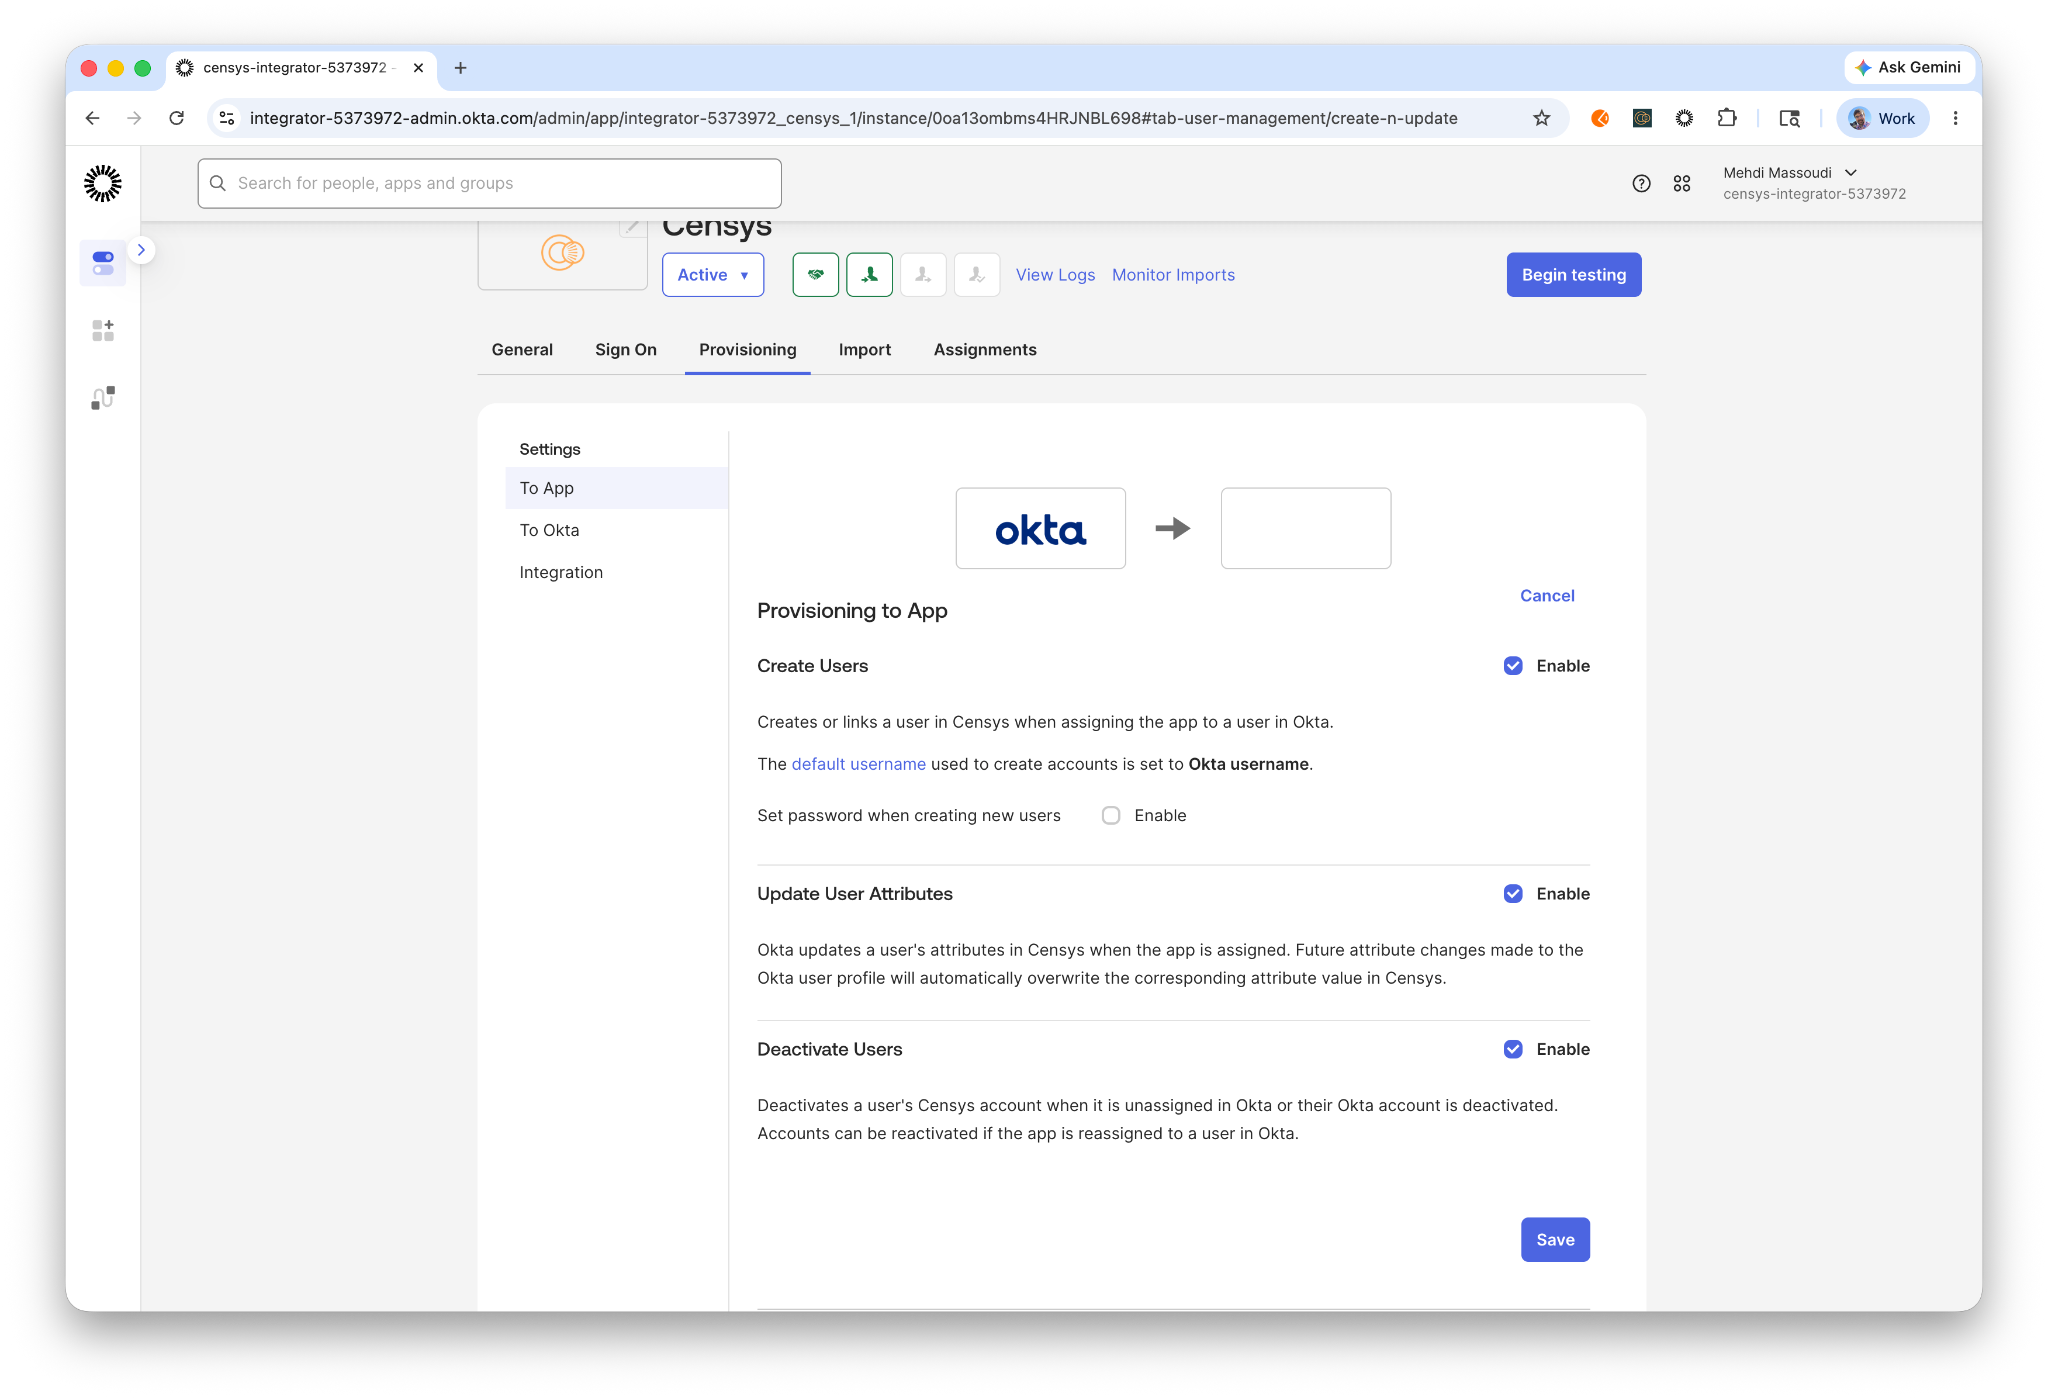
- Click Save.
- Remember to add all users to the Censys App within Okta IDP.
Note: Censys SCIM only allows for provisioning users with the default user role set by the Platform, which follows a least privilege model. The Platform does not currently support setting specific roles via SCIM.
7. Enable SSO Login
A disabled SAML configuration does not redirect users to log in via the IdP.
-
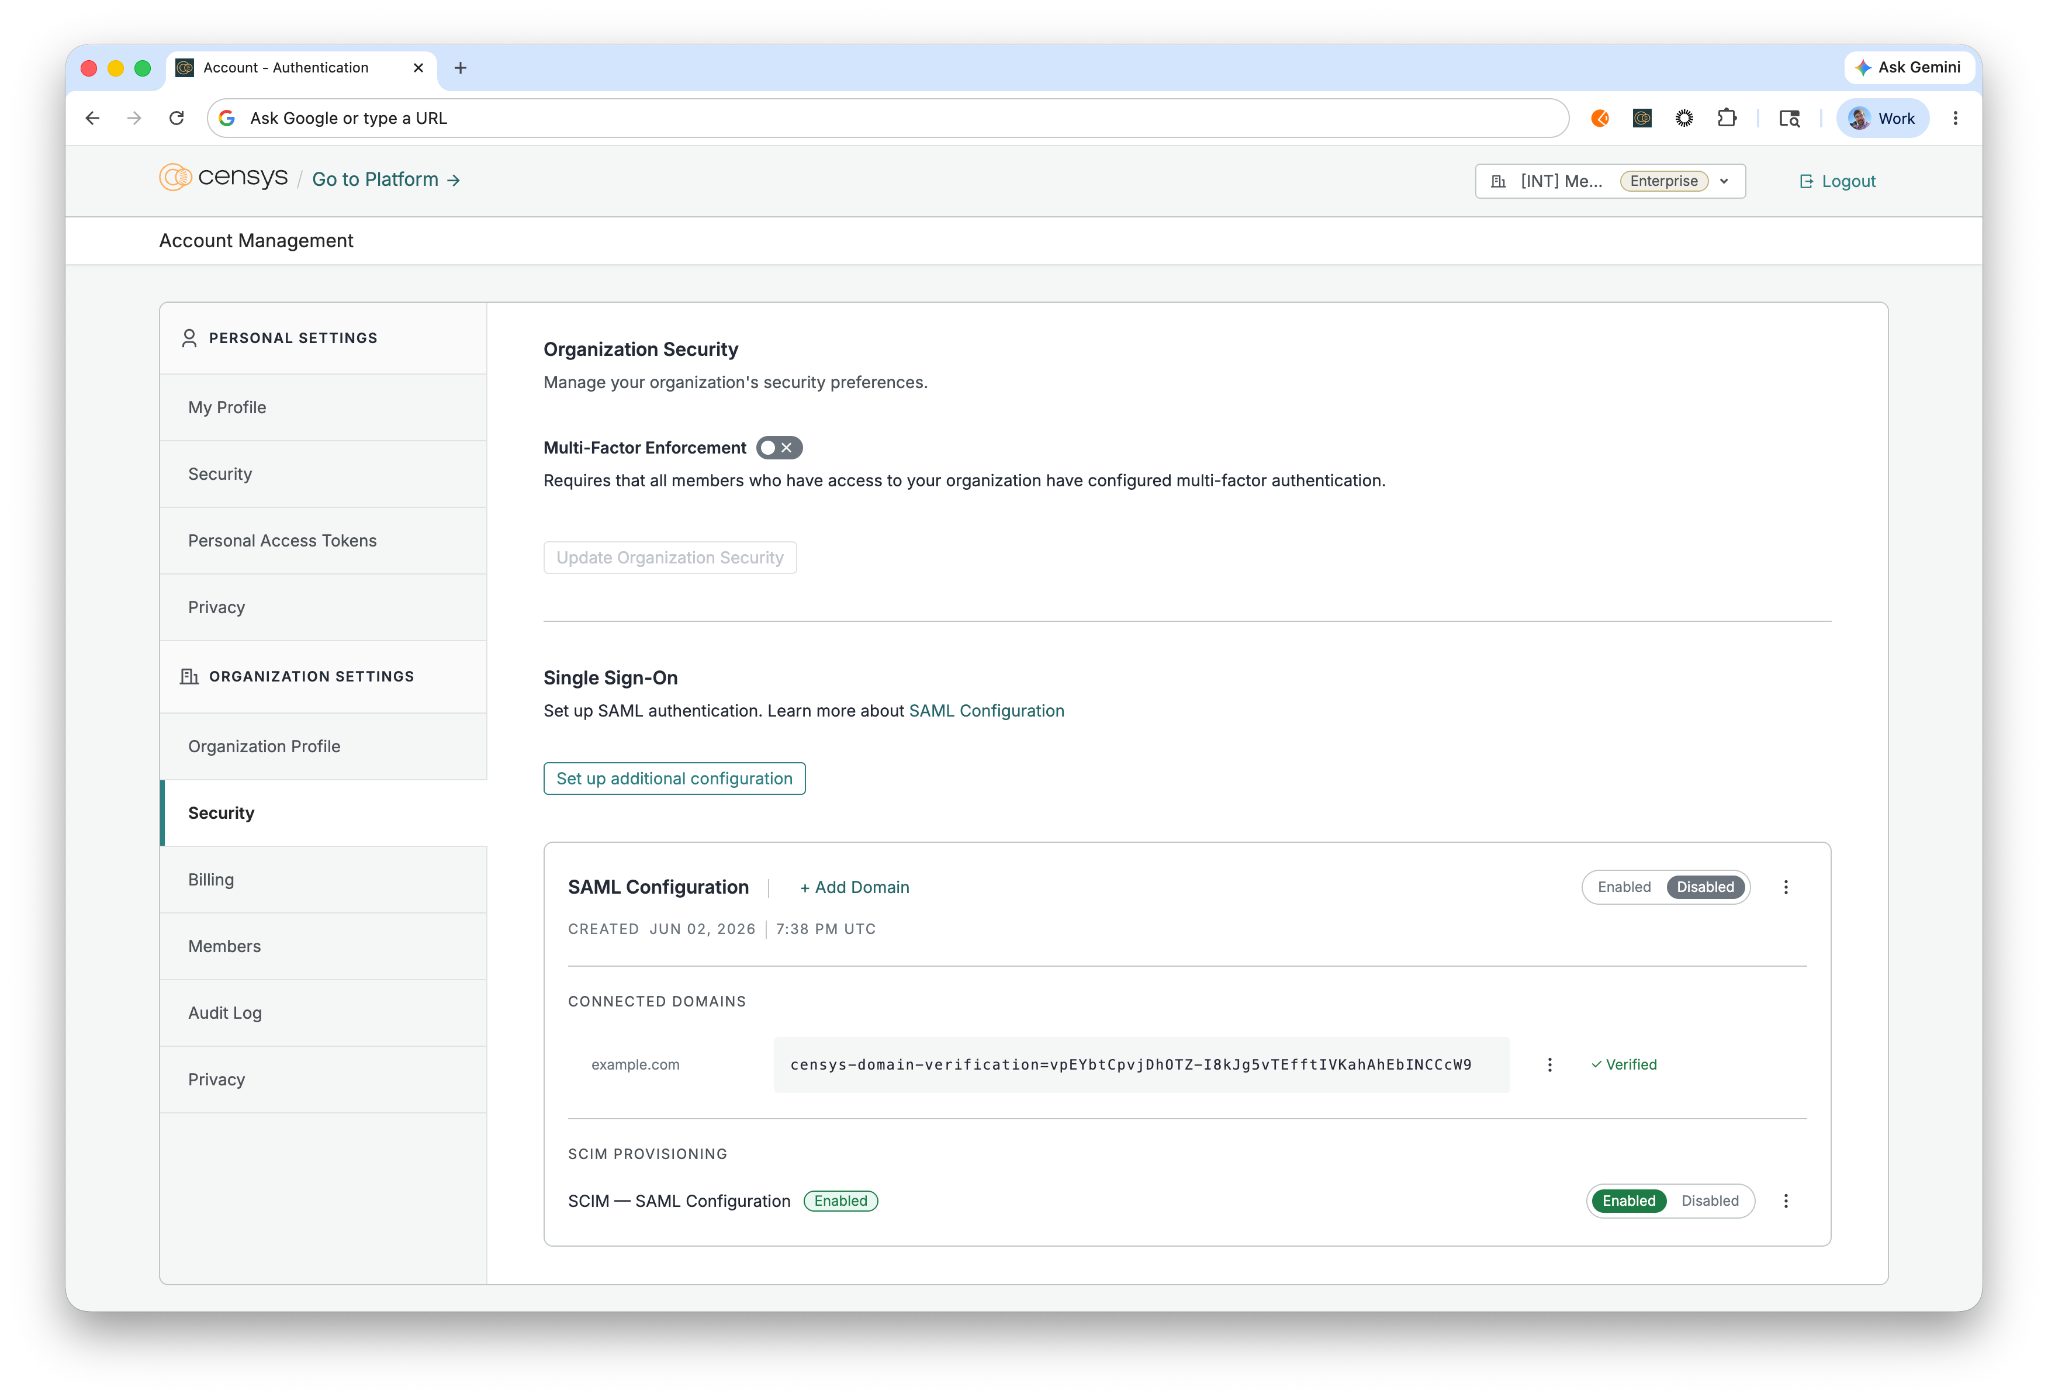
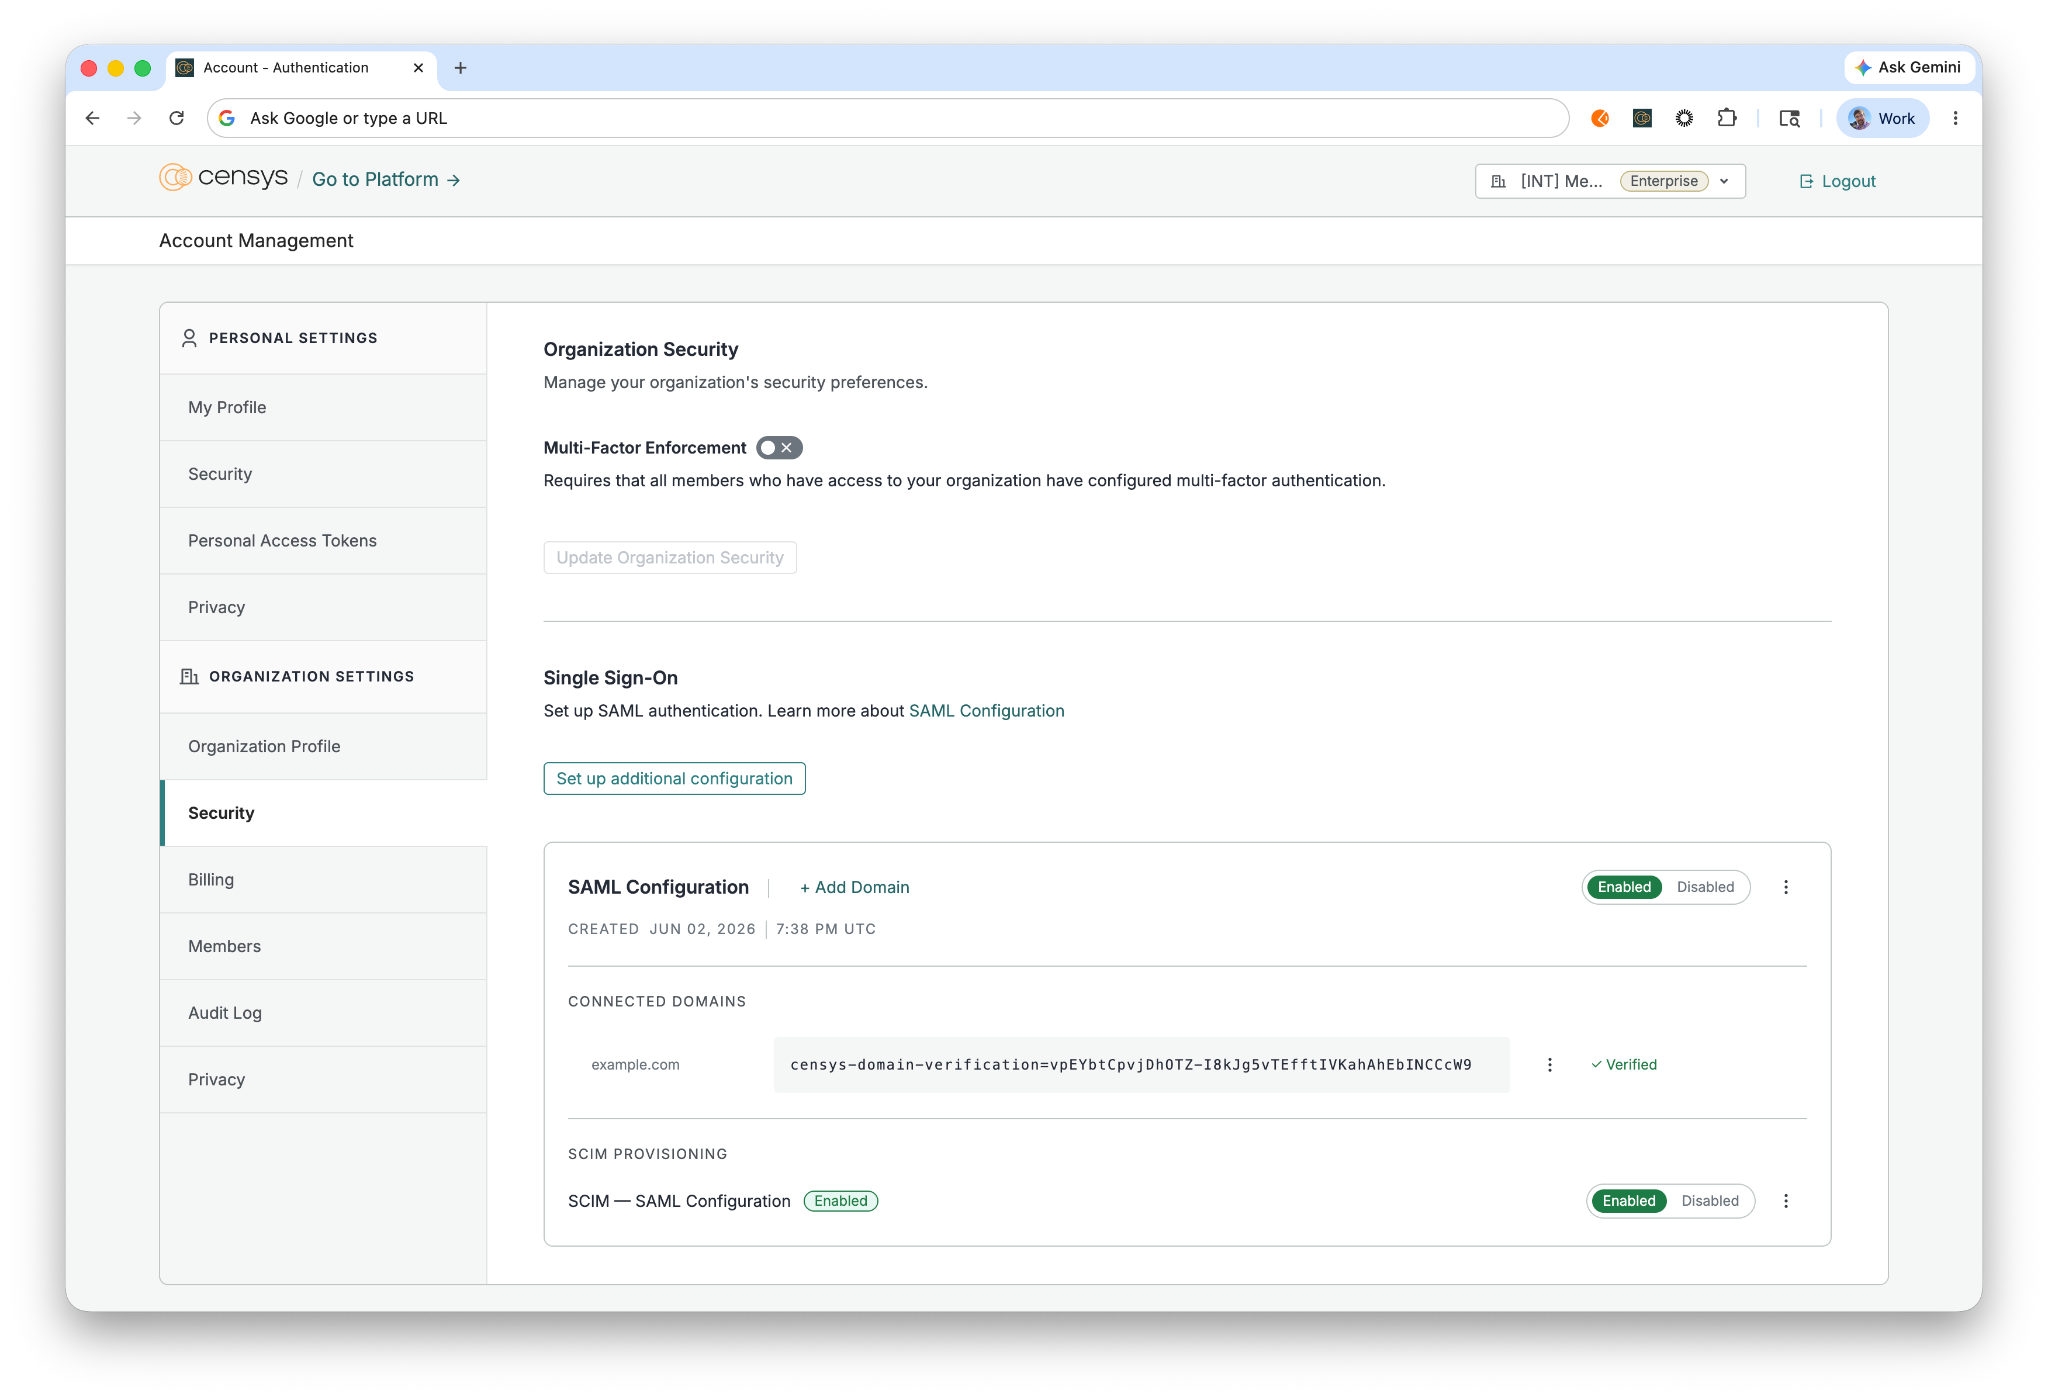
Navigate to Account Management > Organization Settings > Security > Single Sign-On.
-
Find the SAML configuration that you want to enable.
-
Toggle the switch from Disabled to Enabled.
Service Provider (SP) Initiated SSO
Users can authenticate directly through the Censys platform by following these steps:
- Navigate to the Censys login page at https://accounts.censys.io.
- Select Log in with SSO.
- Enter your organization's email address.
- You will be redirected to your Okta dashboard for authentication. Upon success, you will be logged into Censys.
SAML SSO with SCIM enabled (Just-in-Time provisioning)
SAML SSO and SCIM provisioning are complementary and work together. Enabling SCIM does not block SAML SSO.
When SCIM is enabled and a user signs in through SAML SSO (IdP- or SP-initiated):
- If the user has already been provisioned by SCIM, they are signed in normally.
- If the user has not yet been provisioned by SCIM (for example, SCIM push has not run yet, or SCIM is configured but the user was just assigned), Censys provisions them just-in-time at login. A Censys user, organization membership, and SCIM identity link are created automatically, and the login completes. The user is then a fully SCIM-managed user and subsequent SCIM updates and deactivations apply to them normally.
- If the user has been deprovisioned in Okta (unassigned from the app or deactivated), they are blocked from signing in. JIT provisioning never re-creates a user that the IdP has explicitly removed, so offboarding remains durable.
NoteFor JIT-provisioned users to converge with SCIM on the same identity, the
userNamevalue sent in the SAML assertion should match theuserNamesent during SCIM provisioning. Map the same Okta attribute touserNamein both the SAML attribute statements and the SCIM provisioning settings (for most Okta tenants this is the Okta username). See Attributes.
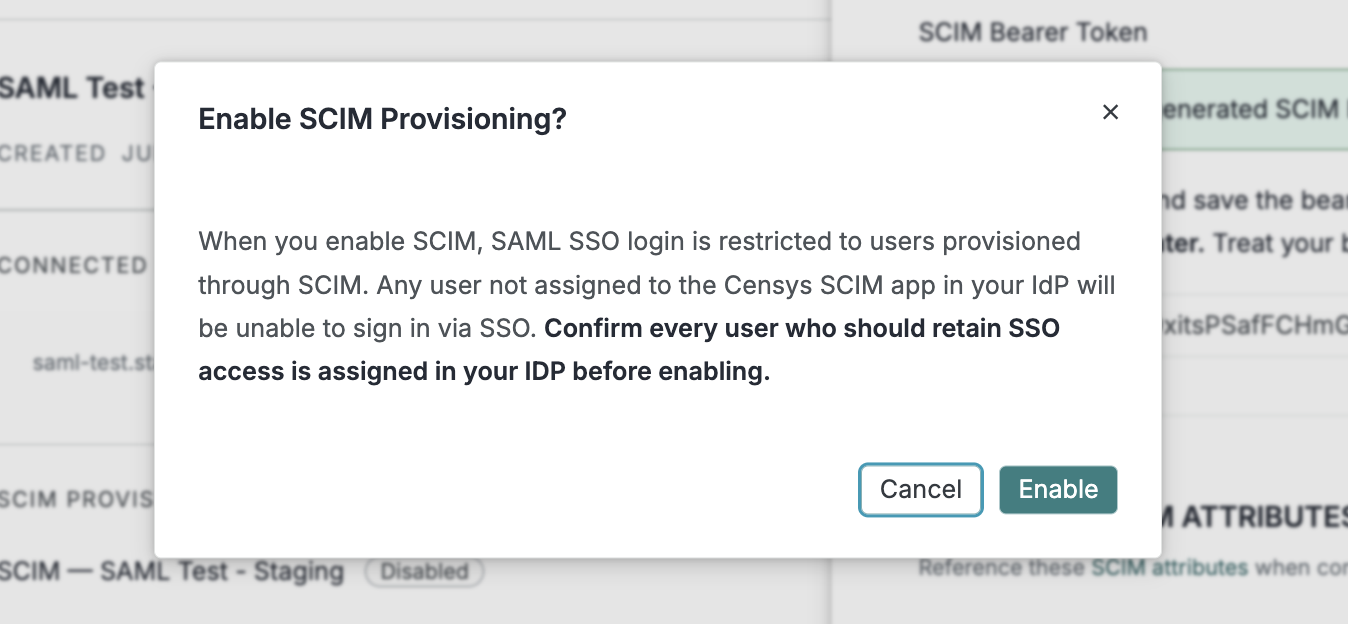
Disable SCIM
To pause SCIM provisioning without losing your configuration:
-
Go to Account Management > Security.
-
Under SCIM Provisioning, toggle the status to Disabled.
-
A confirmation dialog appears. Click Disable to confirm.
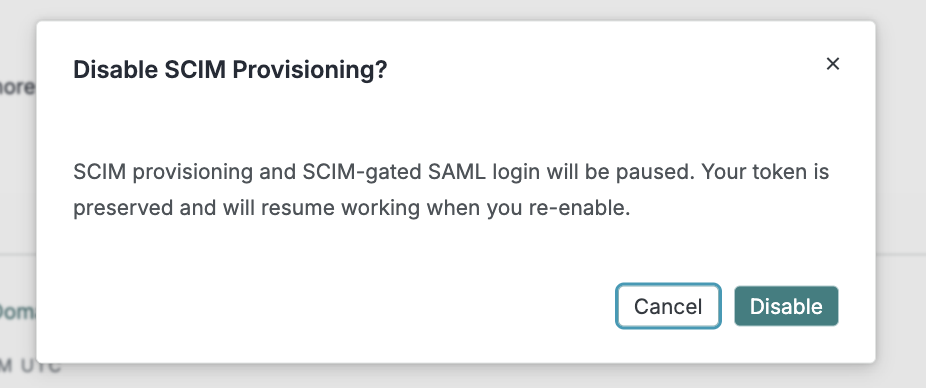
SCIM provisioning (including just-in-time provisioning at login) is paused. SAML SSO continues to work for users who already have access. Your bearer token is preserved and resumes working when you re-enable SCIM.
Attributes and mappings
SCIM attributes
The following attributes are synchronized by Okta during SCIM provisioning.
| Censys attribute | SCIM attribute | Required | Mutability |
|---|---|---|---|
| User name | userName | Yes | Mutable |
emails[primary eq true].value | Yes | Immutable after provisioning | |
| First name | name.givenName | Yes | Mutable |
| Last name | name.familyName | Yes | Mutable |
| Active status | active | No | Mutable |
userName is required by the SCIM specification (RFC 7643) and is the primary identifier Censys uses to reconcile a user. Censys rejects any SCIM create or replace request that omits it. In Okta this value comes from the Application username format under Credentials Details; set it to Okta username so that the same value is sent on every provisioning and login event. A primary email, name.givenName, and name.familyName are also required.
SAML attributes
Censys expects the following attributes in the SAML assertion. email, given_name, and last_name are required for login. userName is optional but recommended when SCIM is enabled so that just-in-time provisioning links the user to the same identity SCIM provisions.
| Censys claim | Accepted SAML attribute names (case insensitive) |
|---|---|
email | |
| given name | given_name, givenname, first_name, firstname |
| last name | last_name, lastname, sur_name, surname, sn |
| user name | username, user_name, preferred_username, upn, userPrincipalName |
Import Users
Censys supports importing existing users from the Censys Platform into Okta. Use this to reconcile users that were created directly in Censys (or provisioned just-in-time at SAML login) with their Okta profiles, and to confirm the current provisioning state.
- In Okta, navigate to the Import tab of the Censys application.
- Click Import Now to run an on-demand import, or configure a scheduled import (Provisioning > To Okta) to run automatically.
- Okta retrieves the list of users from Censys and matches them to existing Okta users by username. Review the results and confirm any users to be linked to (or created in) Okta.
Note: only active users are importedThe Censys SCIM
/Usersendpoint returns only active, SCIM-managed users. Users who have been deactivated or unassigned in your IdP are intentionally excluded from import results, so that re-assignment is handled as a fresh push (create) rather than an update. As a result, deactivated users do not appear in import results. Censys supports user import only; group import is not available.