Azure Hosted Cloud Connector
Access Levels: | Advanced | Enterprise
The Censys Cloud Connector for Azure enumerates your cloud environment, ensuring that Censys Attack Surface Management (ASM) is always up to date so your security teams are working with the most current data. This integration scans each resource to determine whether it is public.
Data refresh frequency
Cloud Connectors refresh more often than other connections. After you set up Cloud Connectors, your data will refresh as often as every four hours.
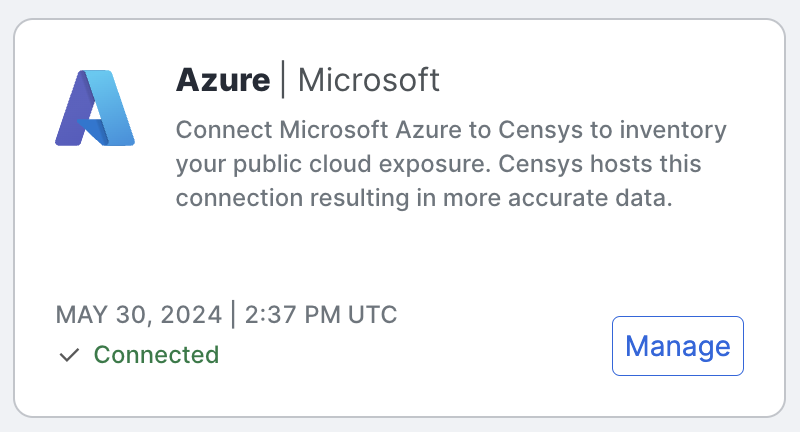
To see the latest refresh time in Censys ASM:
- Go to the ASM web console and click Integrations.
- Scroll down to see the date within the Cloud Service Provider cards.
Configure the Censys Cloud Connector for Azure
There are two options for configuring Censys Cloud Connectors for Azure: the ASM UI or the Censys API.
Prerequisites
You will need the following before you get started:
- Your Azure tenant ID
- Your Azure management group ID(s)
- Your Azure subscription ID(s)
- We recommend the tenant root group ID
- Optionally, you may need:
- A list of management groups or subscriptions you wish to exclude from being sent to Censys ASM
The following users and permissions are required:
- Censys ASM user with the workspace role Manager
- Azure Admin with the following:
- Permission to create IAM Resources at the Management Group level
- Permission to create a Service Principal with the Reader role
- Ability to authorize an Enterprise Application to the tenant
These are the least privileged permissions required to access your cloud resources and import them into Censys.
Option 1: Configure the Cloud Connector in the ASM UI
Step 1: Configure the integration in Censys
- Go to the ASM web console and click Integrations.
- Locate Azure and click Set Up.
- In the setup wizard, configure the following:
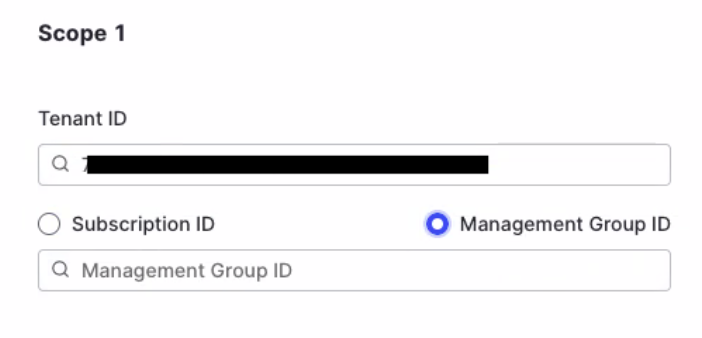
- Tenant ID: Enter a tenant ID or use the default name.
- If you are including an Azure tenant:
-
Select Management Group ID and enter the ID into the field.
-
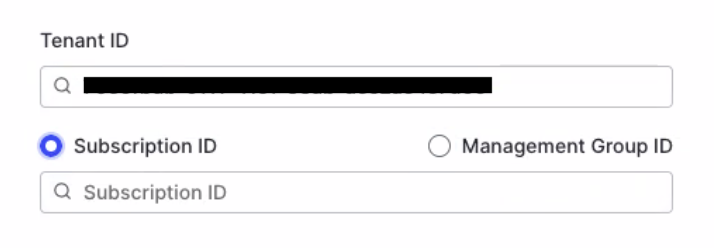
- If you are including a standalone Azure Subscription:
-
Select Subscription ID and enter the ID into the field.
-
- Excluded Fields: Optionally, enter any resource types or subscription IDs that should not be sent to Censys ASM.
- Click Next Step.
- Your Custom Role Name is displayed on the IAM Resource page. You will need this in the next steps.
- Click Admin Consent. You will be redirected to Azure.
Step 2: Configure the role in Azure
-
Log in to Azure. A permissions screen will appear for Censys. Click Accept on the permissions screen.
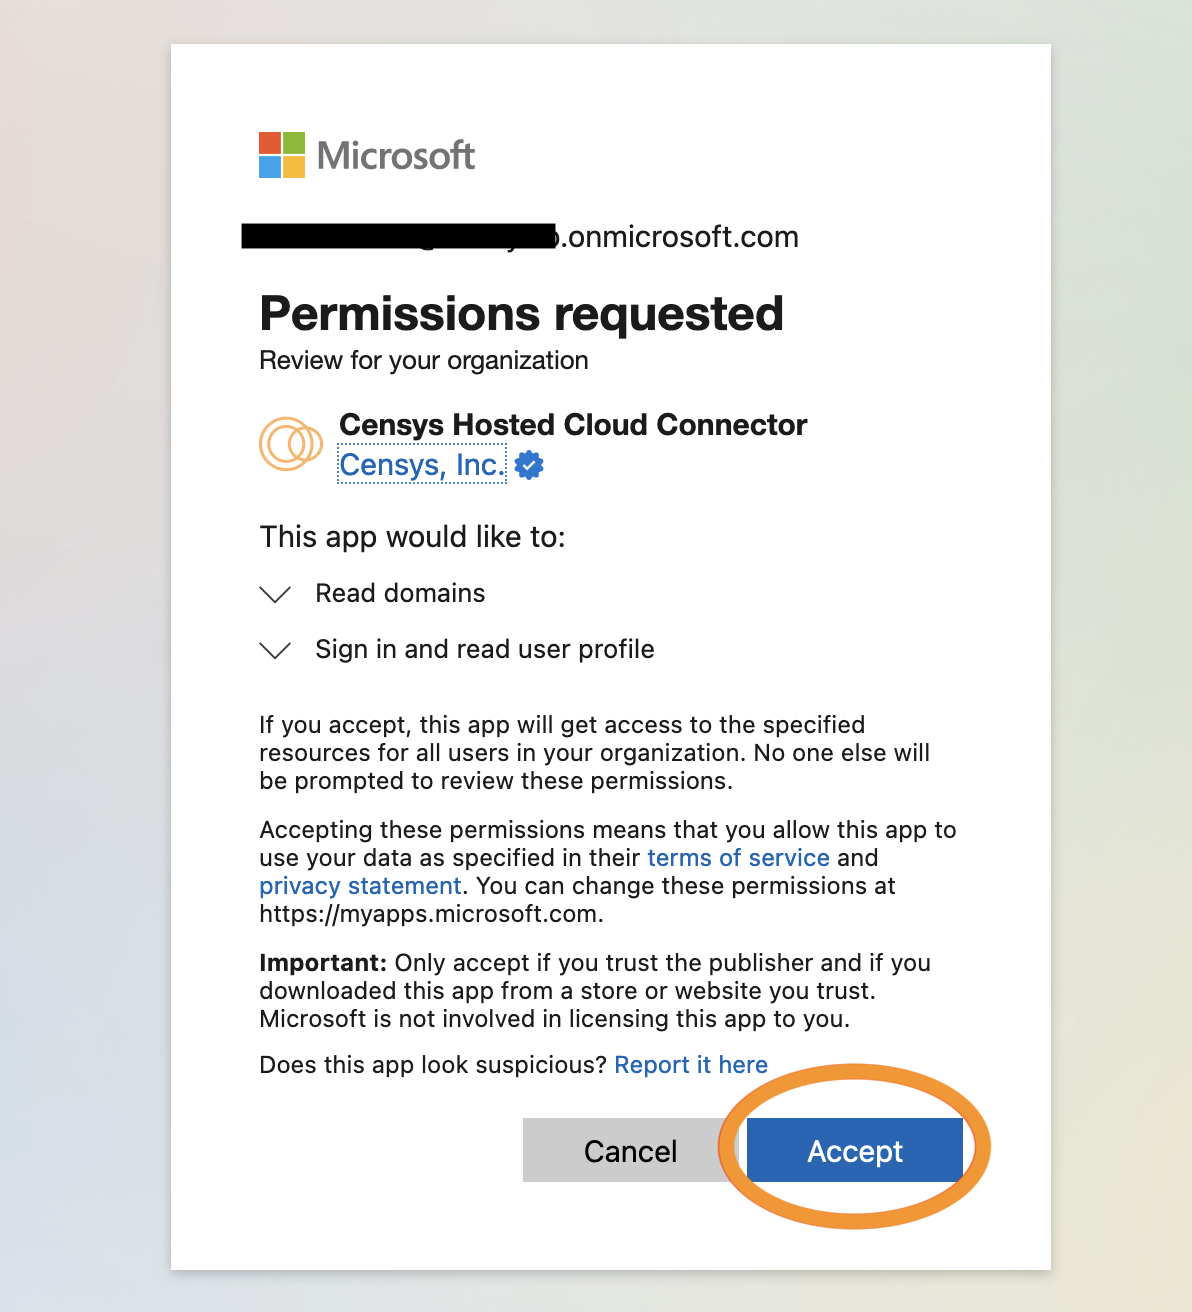
After you accept the permissions, the enterprise application will be installed within your tenant. To ensure that it has been installed, return to Azure to view your enterprise applications list.
-
Navigate to Management groups, then click the name of the management group you wish to use for this integration.
-
On the left side of the page, click Access control (IAM).
- If you configured your scope to be the entire tenant, you will configure the IAM access control at the root group. If you have included multiple management groups, you will need to follow these steps to configure this for each group or subscription included in your scopes.
-
In the top left, click
+ Addthen click Add custom role.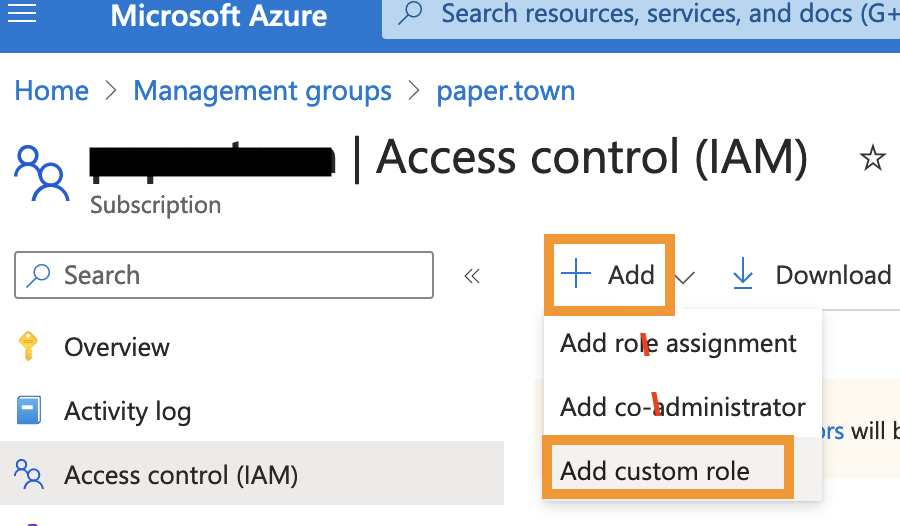
-
Configure the form:
- Custom role name: Enter the Cloud Connector ID from your Censys ASM.
- Description: Optionally, enter a description.
- Baseline Permissions: Select
Clone a role. - Role to clone: Select
Reader.
-
Click Review and Create, then click Create.
- You will see a success message. Click OK in the message, then you will be redirected to Access Control (IAM).
-
In the top left, click
+ Add, then click Add role assignment. -
Search for your Cloud Connector ID and select it.
-
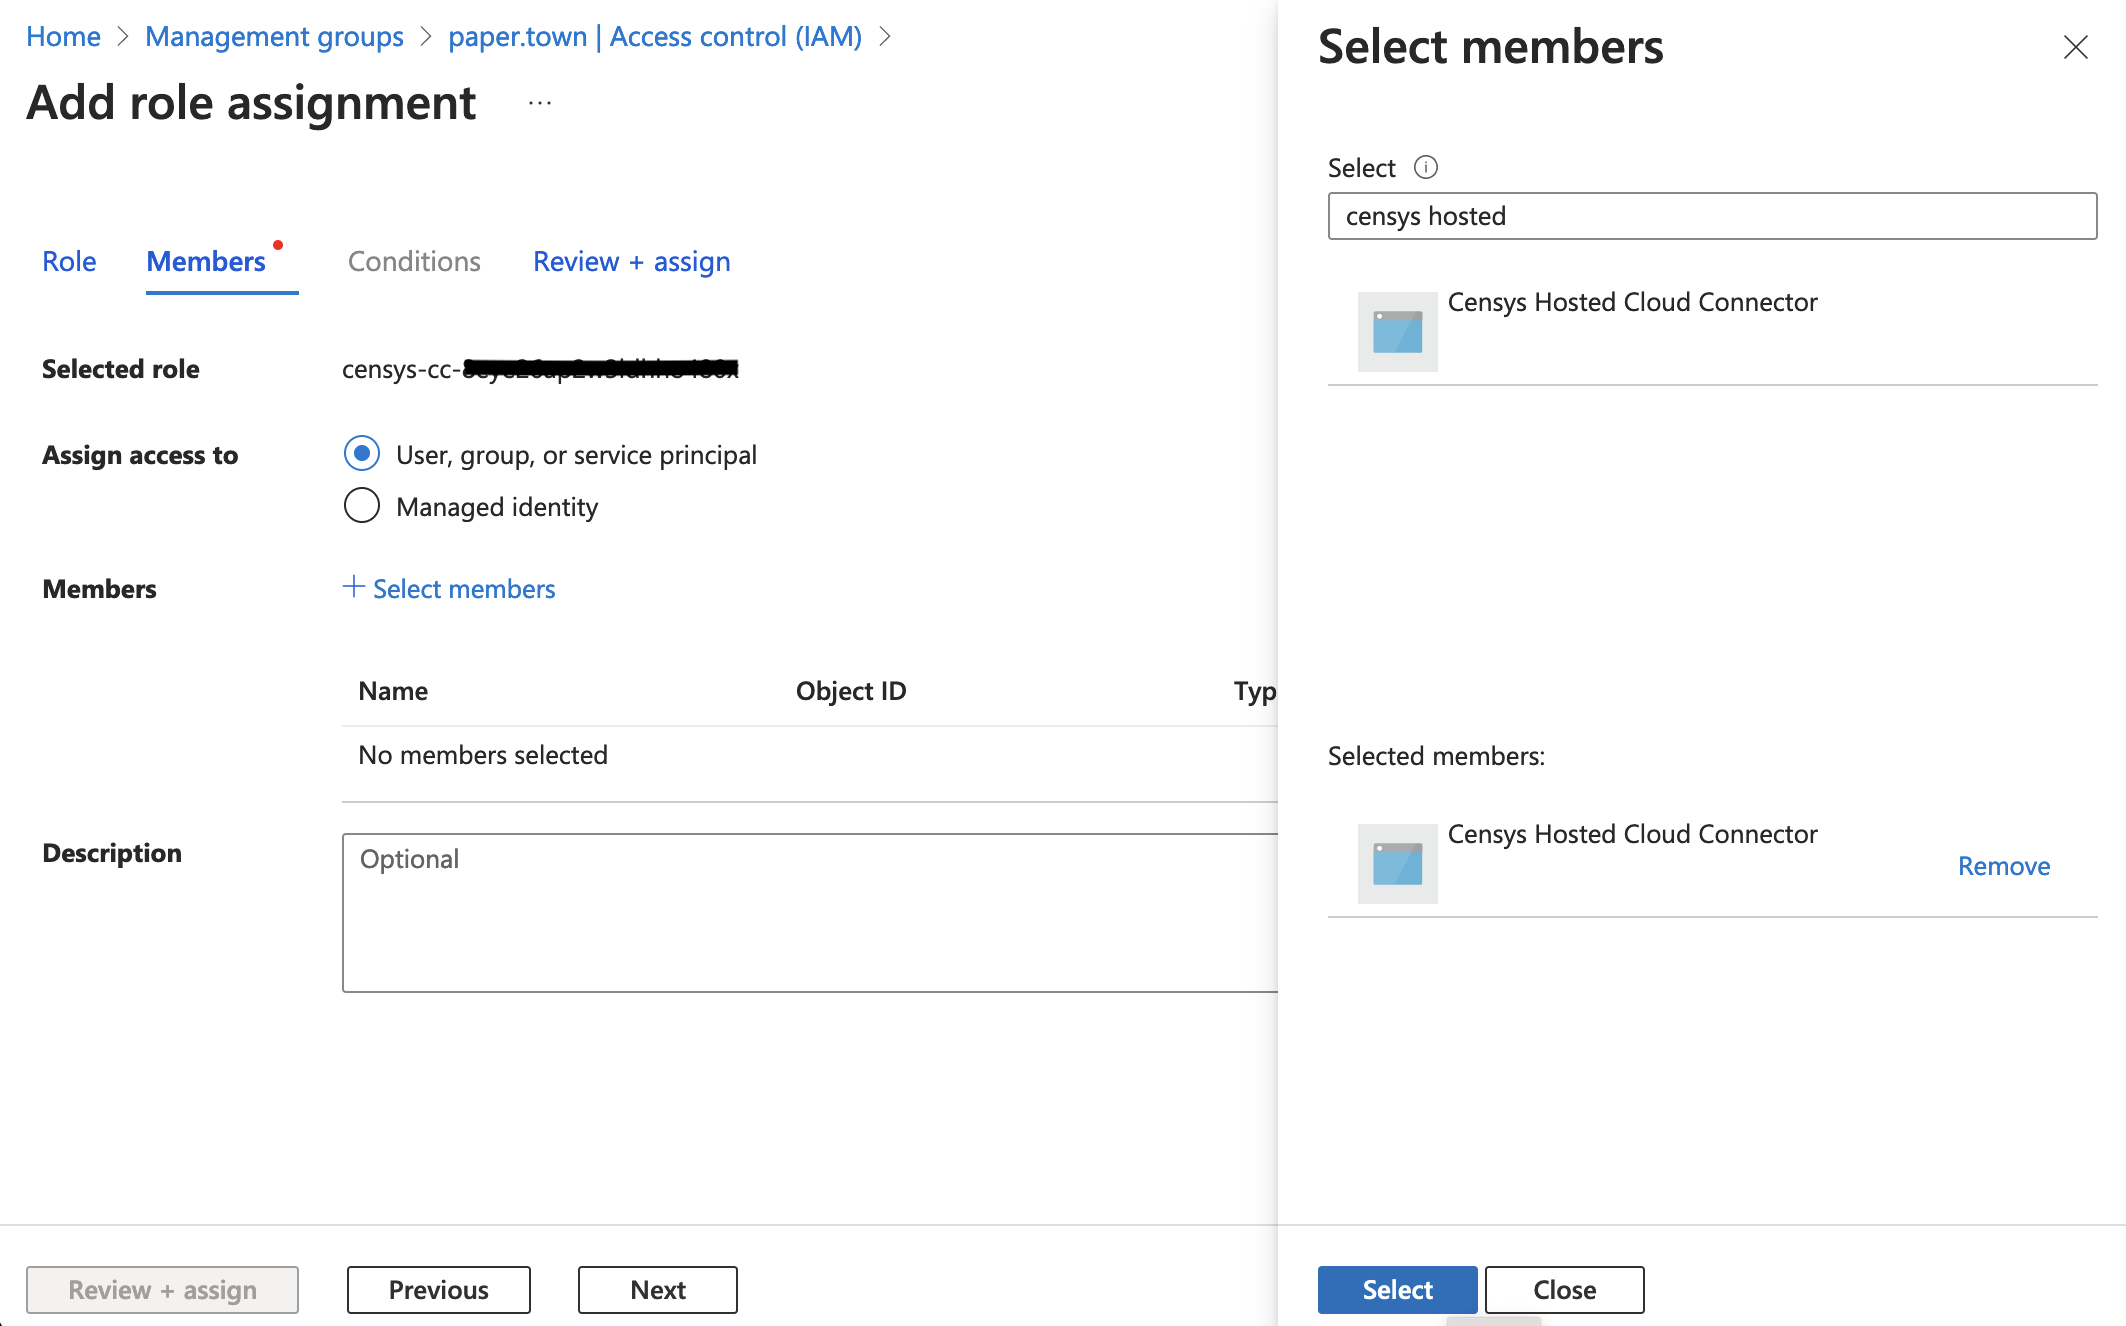
Click the Members tab. Next to the Members field, click
+ Select members. -
Search for Censys Hosted. Click the
Censys Hosted Cloud Connector, then click Select. -
Next to Assign access to, select User, group, or service principal.
-
Click Review and Assign, then click Review and Assign again.
Step 3: Finish the integration in Censys
- Return to Censys ASM web console.
- Click Next Step, then click Done.
Option 2: Configure the Cloud Connector via the ASM API
Step 1: Create the hosted connector using the ASM API
- Craft a JSON body with the appropriate scopes describing how you want the Hosted Cloud Connector to scan your AWS environments. Any combination of Organizations and standalone accounts is acceptable.
- If you want to include an Azure tenant, provide the Tenant ID, the Management Group ID, and any optional Subscription or service type exclusions.
- Provide the Tenant ID, Subscription ID, and any optional service type exclusions to include a standalone Azure subscription.
- For examples, see the JSON section below.
- When your JSON body is ready, create a new hosted connector using the Censys Hosted Connectors API endpoint.
- Navigate to the Integrations Marketplace.
- Copy your API Key to your clipboard.
- Follow the link to API Documentation.
- Click Authorize and paste in your API key.
- Click Authorize > Close.
- Expand the hosted connectors header to expose the Hosted Connector endpoints.
- Expand the POST /v1/hosted-connectors endpoint.
- Click Try it out, then replace the example value with your own JSON body.
- Click Execute.
- Censys will return a response body that includes an adminConsentUrl per Tenant provided. Use these URLs to add the Censys Cloud Connector Enterprise Application to each Tenant that the Cloud Connector will scan.
Step 2: Deploy in Azure
- For each Management group and Subscription provided as a scope, create a Custom role and Role assignment.
- Copy the ID of the Hosted Connector from the response body and use it as the Custom Role Name.
- Go to Access Control (IAM).
- Click
+ Add, then click Add custom role. Configure the role.- Custom Role Name: Enter the ID of the hosted connector that you just created.
- Description: Enter a description for the custom role.
- Select Clone a Role/Reader.
- Click Review and Create, then click Create.
- Click
+ Add, then click Add role assignment.- Search for the ID of the custom role you just created, then select the role.
- Click Next.
- Click
+ Select members. - Search for the Censys Cloud Connector Enterprise Application, then click Select.
- Click Review and assign, then click Review and assign again.
- Initiate a permissions check to verify that all permissions are properly granted.
- Go back to the API Documentation.
- Expand the endpoint.
- Click Try it out.
- Paste in the ID of the connector to want to check.
- You can find the ID in the response from creating the hosted connector. For example:
censys-cc-[unique_string]
- You can find the ID in the response from creating the hosted connector. For example:
- Click Execute. In the response body, use the Date field to note the time that the check was started.
- Using the
GET /v1/hosted-connectors/{id}endpoint check the status.- Expand
GET /v1/hosted-connectors/{id}and click Try it out. - Paste the ID of the connector you wish to check, then click Execute.
- Verify that statusTimestamp is the same time as what you noted from the /check endpoint.
- Verify that the status is either checking-configuration or connected.
- If status is connected, your connector is correctly configured.
- If status is checking-configuration, wait a few moments and Execute the GET call again.
- If status is not-connected, check the response for errors that need to be corrected.
- Verify that statusTimestamp is the same time as what you noted from the /check endpoint.
- Expand
JSON examples
Example one
This example has one scope that includes all asset types for all subscriptions contained within the Azure Tenant Root Group.
{ "azure": {
  "scopes": [
    {
      "tenantId": "1234abcd-6789-45e6-98ed-cba1ab2c3d45",
      "excludedAssetTypes": [],
      "managementGroup": {
        "managementGroupId": "1234abcd-6789-45e6-98ed-cba1ab2c3d45",
        "excludedSubscriptions": []
      }
    }
  ]
}
}
Example two
This example has two scopes. The first scope includes all asset types for all subscriptions except 2345bcde-7890-56f7-90fe-dcb0bc3d4e56 contained within the Azure Tenant Root Group. The second scope scans subscription 2345bcde-7890-56f7-90fe-dcb0bc3d4e56, excluding the SQL Servers asset type.
{ "azure": {
  "scopes": [
    {
      "tenantId": "1234abcd-6789-45e6-98ed-cba1ab2c3d45",
      "excludedAssetTypes": [
      ],
      "managementGroup": {
        "managementGroupId": "1234abcd-6789-45e6-98ed-cba1ab2c3d45",
        "excludedSubscriptions": [
          "2345bcde-7890-56f7-90fe-dcb0bc3d4e56"
        ]

      }
    },
    {
      "tenantId": "1234abcd-6789-45e6-98ed-cba1ab2c3d45",
      "excludedAssetTypes": [
        "SQL_SERVERS"
      ],
      "subscription": {
        "subscriptionId": "2345bcde-7890-56f7-90fe-dcb0bc3d4e56"
      }
    }
  ]
}
}
Updated 5 months ago