Create, Delete, or Archive a Collection
Follow the instructions below to create, delete, and archive collections.
You can create collections in the Platform web app or via the API .
Create a collection in the Platform web app
To create a collection in the web app, you can use one of two starting points:
- Open the left-side navigation panel, under My Work, click on Collections, then click Create Collection.
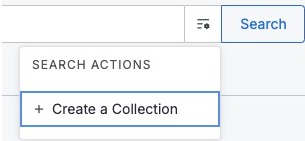
- Enter a query in the search bar, open the Search Actions menu, and select Create a Collection.
Use the following process to finish setting up your collection.
- Enter a Collection Name.
- Enter a valid Censys Query that defines the collection membership. A collection may only target one query. Multiple queries or search criteria can be combined using the
oroperator. - Use the Size Estimator to view the number of assets it currently returns. A collection cannot be created if its query produces more than 10,000 results.
- Select a Collection Category. The category field can be used to filter collections and can be displayed in alerts, enhancing triage efficiency.
- (Optional) Add a description to explain the purpose of the collection or what it tracks.
- (Optional) On the Collaborators tab, select whether your collection will be private or shared with your organization. Learn more about sharing collections.
- n. (Optional) On the Notifications tab, you can navigate to the webhook configuration page to set up webhook alerts and configure whether you want to receive a weekly email summarizing changes to the collection.
- Click Create New Collection. Collections may take a few minutes to populate.
Create a collection via API
Use the create collection endpoint to set up a new collection.
Edit a collection
You can update a collection's name, query, description, category, and share settings at any time from its Settings page. Follow the steps below to edit a collection.
-
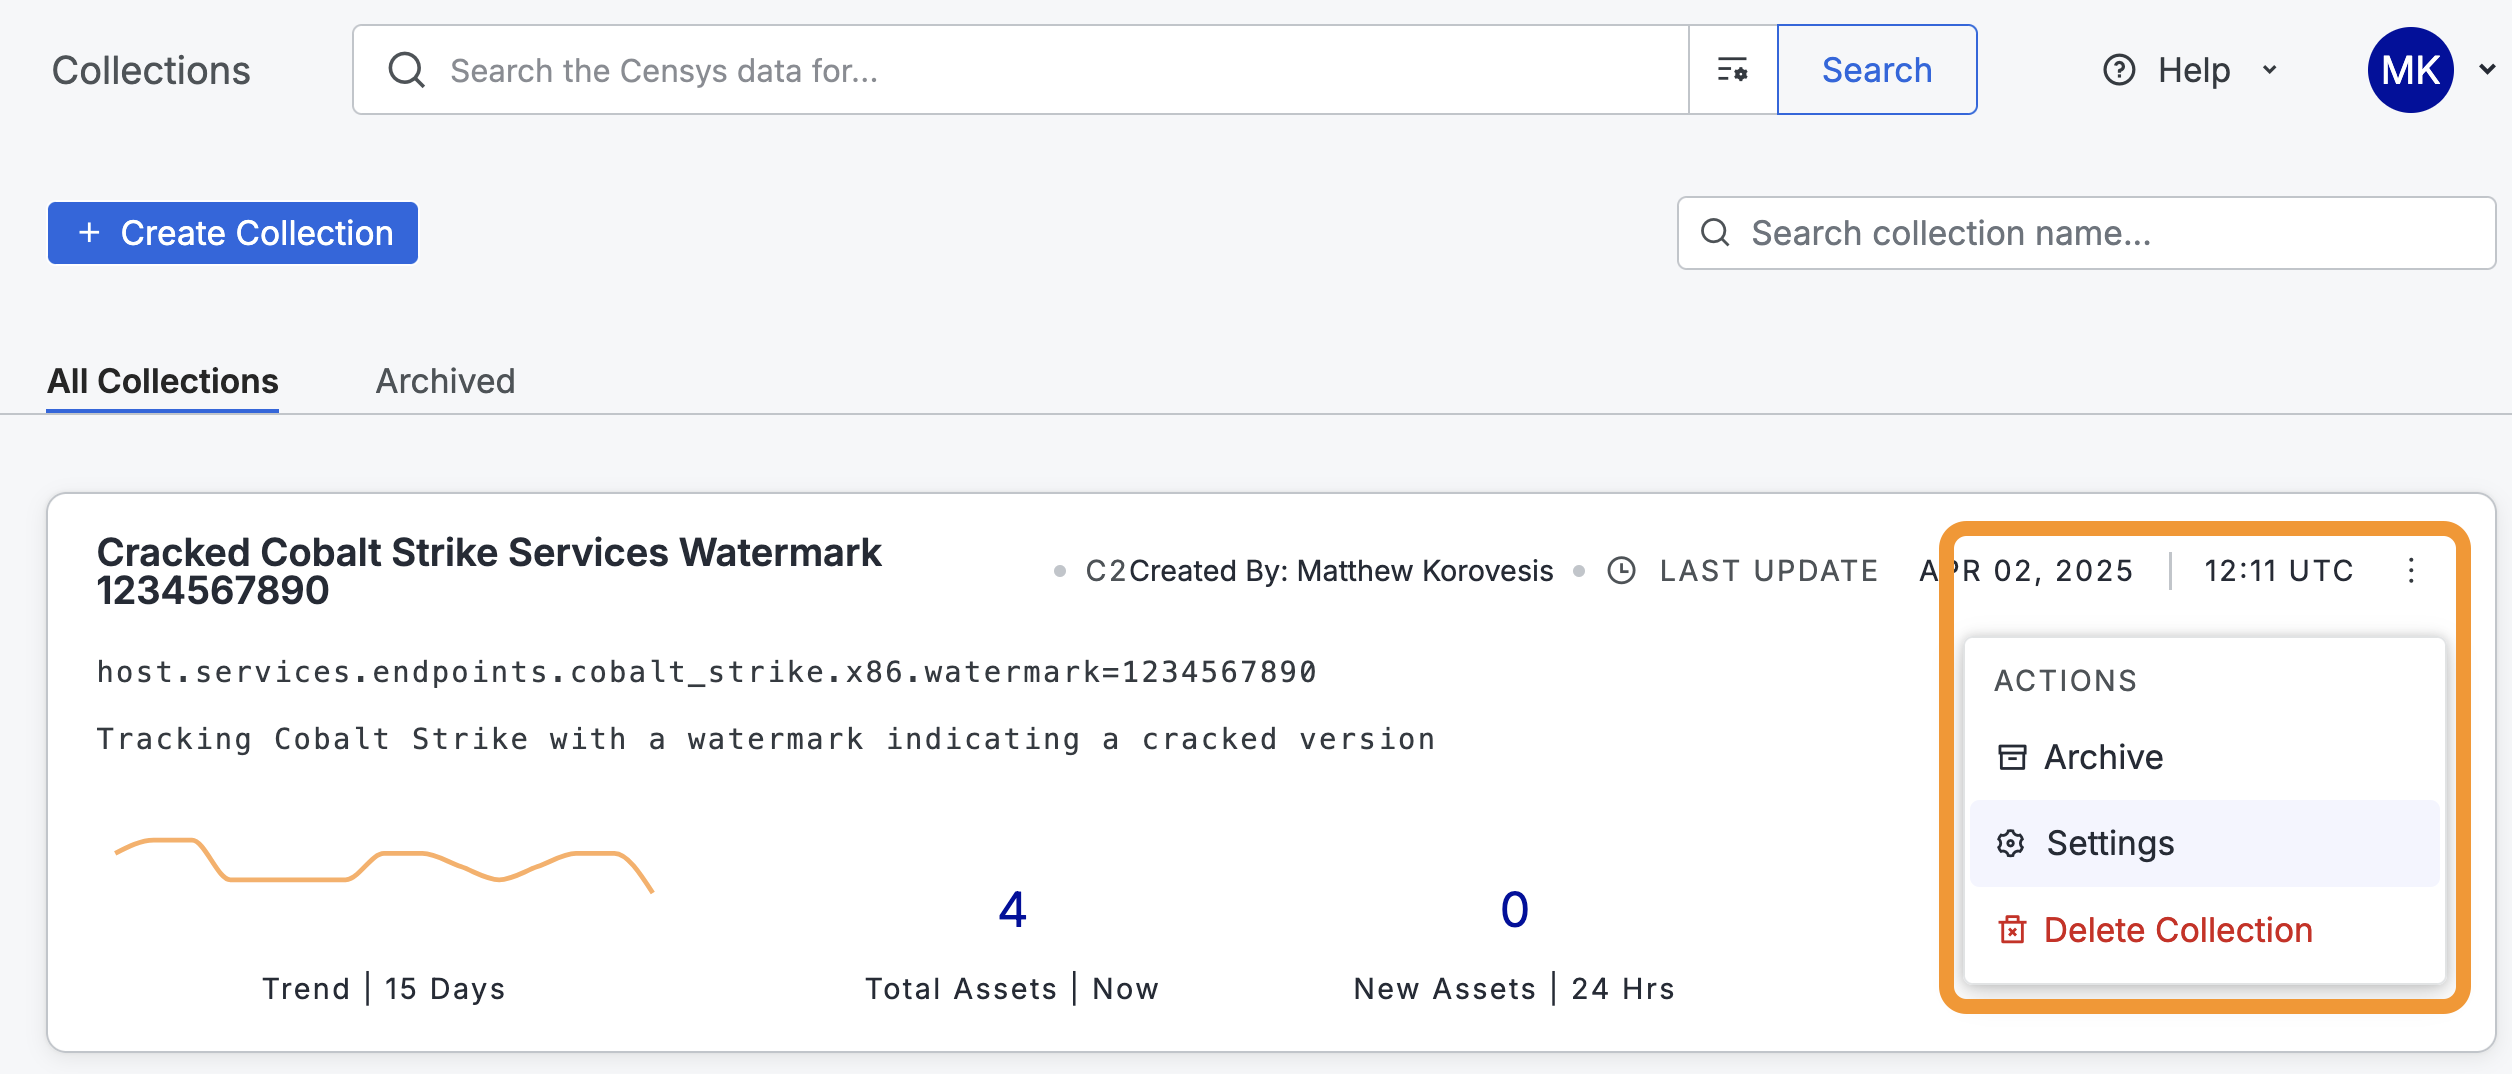
Go to Collections > All Collections.
-
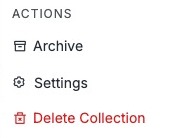
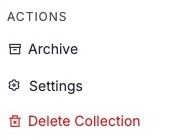
On the Collection Overview Card of the collection you want to update, click the three-dot icon and then select Settings.
-
Modify your desired settings and click Update.
Delete a collection
Follow the steps below to delete a collection.
-
Go to Collections > All Collections > select a collection to delete.
-
Click the three-dot menu to the right.
-
Review the warning prompt and select Yes, Delete it.
-
Select Delete Collection.
Webhooks
- Webhooks that support events from multiple collections remain. Events from the deleted collection are no longer sent to the destination
Archive a collection
Archive old or unused collections to reduce costs and keep your workspace focused on current projects.
When you archive a collection, all assets, history, webhooks, and alerts are removed, and no new assets can be added. Collection settings (query, collection description, collection category, and collaborators) are preserved, allowing you to reactivate the collection later. After reactivation, the collection will recollect assets and generate events. Archived collections no longer consume credits.
Prerequisites
Only admins and collection creators can archive collections.
Webhooks
- Webhooks supporting events from multiple collections remain. Events from the archived collection are no longer sent to the destination.
Archive a Collection
-
Go to Collections.
-
Click the three-dot icon on the right side of the collection card.
-
Select Archive.
-
Review the warning prompt and select Yes, Archive it.
-
After you archive your collection, the Archived tab appears next to All Collections. Your archived collection is listed under the Archived tab.
Reactivate an archived collection
- Go to Collections.
- Go to the Archived tab.
- Select the collection you want to reactivate and click the three-dot icon.
- Select Reactivate.
Updated 5 months ago