Atlassian Jira
Access Levels: Advanced | Enterprise
The Censys Attack Surface Management (ASM) integration with Atlassian Jira enables you to remediate exposures and risks in your attack surface rapidly. After you set up a connection between ASM and Jira, you can create tickets in Jira directly from assets in ASM.
Prerequisites
- You must have an active subscription to Atlassian Jira.
- You will need your Jira API token and hostname.
- This information is in your Jira profile, or you can follow Atlassian's documentation to create a new API token.
- An Admin must configure this integration in your Jira account.
NoteThe Jira tickets created via this integration will show your Jira username as the creator of the tickets.
Configure the integration in Censys ASM
-
Go to the ASM web console and click Integrations.
-
Locate Jira and click Set Up.
-
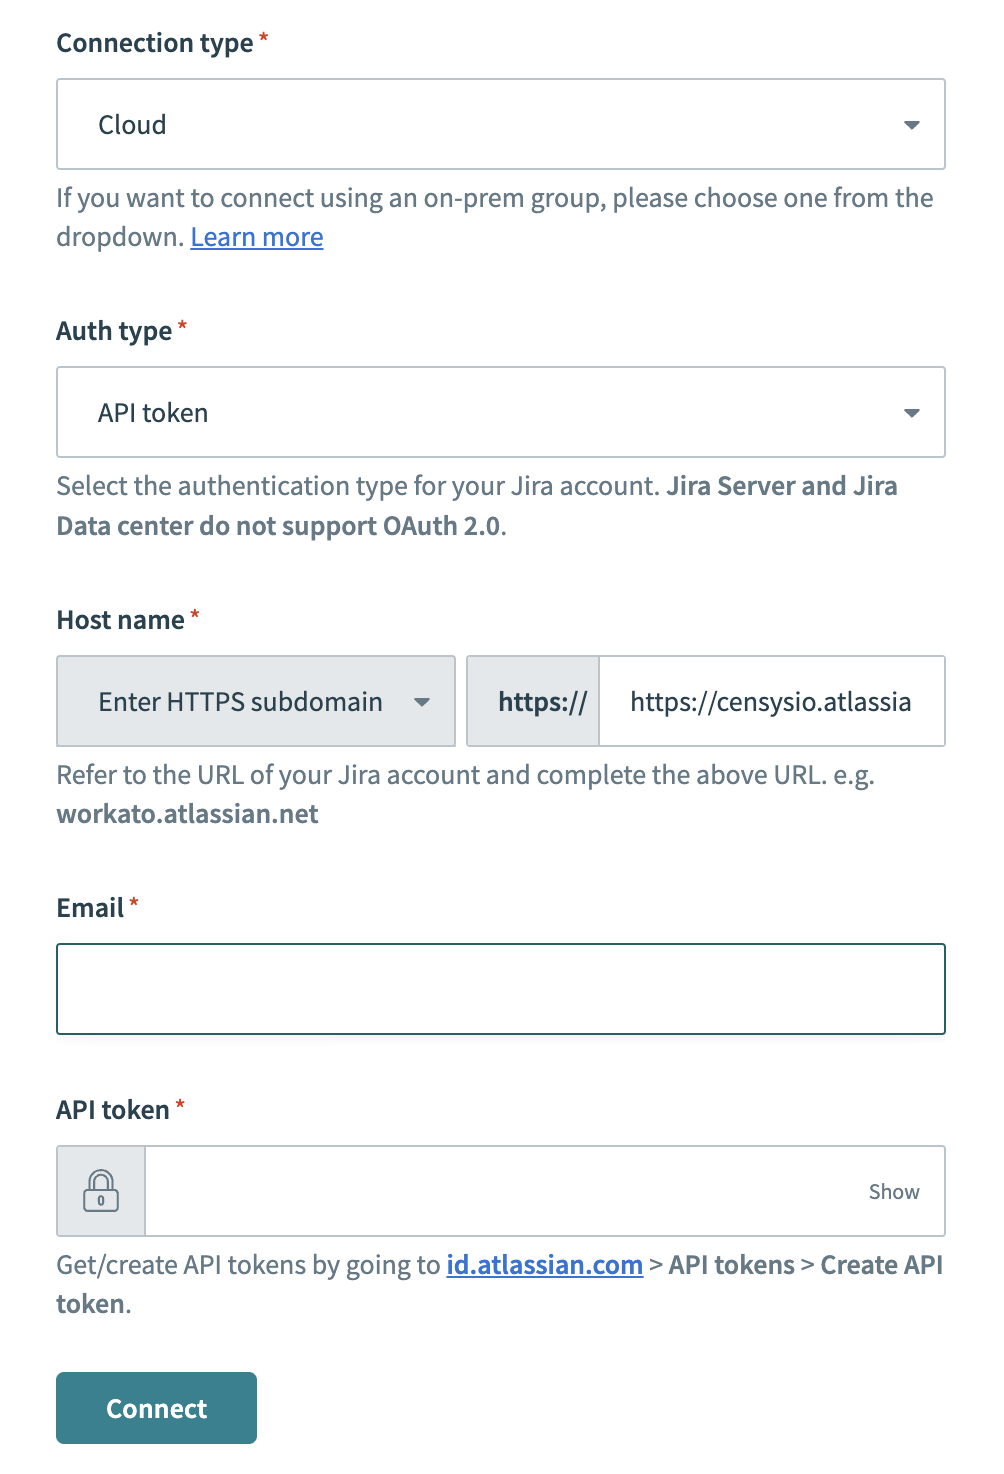
Configure the integration settings:
-
Connection type: Select Cloud.
-
Auth type: Select API token.
-
Host name: Enter the host name for your Jira account.
-
Email: Enter your admin email address for your Jira account.
-
API token: Enter your Jira API token.
-
-
At the bottom of the page, click Connect.
-
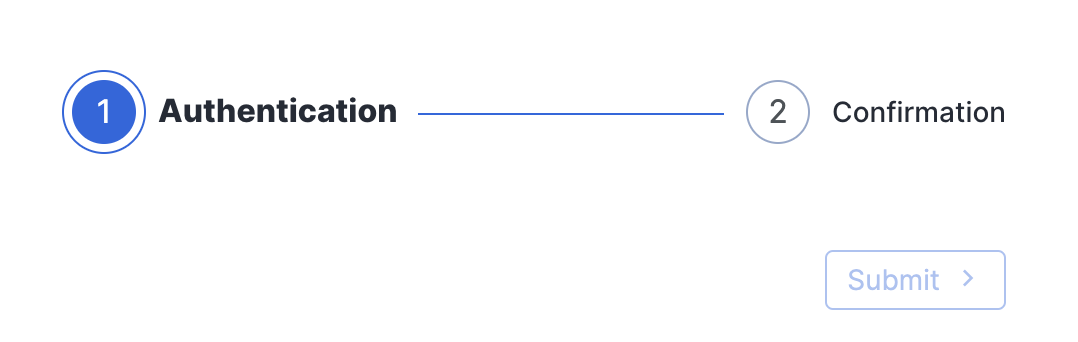
Above the configuration form, click Submit, then click Done.
Edit your Jira integration
If you need to make changes to your integration, follow the Configure the Jira integration in Censys steps above to go through the setup wizard again.
Create a Jira Ticket
-
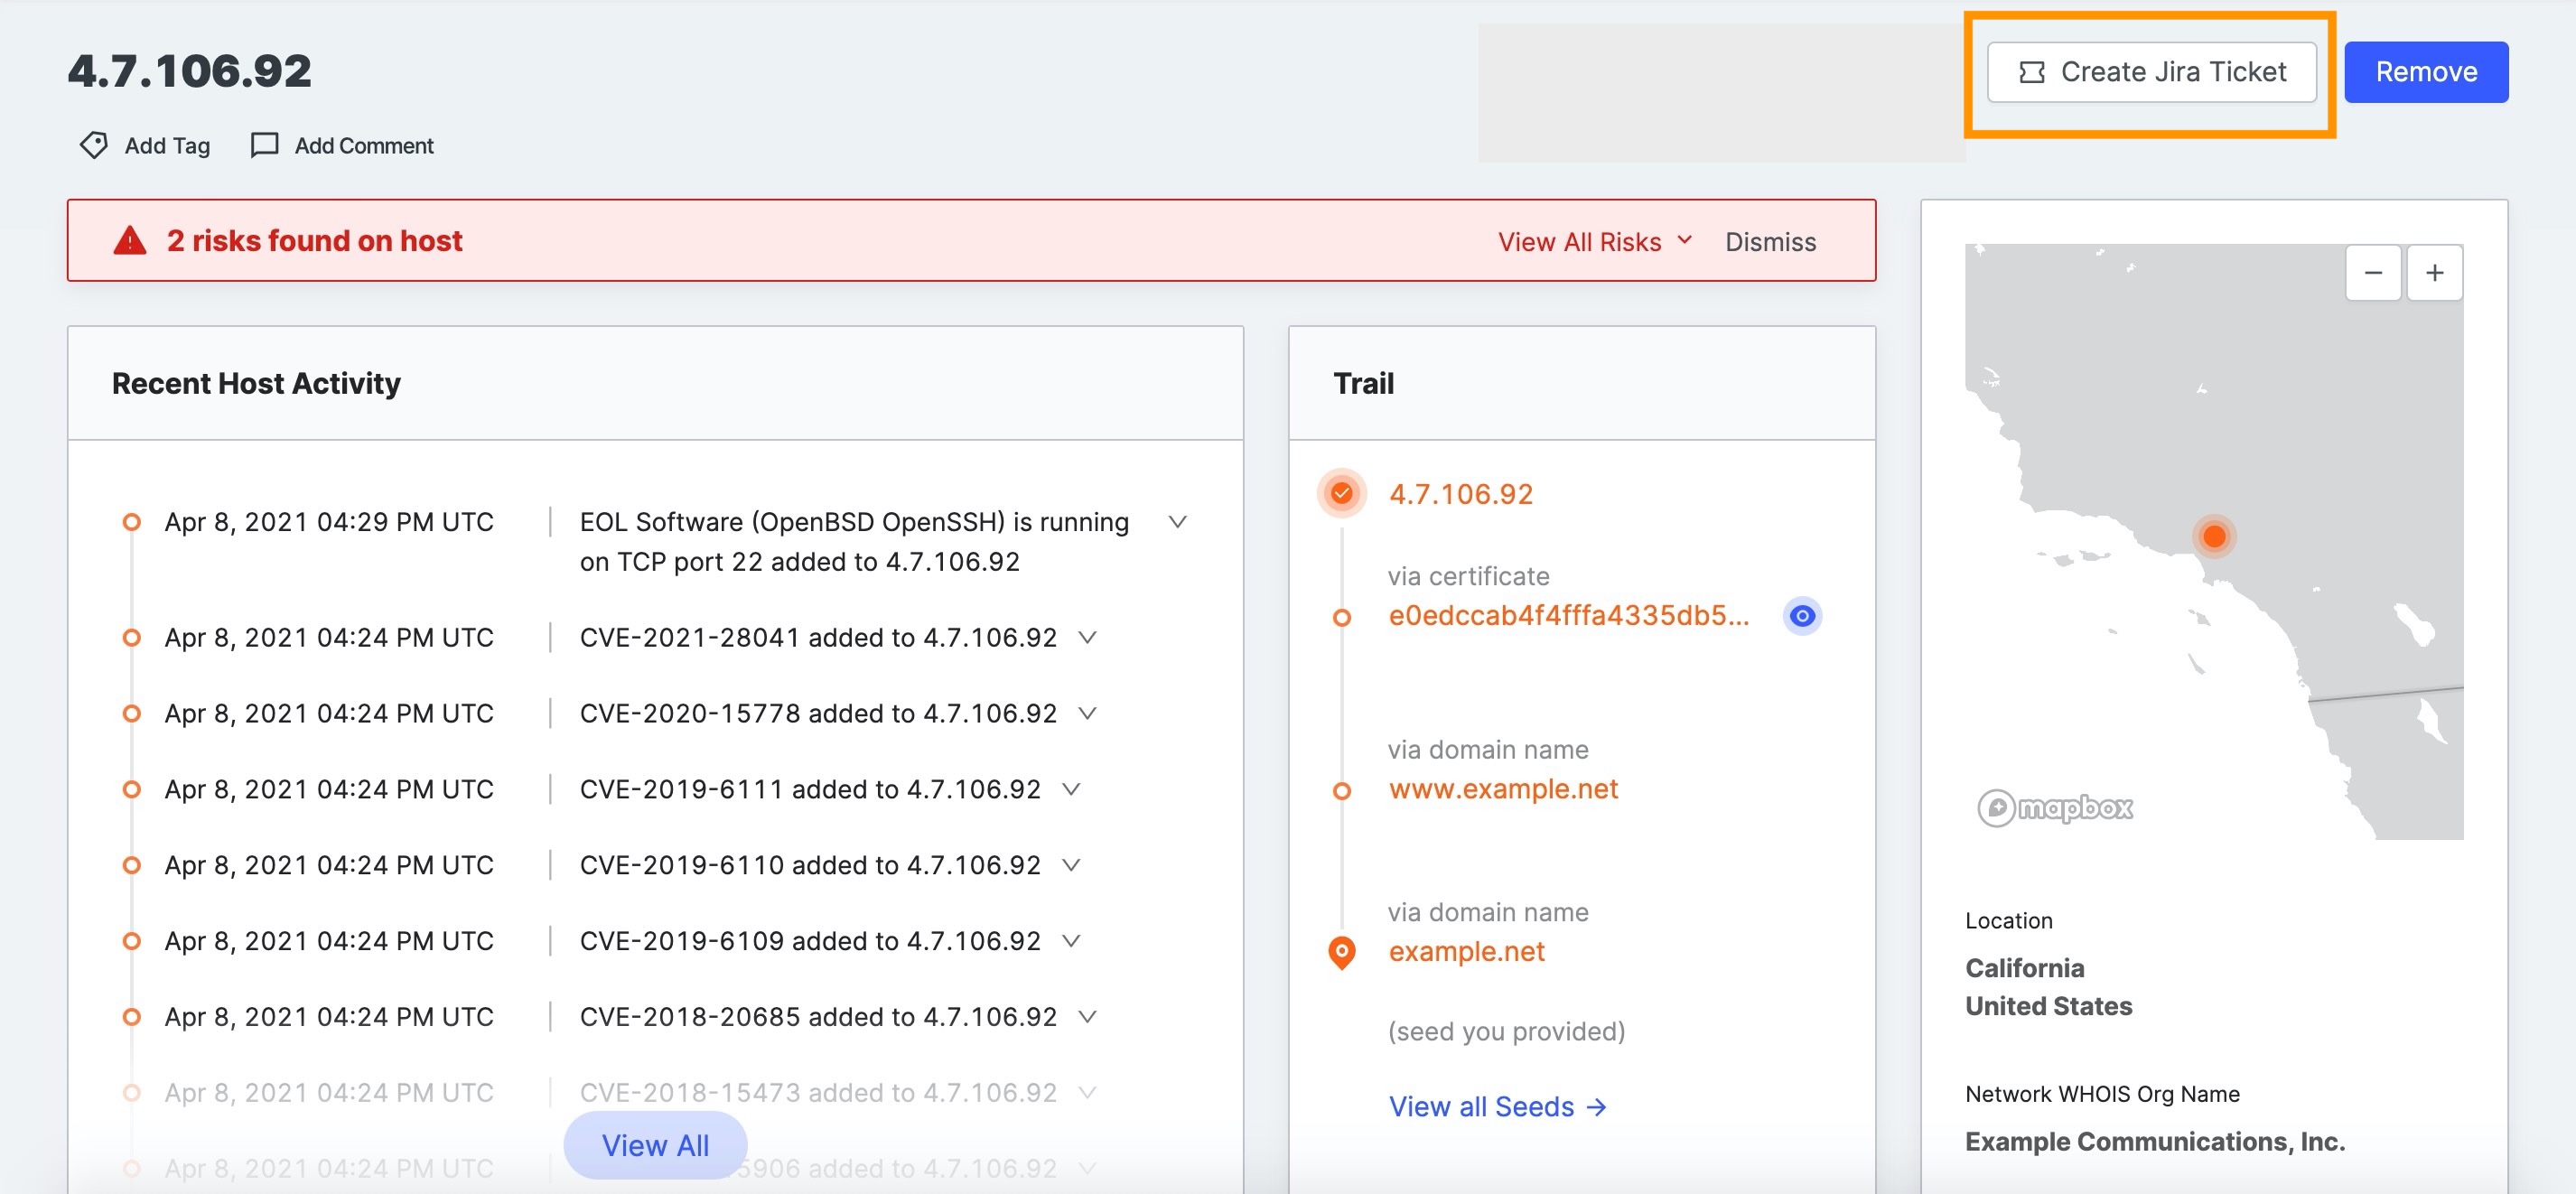
On the Inventory details page, click Create Jira Ticket.
-
Select the Censys information to include in the Jira ticket:
- Risks
- Asset overview information
- Asset trail (a list of associated assets that led to the discovery of this asset)
- Asset-specific data is also available for some asset types:
- Hosts
- Ports and protocols
- Software
- Certificates presented by host
- Certificates
- Certificate details
- Hosts presenting this certificate
- Names on the certificate
- Risks
-
Click Next.
-
On the next page, select the Jira project where you want the ticket filed, the type of ticket, and the reporter and assignee. The values you can set and the list of values shown are based on the permissions of the Jira account used for the integration.
-
Click Create Issue.