Enable and Configure SAML
Access Levels: Pro and above
Security Assertion Markup Language (SAML) for single sign-on (SSO) allows you to use an identity provider (IdP) to handle the authentication of team users.
This article walks you through the process to configure SAML authentication for Legacy Search, which is one part of a two-part process to configure SAML-based authentication for people on your Censys team. After completing this process, you must then finish setup in your IdP. Specific instructions are available for several common providers, including Microsoft AD FS, Azure Active Directory, Okta, and Ping Identity.
Enable SAML authentication in Legacy Search
-
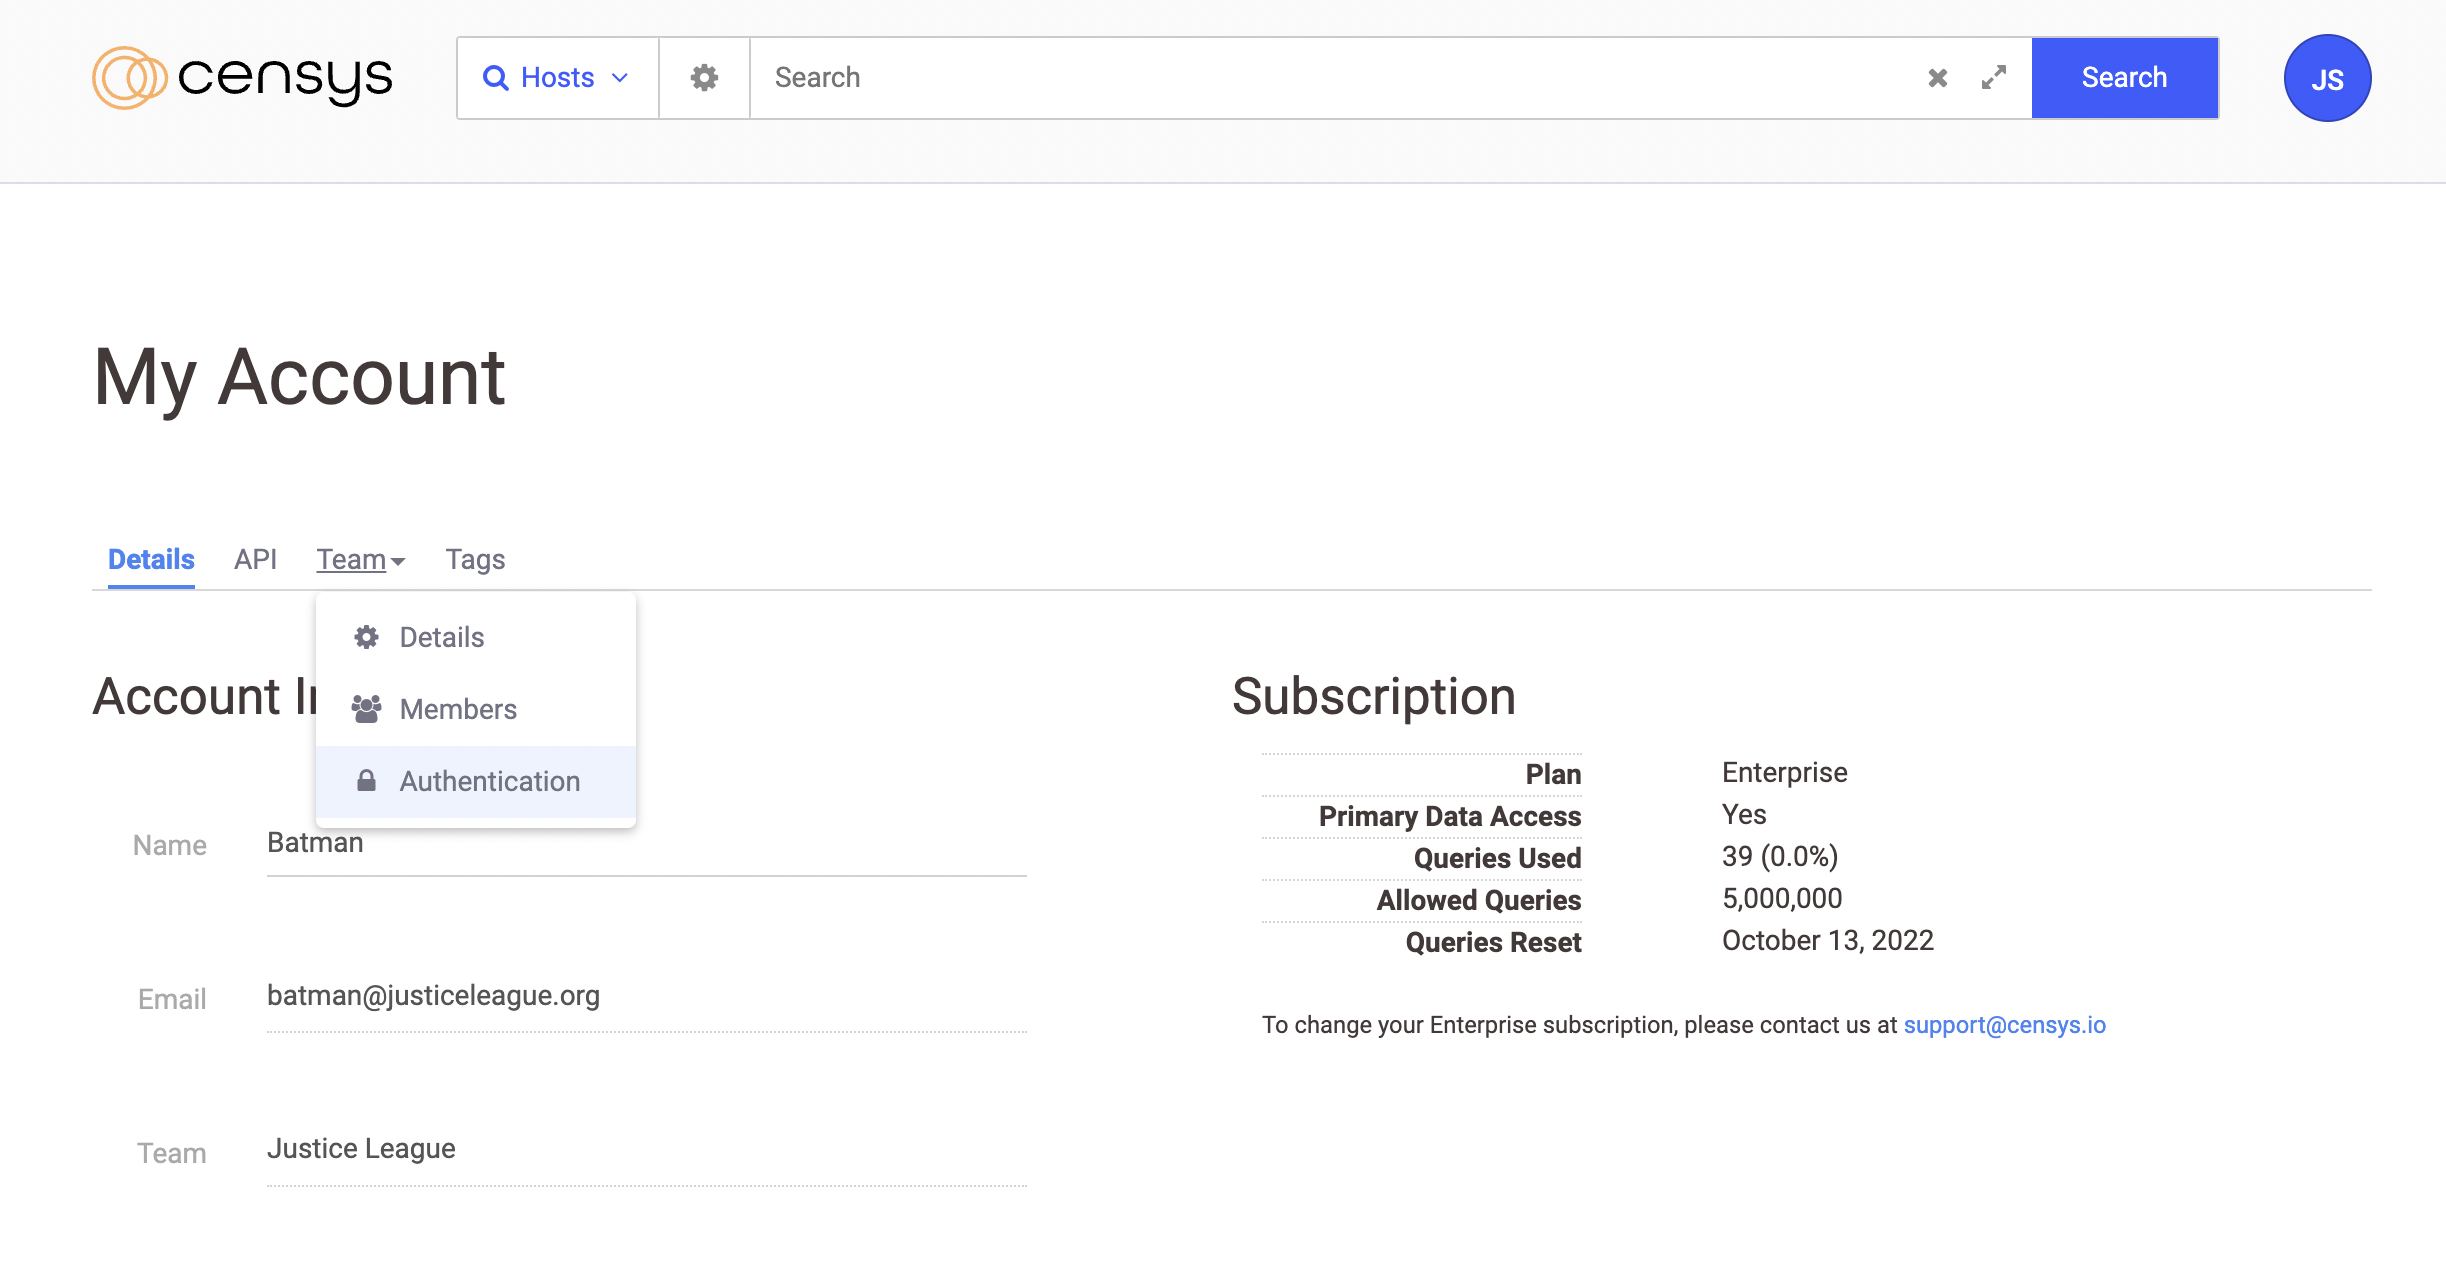
Navigate to the authentication configuration page. In the upper right, click My Account from the user list.
-
On the account page, click the Team tab and select Authentication from the menu.
-
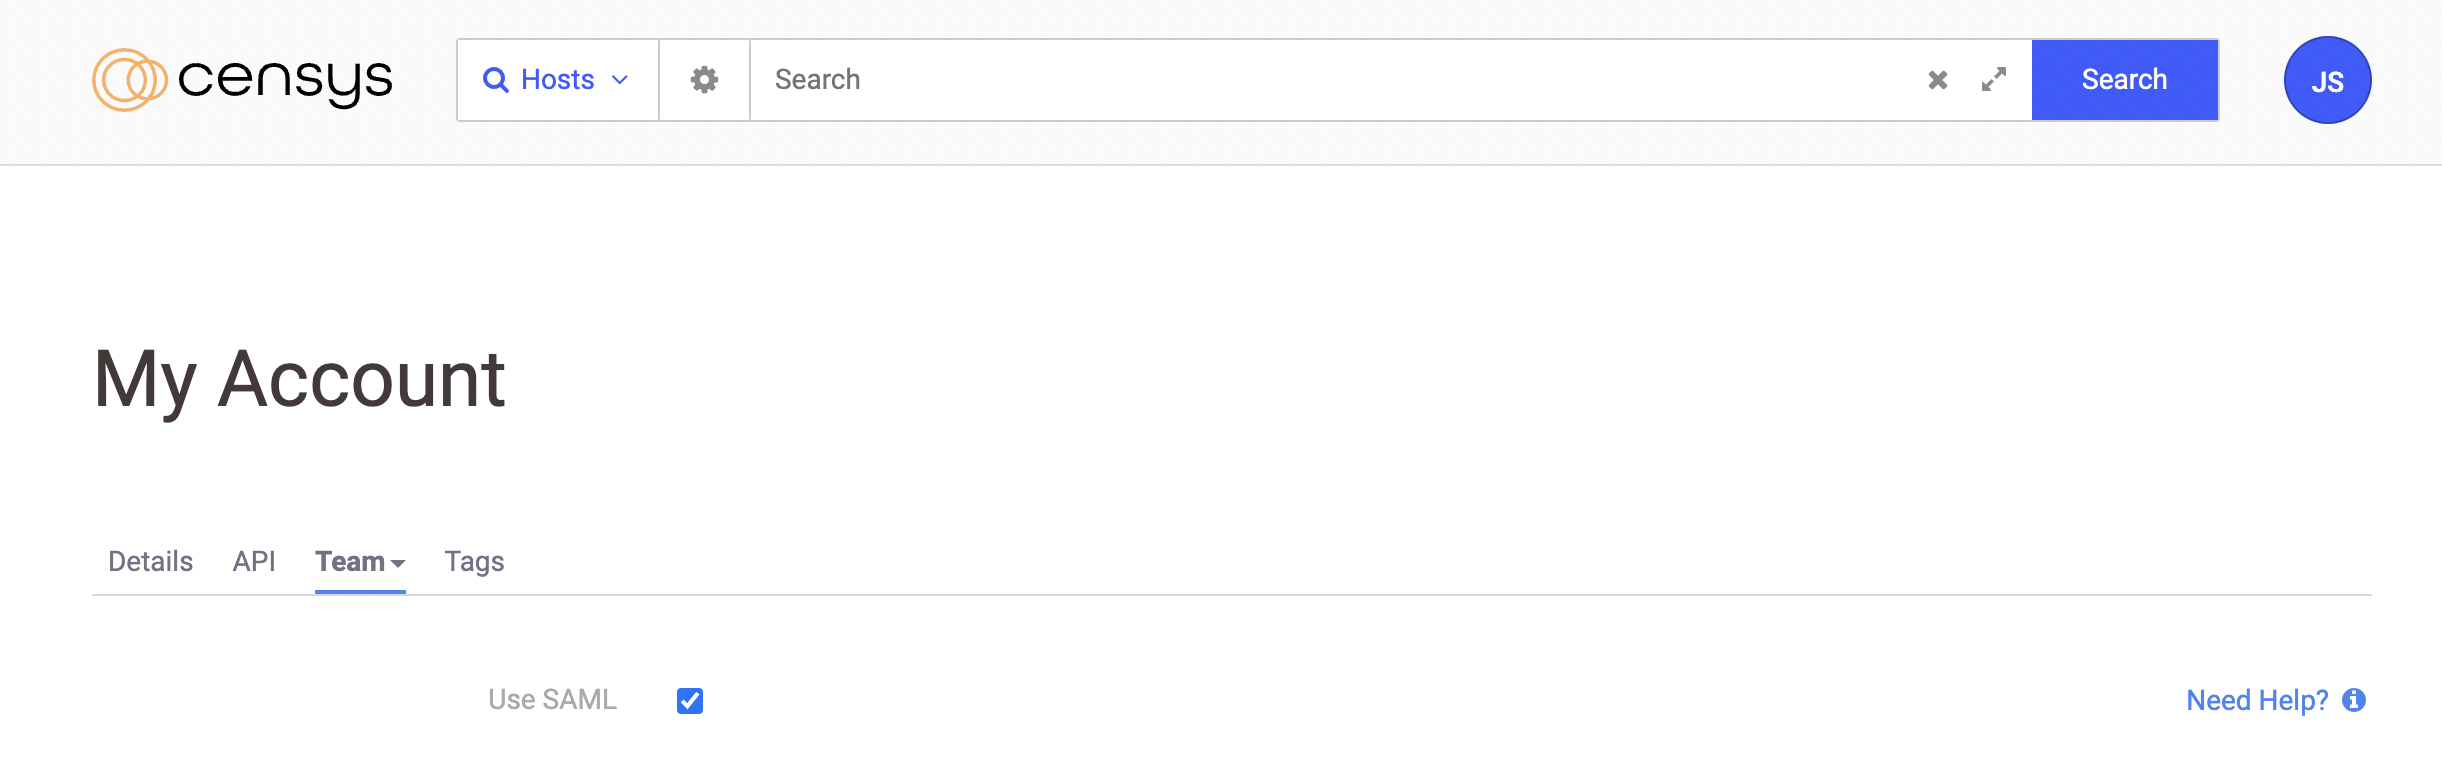
Click the Use SAML checkbox. Additional fields appear.
-
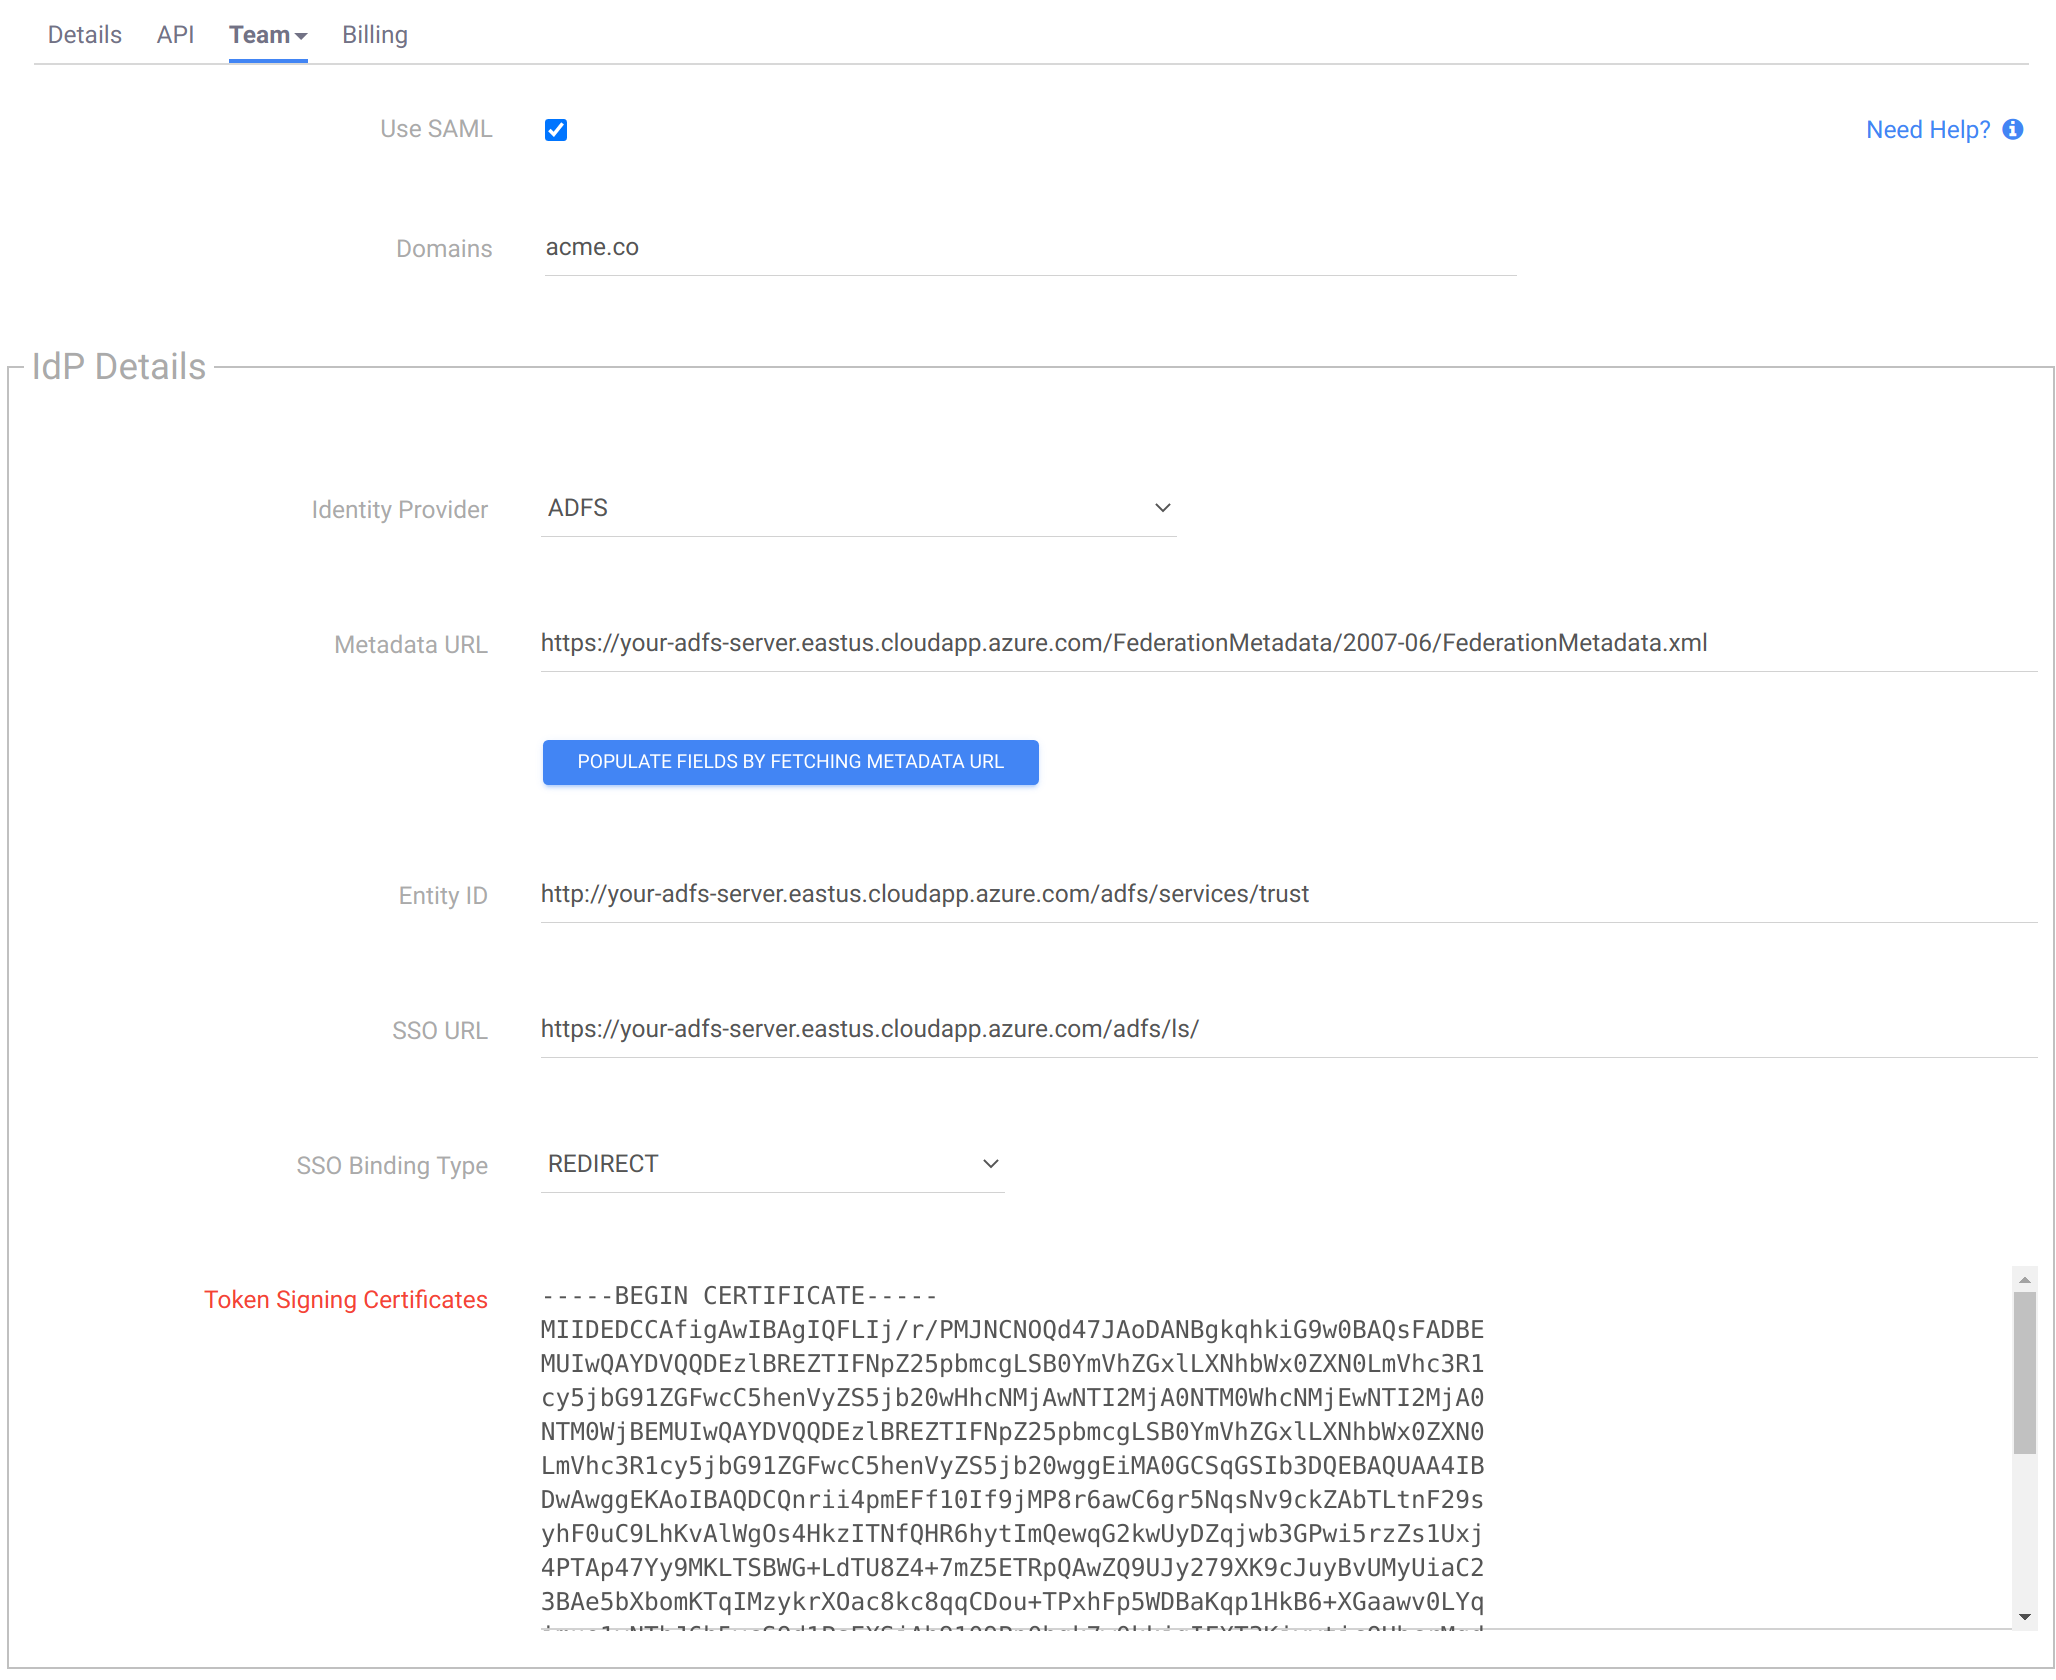
For the Domains field, enter a comma-separated list of email domains matching team member’s email addresses. Everyone who tries to log in with an email domain listed here is directed to your identity provider to authenticate.
-
Select your Identity Provider from the list. If your provider is not present in the list, click Other. Examples include Duo and Okta.
-
Fill in the remaining fields based on information from your identity provider. If your identity provider provides one, paste the Metadata URL and click the button to populate the remaining fields automatically.
-
Select the Sign Authentication Requests checkbox and click Save.
Legacy Search is now configured to use your IdP to authenticate your team's users. Next, configure your IdP to complete setup using the information provided in the SP Details section.
