ServiceNow CMDB
You can integrate Censys Attack Surface Management (ASM) with ServiceNow Configuration Management Database (CMDB) to automatically sync your Censys asset inventory with ServiceNow.
This integration enables you to:
- Automatically sync your Censys asset inventory, including hosts, web entities, storage buckets, certificates, and domains to CMDB CI tables.
- Automatically sync Censys asset attributes like tags, labels, and location to CMDB CI tables.
- Filter ingestion to CMDB by Censys tag and source fields.
- Customize your integration sync frequency.
Prerequisites
- An active subscription to an Enterprise License of Censys Attack Surface Management.
- A ServiceNow license that includes ServiceNow CMDB.
- Your ASM API key.
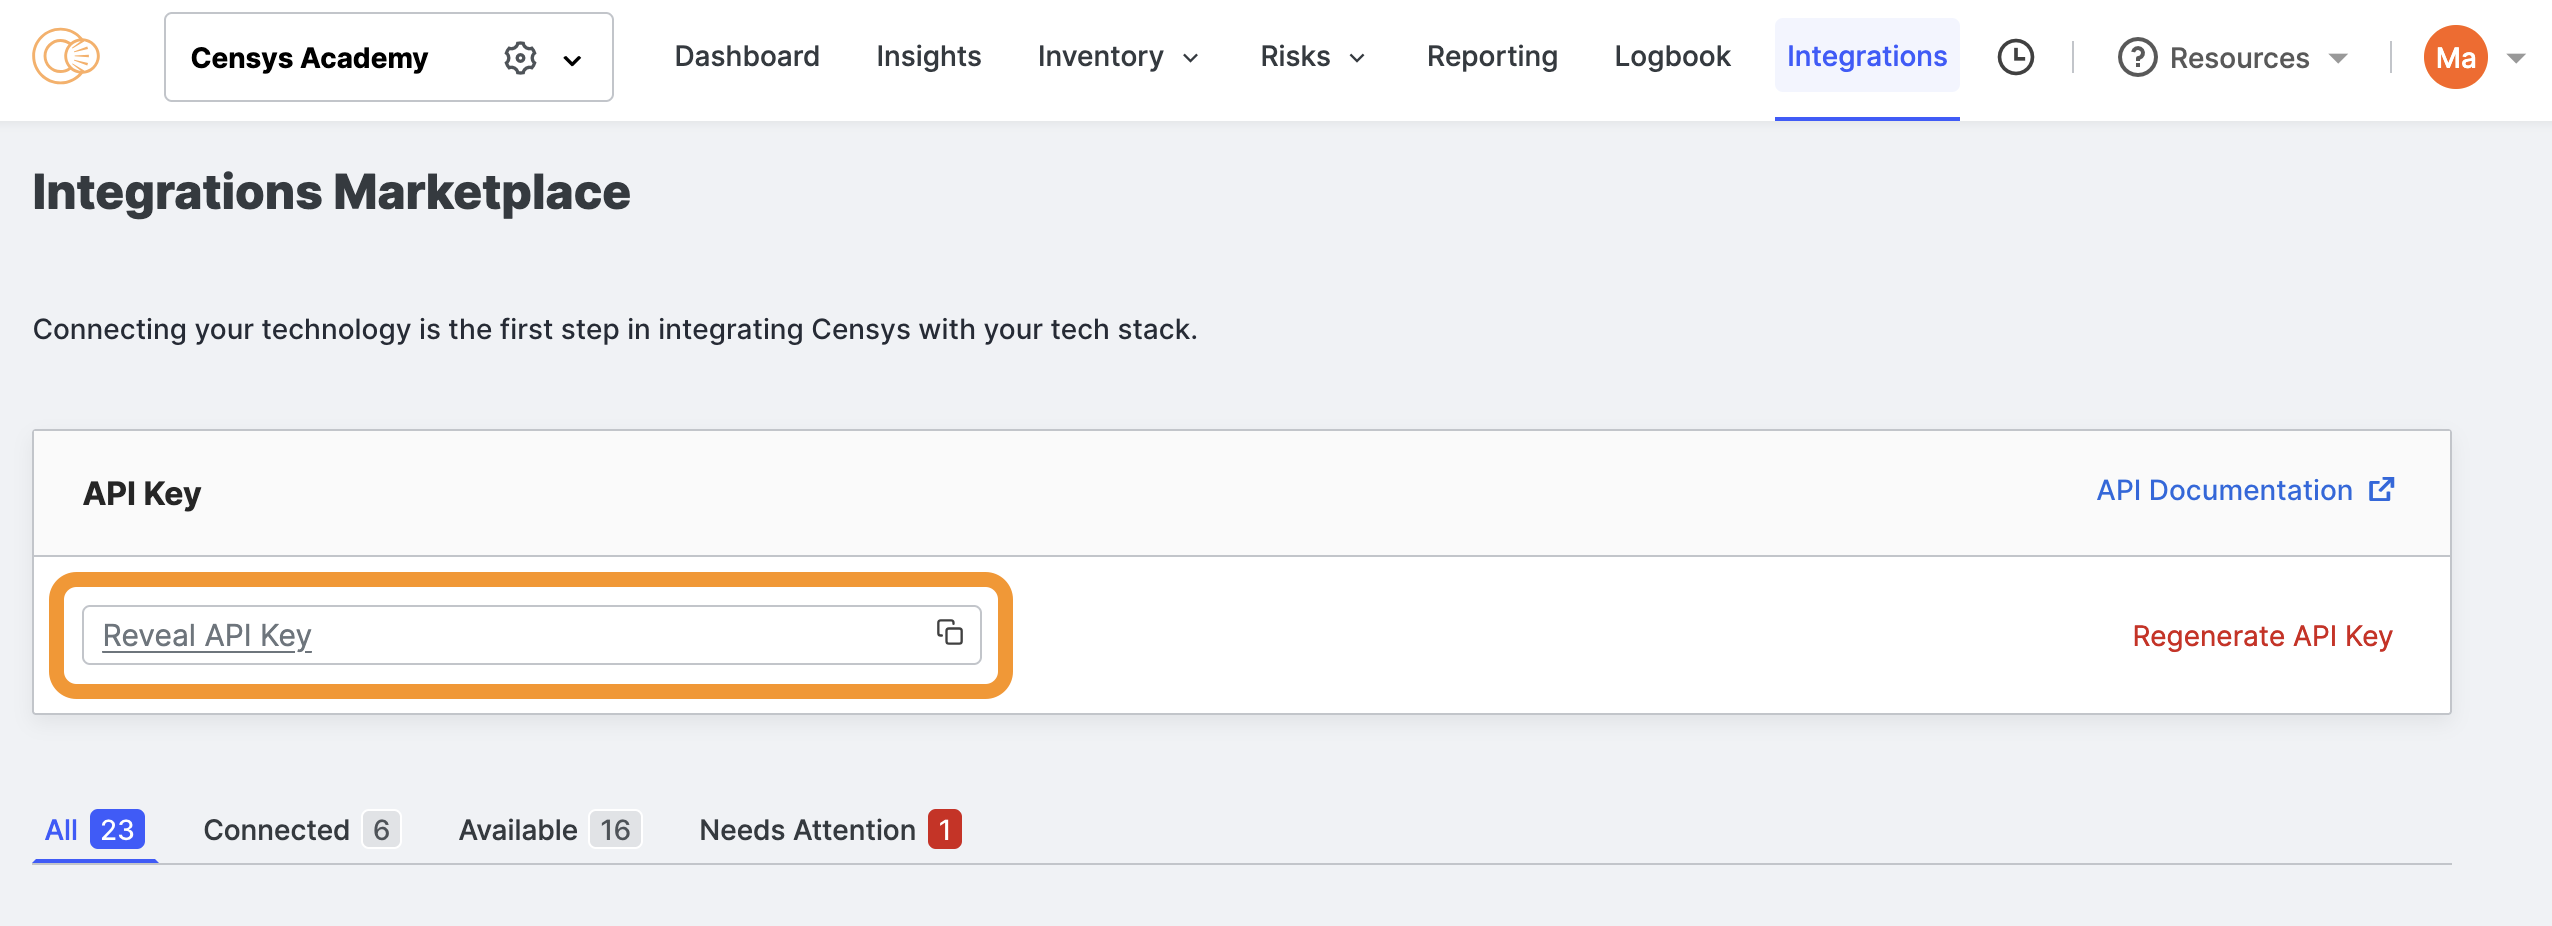
-
Your API key is available at the top of the Integrations page in the ASM web console.
-
- Your ASM workspace ID.
-
To retrieve your workspace ID, log in to the ASM web console, then click the gear icon next to your workspace at the top of the page.

- Your workspace ID will be provided in the URL after
https://app.censys.io/workspace/edit/
- Your workspace ID will be provided in the URL after
-
Obtain the Censys app from the ServiceNow store
- Log in to the ServiceNow store and go to the page for the Censys ASM to CMDB integration.
- Click Get.
- Your request will be vetted and approved by the Censys team. When you are approved, you will receive an email.
Install and configure the app in ServiceNow
-
Log in to the ServiceNow dashboard as an admin. Go to the Application Manager.
-
Find and select the Censys ASM for CMDB app.
-
Click Install.
-
Refresh the ServiceNow dashboard.
-
In the ServiceNow All search bar, search for Censys ASM CMDB Integration to confirm the app was installed.
-
In the All search bar, go to IntegrationHub > Connections & Credentials > Connection & Credential Aliases.
-
Select Censys ASM CMDB Integration Connection.
-
Under Connections, select Censys ASM API Connection.
-
Under Attributes in the Workspace ID field, enter your workspace ID.
-
Next to the Credential field, click the magnifying glass icon.
-
In the pop-up, click the New button.
-
Select Custom Header API Key Credential.
- In the Name field, enter a recognizable label for your API key.
- In the Header Name field, enter
Censys-Api-Key - In the API Key field, enter your Censys API key.
- Keep Authorization Algorithm set to its default configuration.
-
Back on the Connection menu, select your new Censys ASM API Key credential.

-
In the top menu bar, click the globe icon. Click Application Scope, then select Censys ASM CMDB Integration.
-
In the All search bar, go to Censys ASM CMDB Integration > Admin > Scheduled Import.
-
Select Censys ASM CMDB Integration - Daily.
- On this page, you can modify when ASM sends data to CMDB. If you do not want to modify the schedule, leave the settings to their default values.
-
Check the Active box.
-
In the top left corner of the page, open the Additional actions menu and click Save. Alternatively, in the top right corner of the page, click Execute Now.
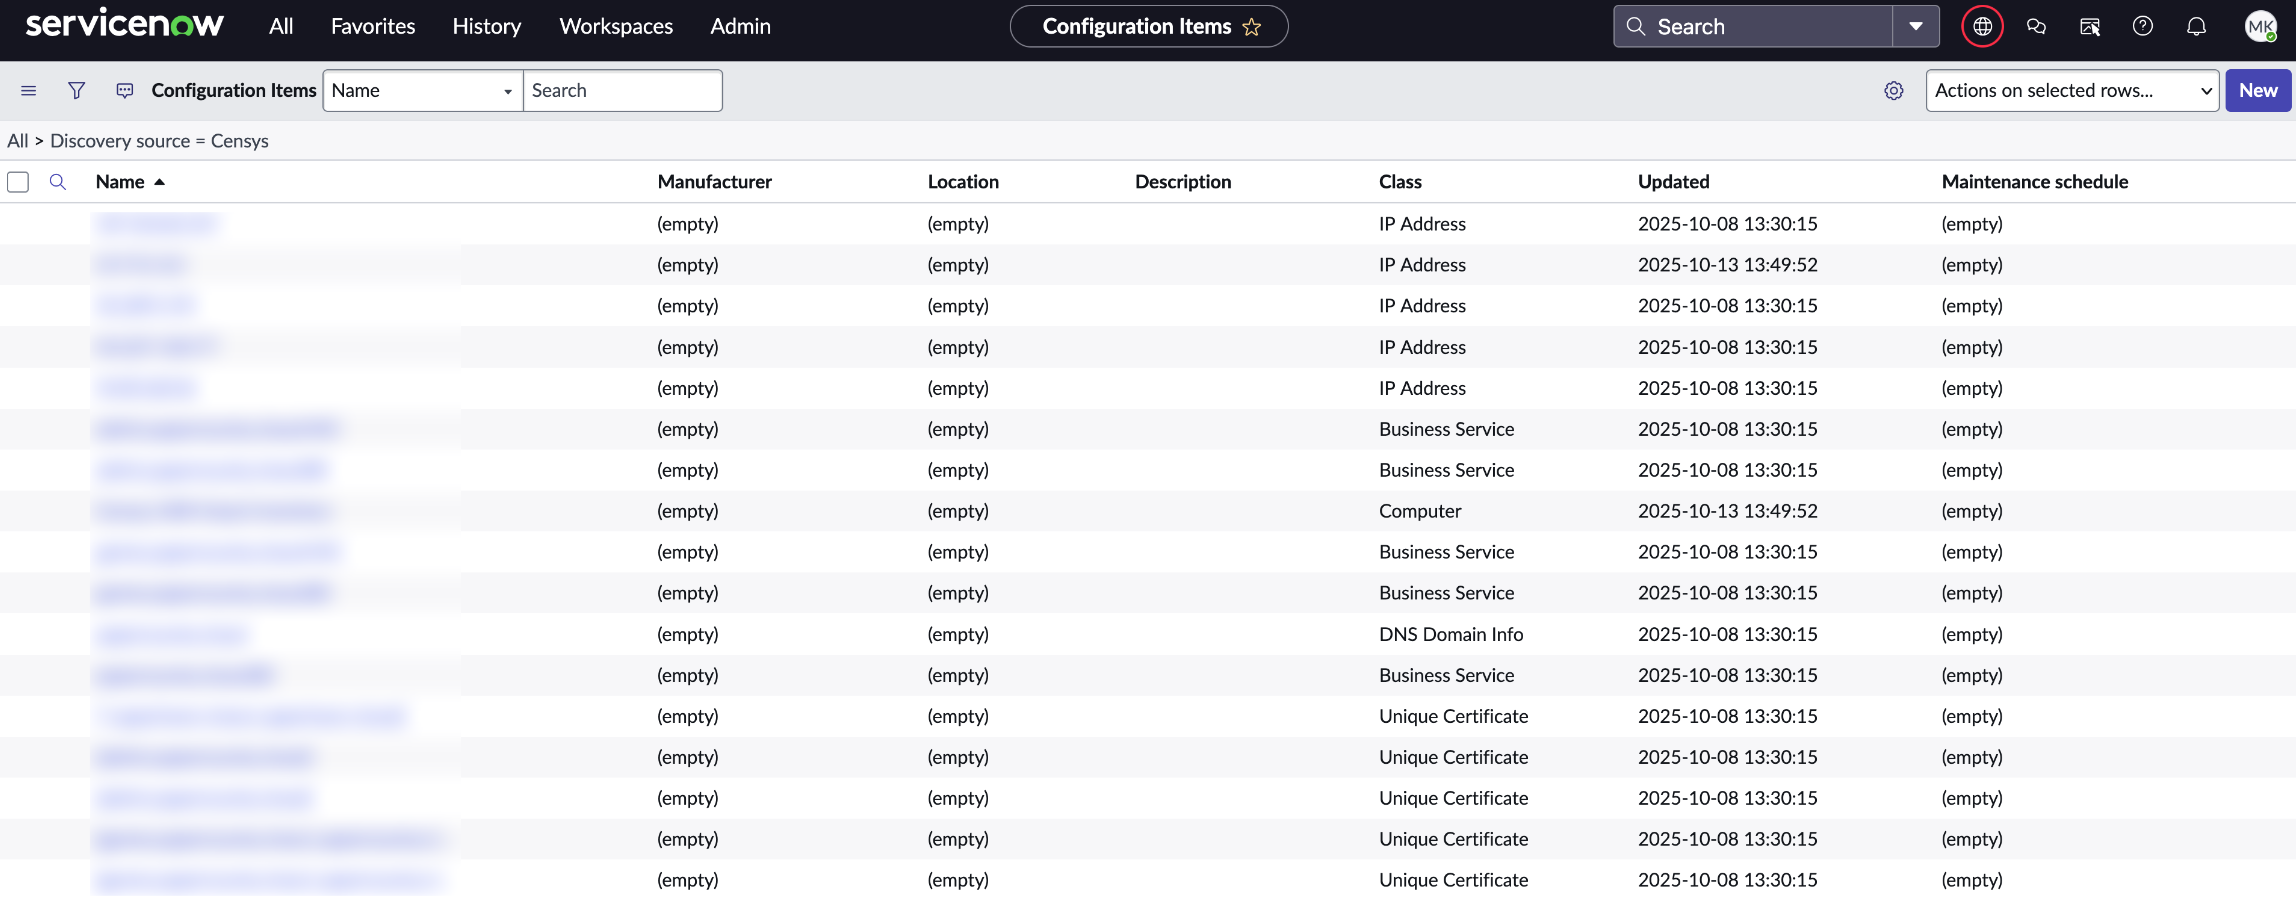
View assets imported from ASM
Data from your Censys ASM workspace will be present in CMDB after you execute a data import or after the first data import runs. You can see data from Censys ASM in Censys ASM CMDB Integration > Configuration Item > All.
View and modify data mapping
By default, ASM assets are mapped to CMDB items as shown in the table below.
| ASM asset | CMDB item |
|---|---|
| Host | IP Address |
| Certificate | Unique Certificate |
| Domain | DNS Domain Info |
| Web Entity | Business Service |
| Storage Bucket | Storage Pool |
You may modify which items in CMDB that ASM data maps to using the following process. Note that this process is optional and you can use the default settings if you prefer.
- While within the Censys ASM CMDB Integration application scope, go to Configuration > IntegrationHub ETL.
- Select CMDB Application: Censys ASM CMDB Integration > Censys ASM Integration with ServiceNow CMDB.
- Select Map Data to CMDB and Add Relationships > Select CMDB Classes to Map Source Data.
- Make your desired changes.