Configure Risks
One of the primary objectives of the Censys Attack Surface Management (ASM) platform is to shrink your organization’s attack surface area. To accomplish this, ASM identifies risks to draw your attention to vulnerable places in your internet-facing infrastructure.
Start by tuning risk default settings to fit your organization’s needs. Then, investigate and remediate risks in your network to improve your security posture.
Configure risk types
ASM maps and monitors your attack surface and detects more than 450 different risk types.
You can set each type’s default severity to fit your security policies and investigative priorities. You can disable a risk type if you don't want ASM to detect any instances of it.
NoteNot all risks are enabled by default because not all customers want all risk types enabled. Review the risk types and decide what's right for your organization and your environment.
By default, the following risk types are disabled:
Risk types disabled by default
- Exposed AlienVault Secret
- Exposed CloudFlare API Token
- Exposed CloudPlan Secret
- Exposed Confluent Secret
- Exposed GitLab API Token
- Exposed IBM Cloud User Key
- Exposed LaunchDarkly API Access Token
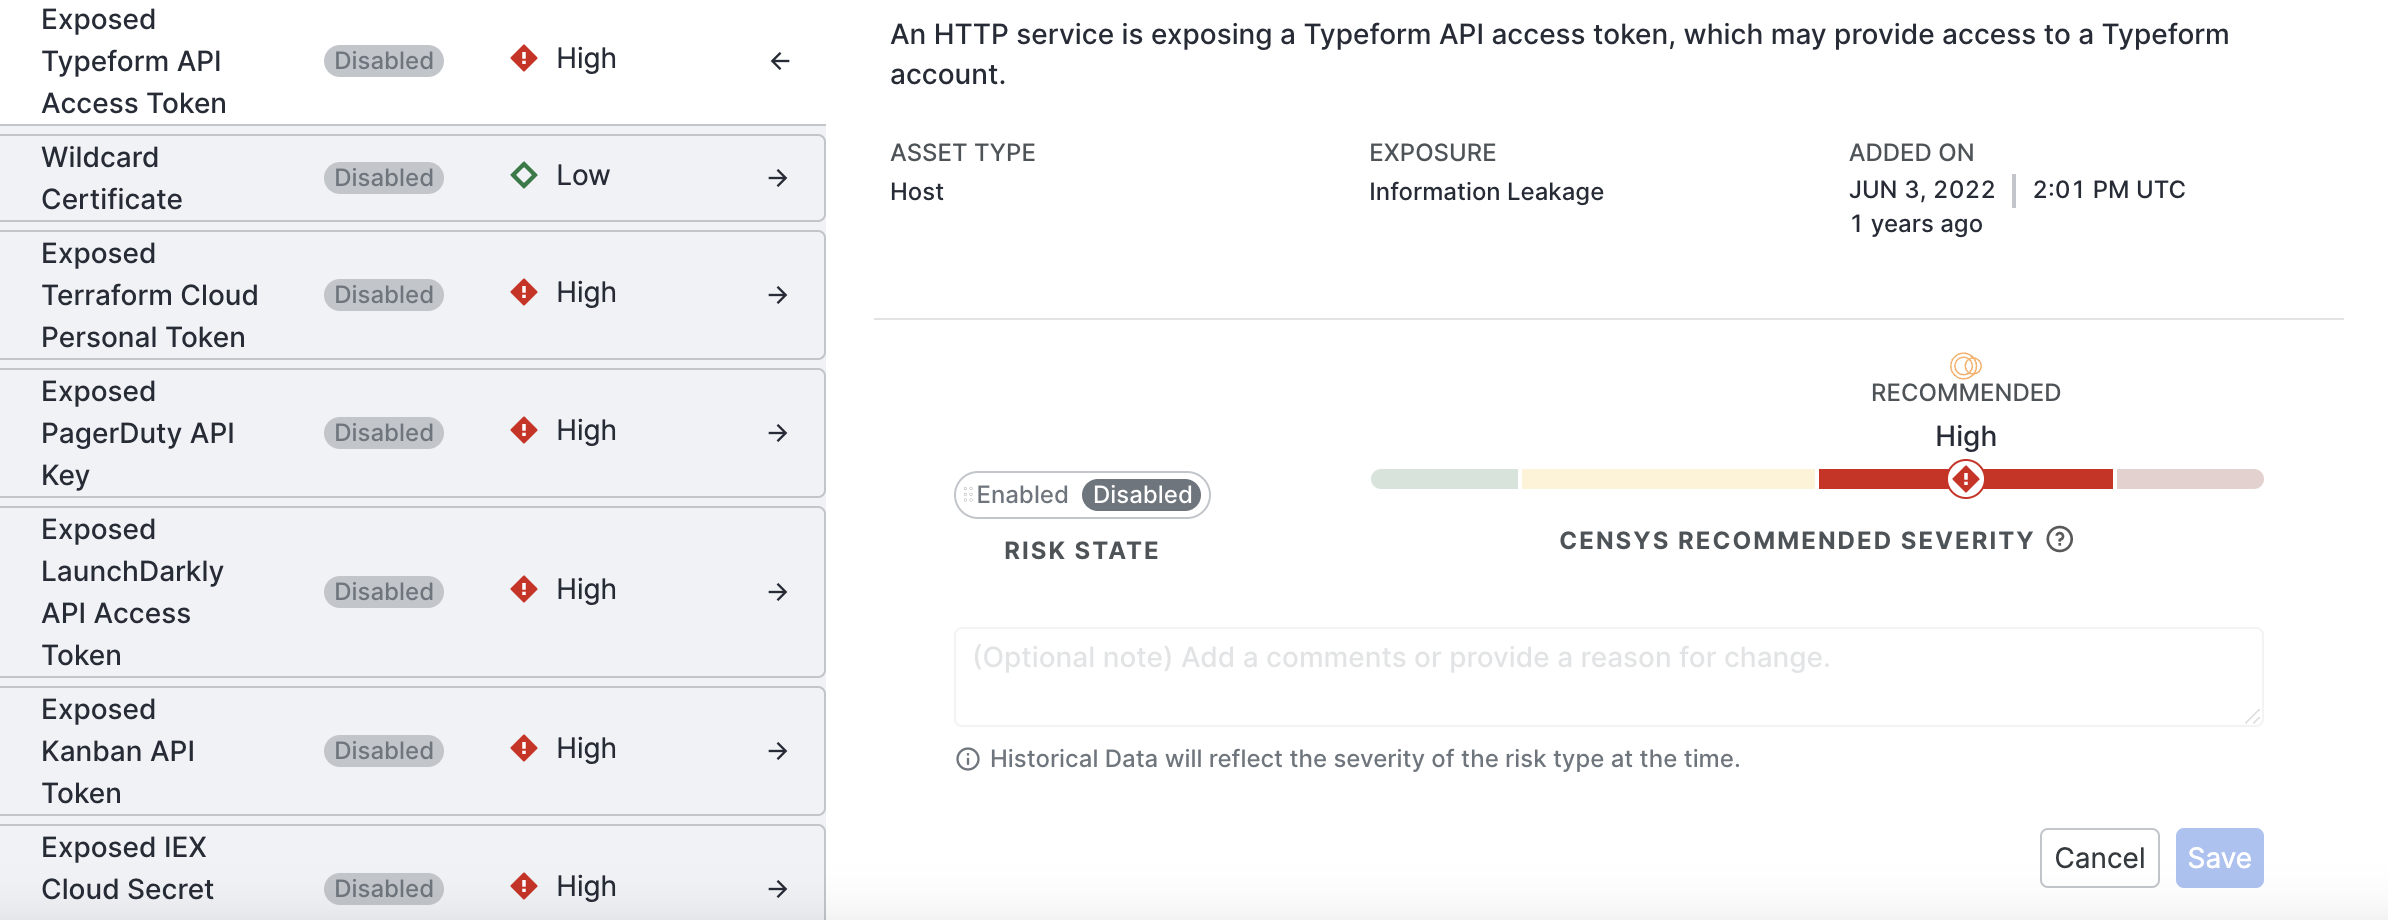
- Exposed Typeform API Access Token
- Exposed Azure Client ID or Tenant ID
- Exposed CloudFlare Global API Key
- Exposed CoinAPI Secret
- Exposed DigitalOcean Secret Token
- Exposed Heroku Secret
- Exposed IEX Cloud Secret API Token
- Exposed PagerDuty API Key
- Host Not Present in VM Solution
- Exposed CarbonInterface Secret
- Exposed CloudImage Secret
- Exposed Coinbase Secret
- Exposed Fastly Personal Token
- Exposed Hubspot API Key
- Exposed Kanban API Token
- Exposed Terraform Cloud Personal Token
- Wildcard Certificate
NoteYou cannot create a new risk type. However, you can show or hide existing risk types to identify the risk types your organization cares about most. You can also change the risk type severity level to better suit your environment.
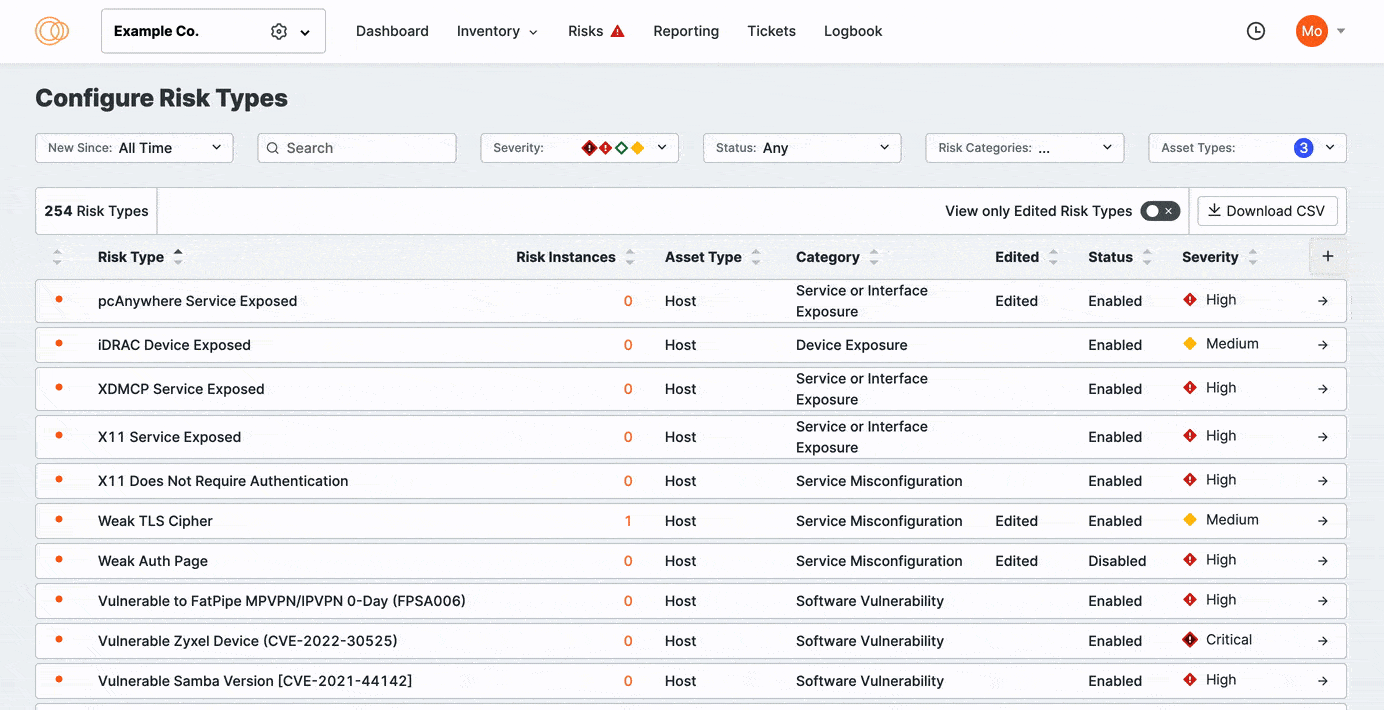
View risk types
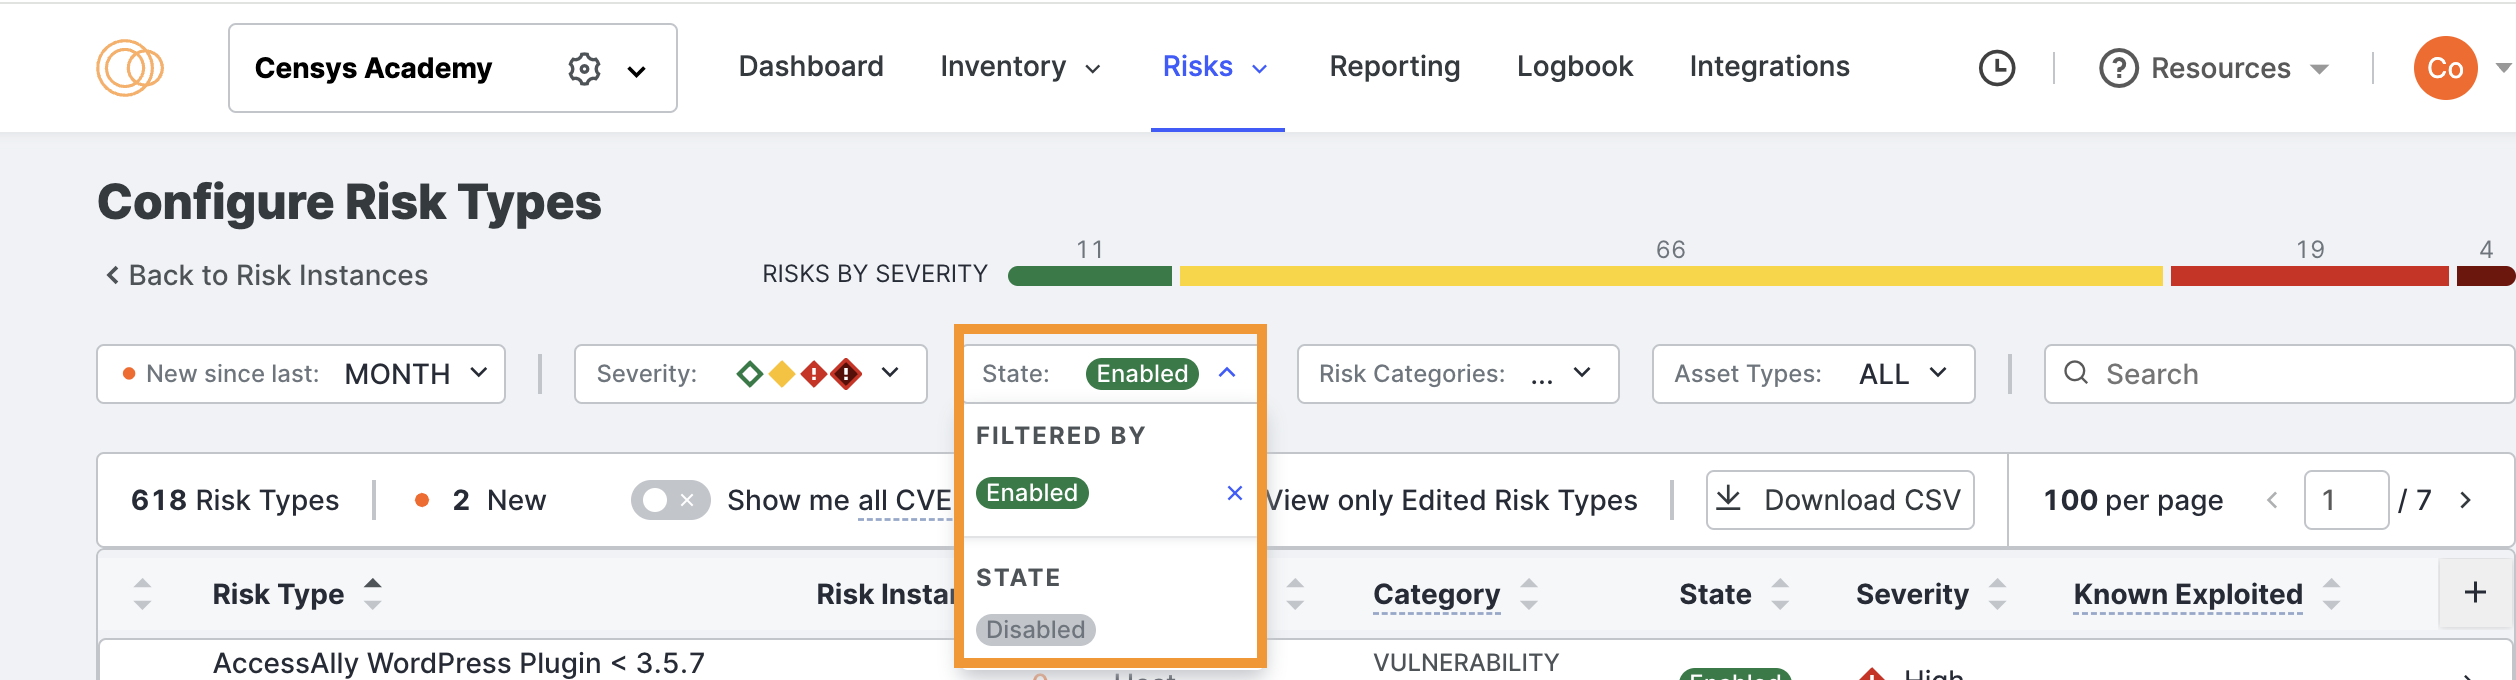
- Go to the ASM web console and click Risks > Configure Risk Types. Here, you can view all risk types that Censys Attack Surface Management detects.
Enable and disable risk types
To enable or disable risk types, first filter the risks to view all currently enabled and disabled risks.
Enable disabled risks
-
From the State dropdown, select Disabled.
-
Scroll the list and find a risk type you want to enable for your environment.
-
Click the risk type. The risk type opens.
-
Perform the following:
- Click Enabled.
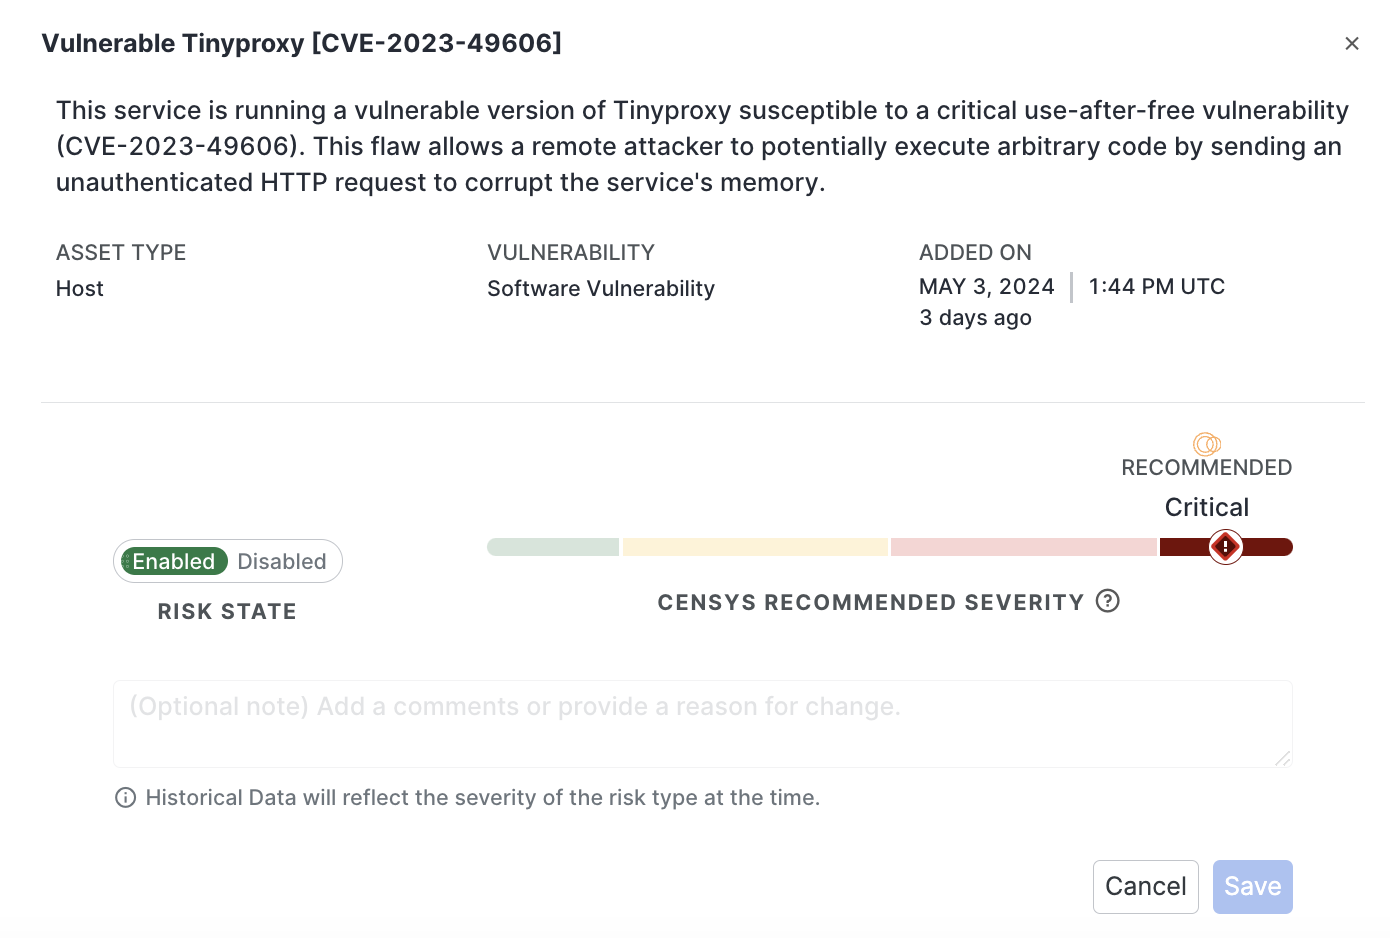
- If needed, use the slider to change the Censys Recommended Severity to suit your organization's needs better.
- Critical: Indicates a severe risk that may result in compromise of the affected system or interruption of business objectives. Remediate critical risks as soon as possible.
- High: Indicates a risk that can result in remote code execution or sensitive information disclosure. Prioritize high risks when creating a risk remediation roadmap.
- Medium: Indicates a risk that can be exploited in combination with other vulnerabilities to perform an attack. Treat medium risks as a standard priority on a risk roadmap.
- Low: Indicates a vulnerability that can provide an attacker with some information about or access to the affected system. Deal with low risks at the lowest priority.
- Make an optional note. It is helpful to note what changed and for what reason for future reference. Comments are visibile in the Change History for the selected risk type.
- If needed, use the slider to change the Censys Recommended Severity to suit your organization's needs better.
- Click Enabled.
-
Click Save.
Disable enabled risks
-
From the State list, select Enabled.
-
Scroll the list and find a risk type you want to disable for your environment.
-
Click the risk type.
-
Click Disabled. Make an optional note. While it's not required, it's helpful to note what changed and why in the future. These comments are viewed in the Change History for the selected risk type.
-
Click Save.
View the history for a risk type
-
Go to the ASM web console and click Risks > Configure Risk Types.
-
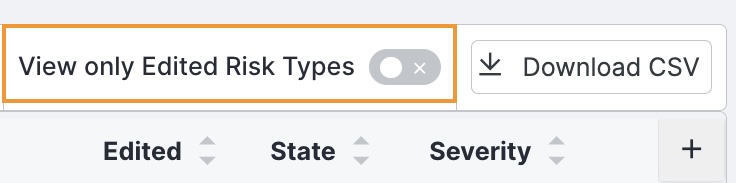
Select View only Edited Risk Types.
-
Click the risk type you want to view. Then, scroll down the page to the Change History area.
Search, sort, and filter risks
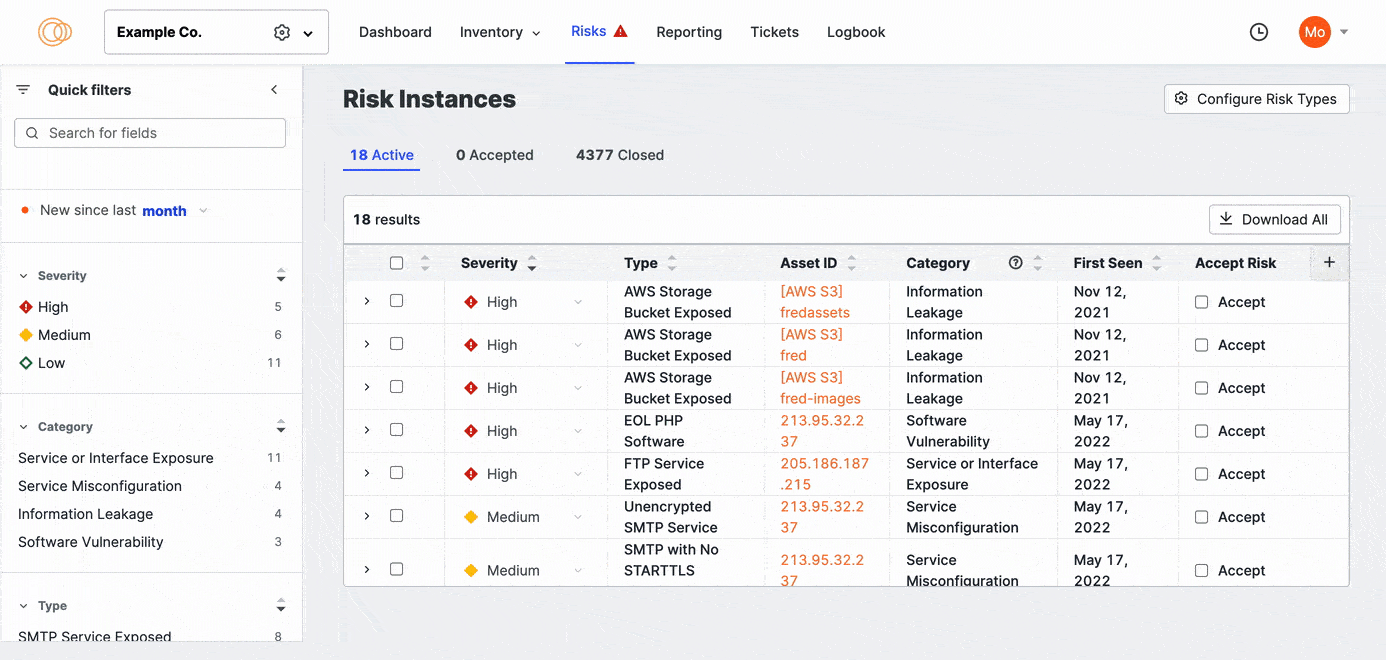
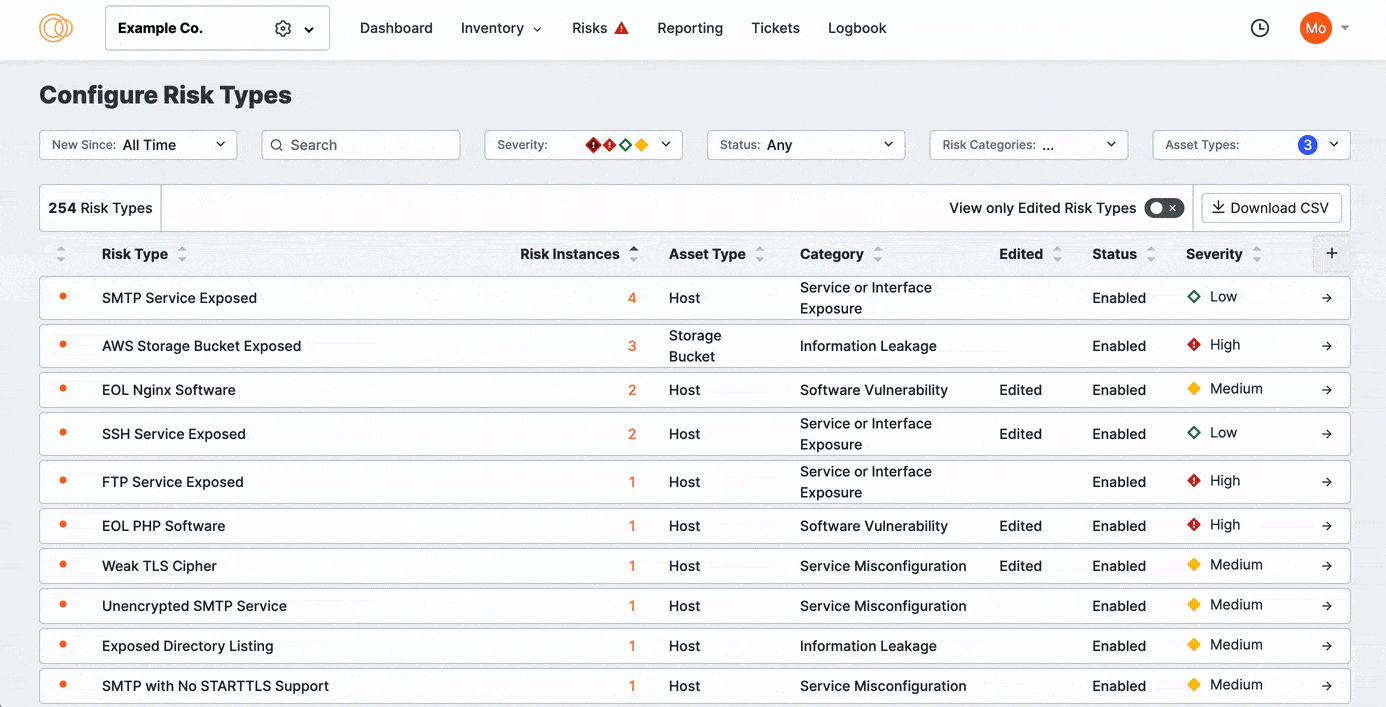
As you refine your risk configurations, you can search, sort, and filter the risks based on when the risk was added to the ASM list of detections. You can also sort risks by their prevalence in your attack surface.
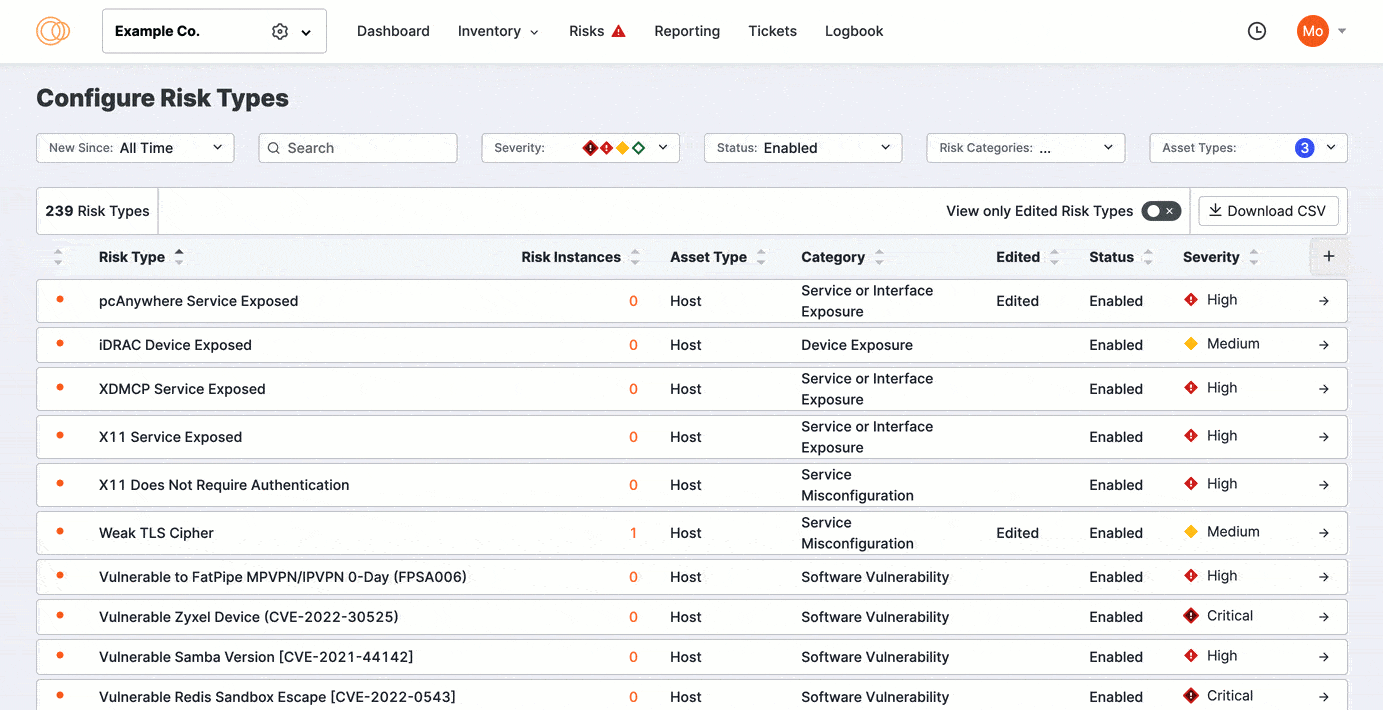
Click View Only Edited Risks to refine the list to previously edited risks. Sort the columns to bring important rows to the top of your view.
Change risk severity to match your organization's risk tolerance
You can customize most risks' default severity to suit your organization's needs. You can also disable the risk type entirely.
Select from the list to see details and remediation recommendations.
The Censys-recommended severity for each risk type is noted with the Recommended text. Use the Severity Selection menu to specify the severity classification that fits your organization’s policies. From highest to lowest, the options include:
- Critical: Indicates a severe risk that may result in compromise of the affected system or interruption of business objectives. Remediate critical risks as soon as possible.
- High: Indicates a risk that can result in remote code execution or sensitive information disclosure. Prioritize high risks when creating a risk remediation roadmap.
- Medium: Indicates a risk that can be exploited in combination with other vulnerabilities to perform an attack. Treat medium risks as a standard priority on a risk roadmap.
- Low: Indicates a vulnerability that can provide an attacker with some information about or access to the affected system. Deal with low risks at the lowest priority.
The default severity set for a type is assigned to any instance of that risk type found on any of your assets.