Splunk
Access Levels: Advanced | Enterprise
Use the Censys Attack Surface Management (ASM) for Splunk integration to visualize logbook API and risks API data on a customizable dashboard and quickly discover changes in your attack surface.
Censys also provides reports based on ASM data, which can be used for alerting and creating dashboards in Splunk. Workflow actions provide a seamless transition between Splunk Search and Censys ASM.
To use Splunk with Censys ASM, you must install both the Censys Add-on for Splunk and the Splunk for Censys Attack Surface Management app.
Prerequisites
You will need:
- Your Censys ASM platform API key
- To find your API key, log in to Censys ASM and click Integrations at the top of the page.
- An active Splunk account
Install the Splunk Add-On
-
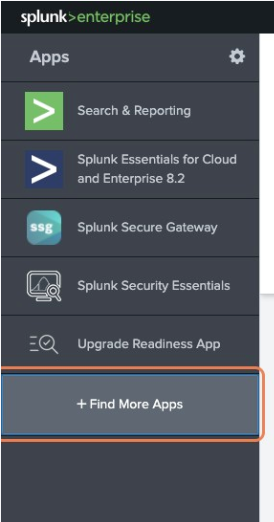
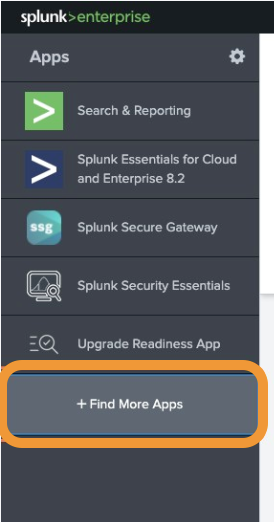
In Splunk, click Find More Apps in the left sidebar.

-
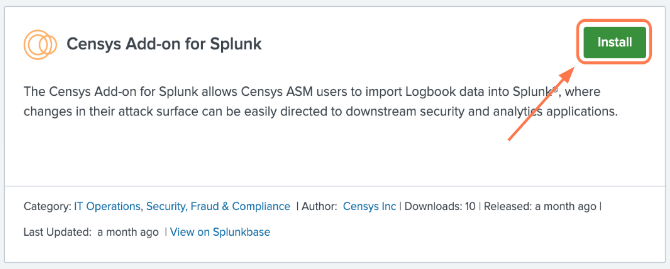
Type Censys into the search bar, locate the Censys Add-on for Splunk and click Install.

-
Re-enter your login credentials to confirm.
NoteIt is also possible to download and install the Censys Add-on for Splunk directly from Splunkbase.
Configure the Splunk Add-on
NoteIf you are using the same Censys workspace for multiple Splunk destinations, you only need to configure one Add-on.
-
Click Configuration at the top of the page.
-
Click the Accounts tab. On the right side, click Add.
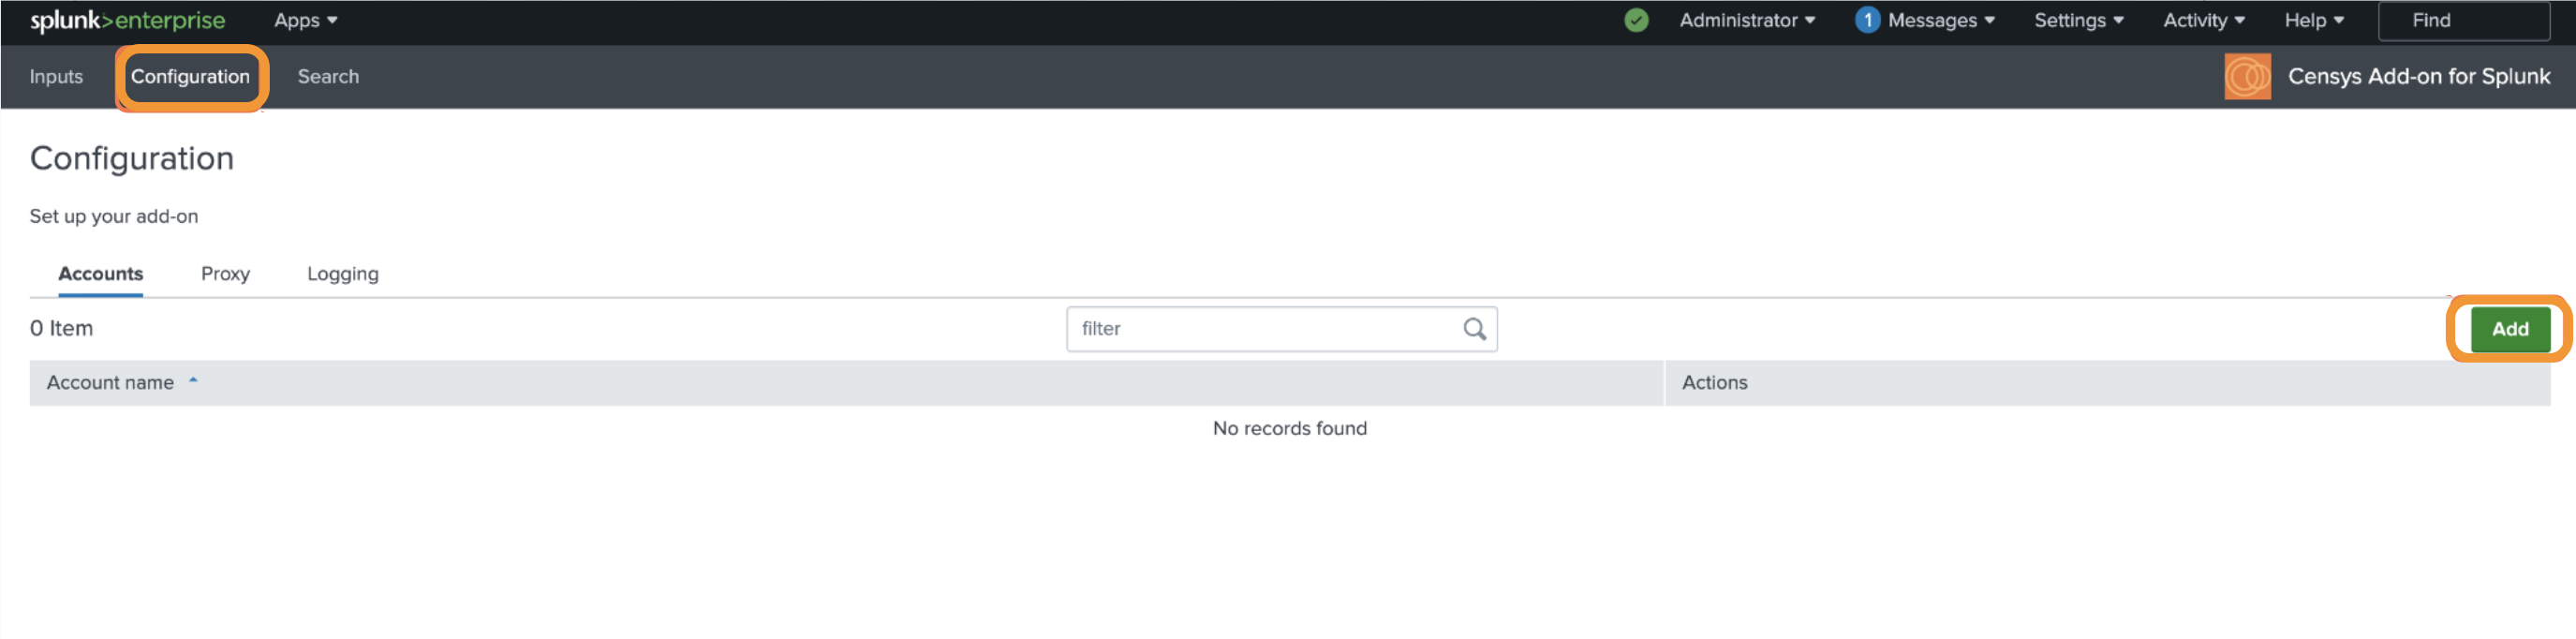
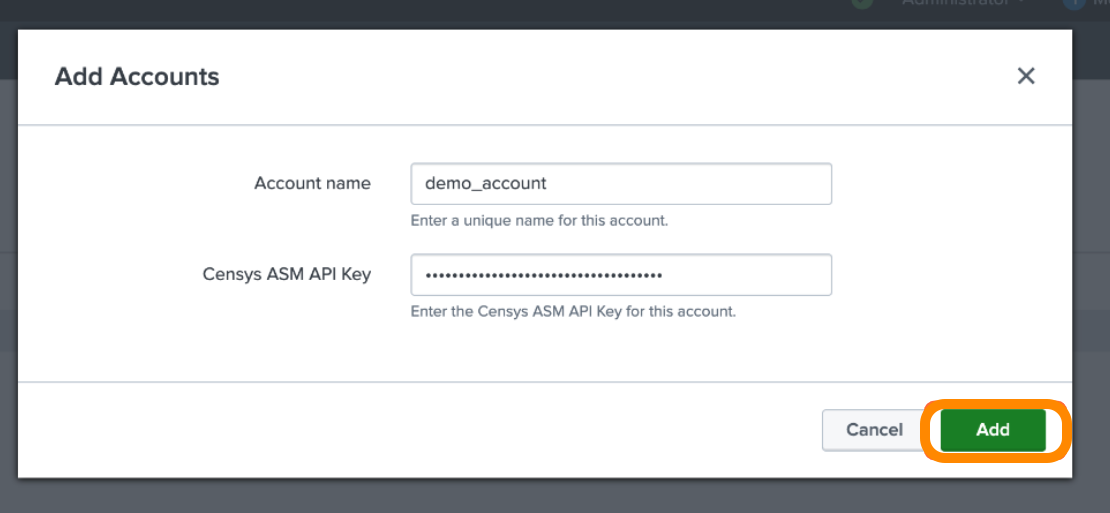
-
Enter an Account Name and paste your Censys ASM platform API key.
- We recommend using the name of your ASM workspace for your account name.
-
Click Add.
-
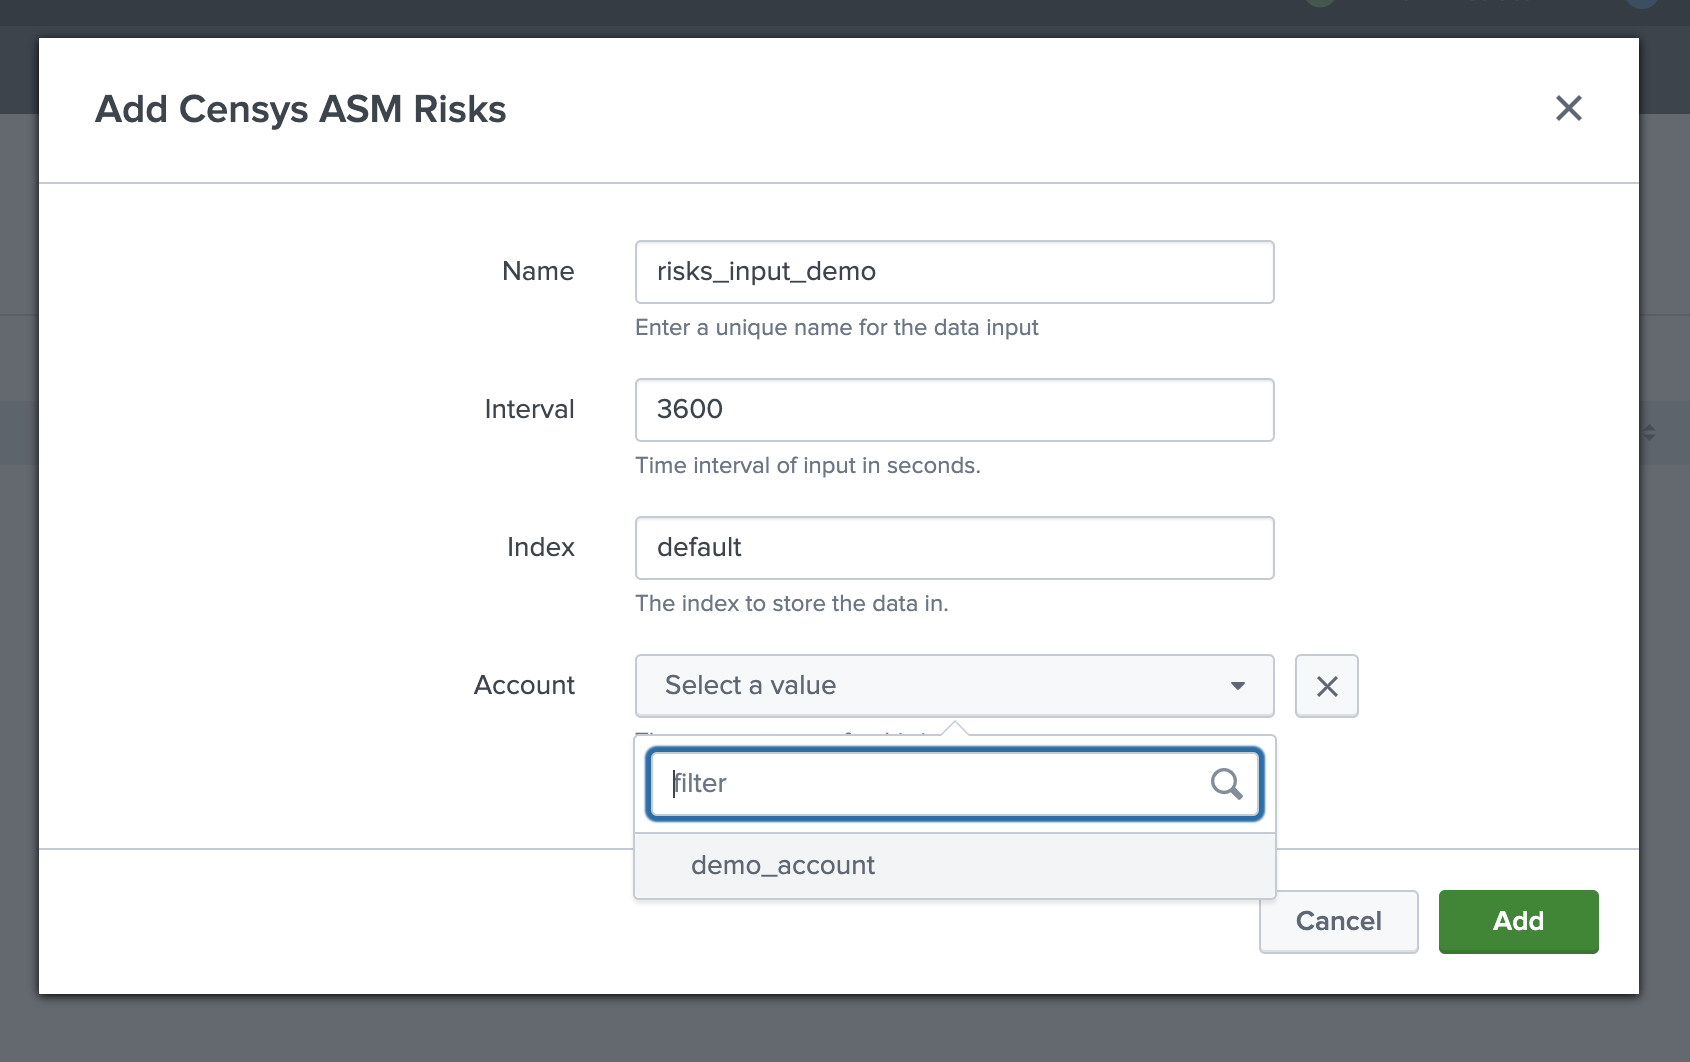
Return to the Configuration page and click the Inputs tab.
-
Click Create New Input. Configure the following fields:
-
Input Name: Enter a name for the logbook input.
-
Interval: Enter an interval, in seconds, for how frequently data will be fetched from Censys ASM.
-
Index: Enter the index where the data is stored.
-
Account: Indicate which Censys account to use.
-
-
Click Add.
Install Splunk for Censys ASM
-
In Splunk, click Find More Apps in the left sidebar.
-
Type Censys into the search bar and locate Censys ASM for Splunk. Click Install.
-
Restart your Splunk Web instance.
-
Re-enter your login credentials to confirm.
NoteIt is also possible to download and install the Censys ASM for Splunk directly from Splunkbase.
Use reports to create alerts and dashboards
To create an alert or dashboard based on a report:
-
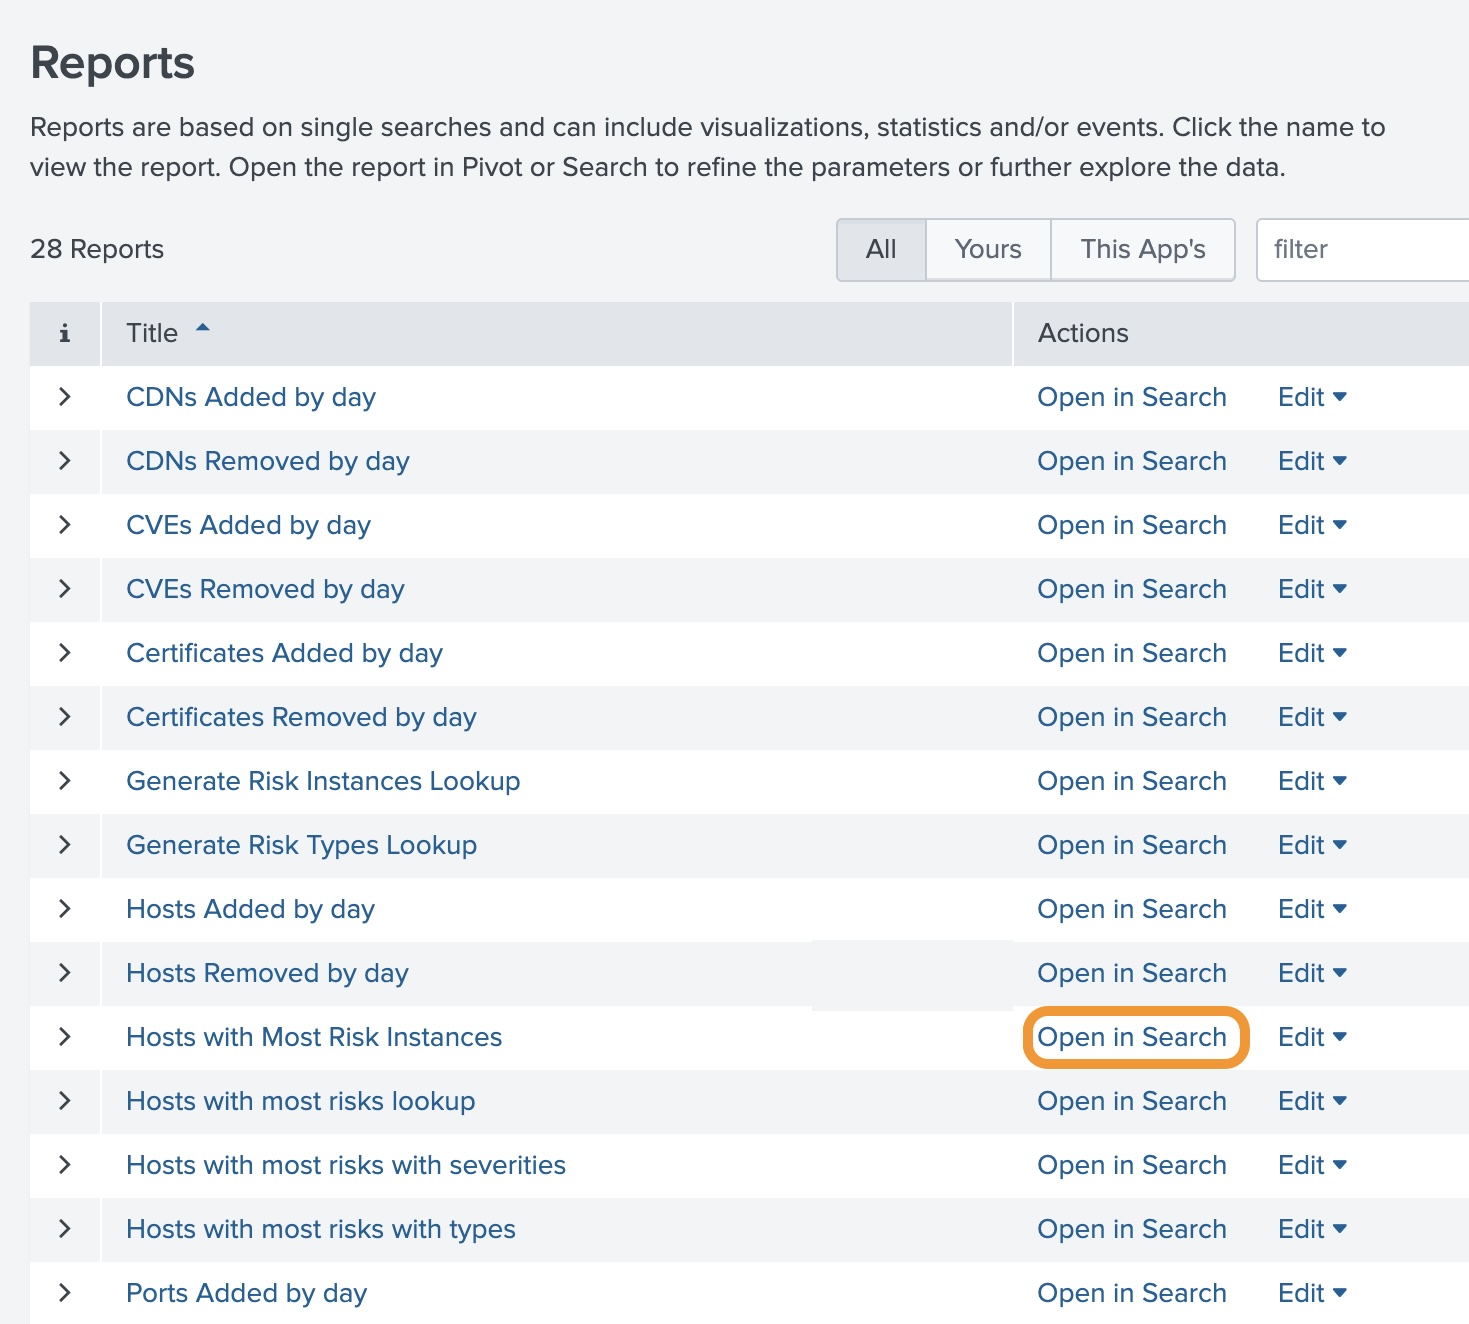
In Splunk, click the Reports tab at the top of the page.
-
Click Open in Search next to the report you want to use:
-
You can optionally modify the query. When you are done, click Save As, and select one of the options in the dropdown to create an alert, add it to an existing dashboard, or create a new dashboard.
-
If you select Alert, you will be prompted to configure additional settings.

-
Dashboards
View the dashboards
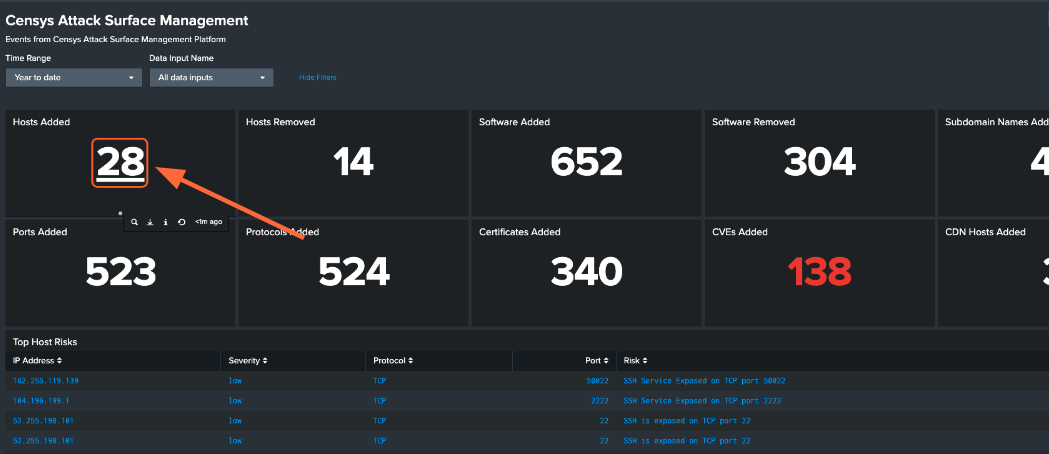
Click the Dashboards tab at the top of the page. When you first access this page, you will see a pre-built default dashboard. Click on a card to view the query providing its data.
Set a default dashboard
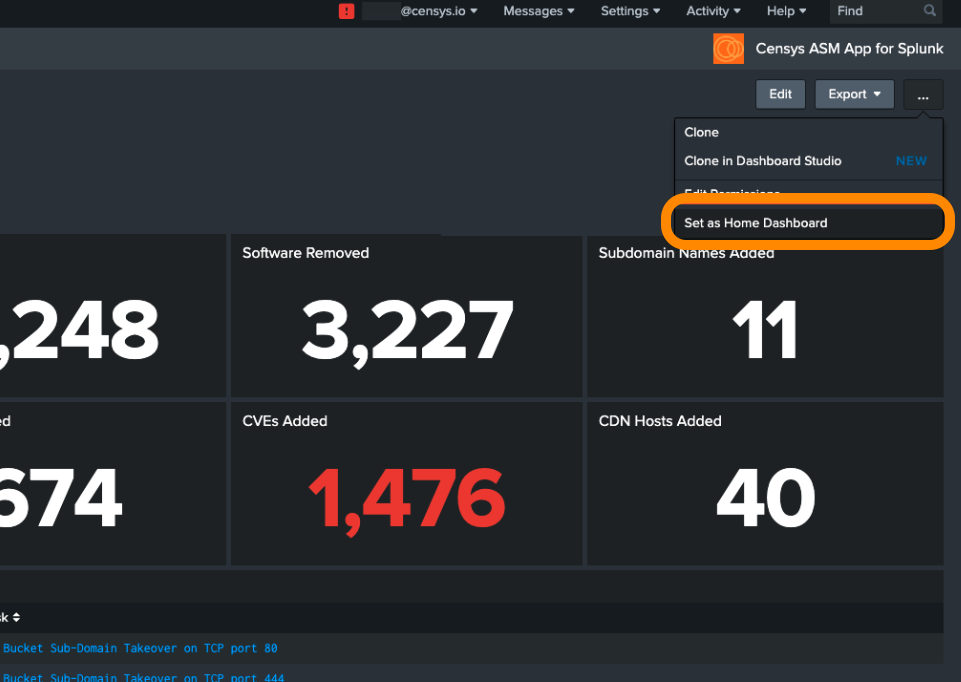
- In a dashboard, click ... in the upper right corner.
- Click Set as Home Dashboard from the dropdown. This dashboard will now appear by default when you log in to Splunk.
View more information about events in the dashboard
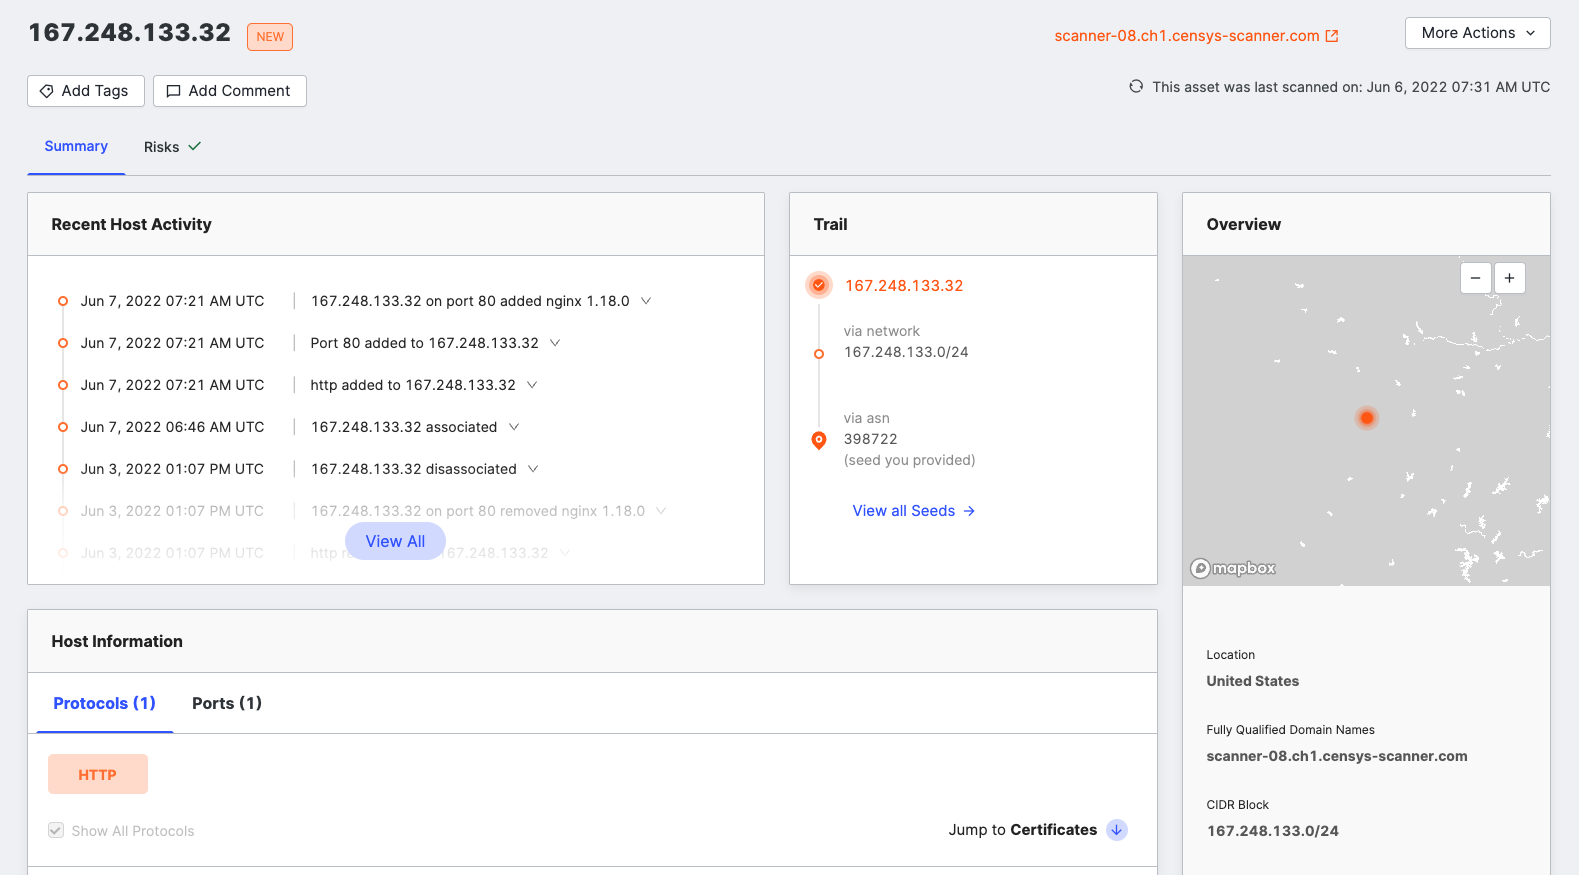
To view more information about an event, click ... next to the asset you want to view, then click Domain, Host, Storage Asset, or Certificate in Censys ASM.
Keep the dashboard up-to-date
To keep the Attack Surface Management Risks dashboard up to date, enable scheduled runs of the following saved searches:
- Generate risk instances lookup
- Generate risk types lookup
- Hosts with most risks lookup
- Hosts with most risks with severities
- Hosts with most risks with types
- Web entities with most risks lookup
- Web entities with most risks with severities
- Web entities with most risks with types
If you opt not to schedule the runs, you must manually run these searches each time you want to pull in the most current data while viewing the dashboard.
Enable scheduled runs
- In Splunk, click Settings > Searches, reports, and alerts.
- At the top of the page, set the Owner filter to All to ensure all searches are visible.
- For each of the five saved searches listed above, follow these steps to edit the schedules:
-
Locate the search you wish to modify.
-
Click Edit > Edit Schedule.
- The "Edit Schedule" modal will appear.
-
Check the box next to Schedule Report.
-
Optionally, adjust the frequency of the schedule. By default, the report runs every hour.
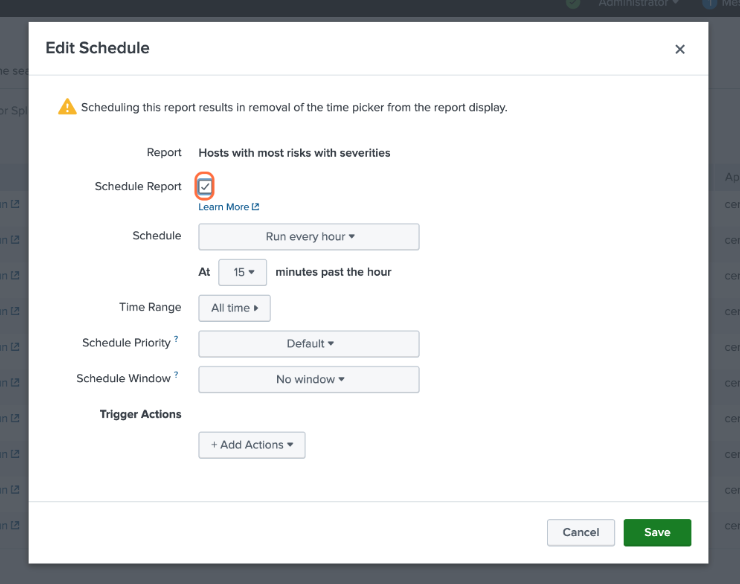
-
Click Save.
- The searches will automatically run based on the schedule you set.
- Optionally, in the list of searches, click Run next to each search to update the dashboard immediately rather than waiting for the next scheduled run.
-
View details of searches and matching events
Click on a card to view the Splunk Search query and associated events.
On the Search page, you will see the query used to obtain the card results and a list of events organized by the specified time range.
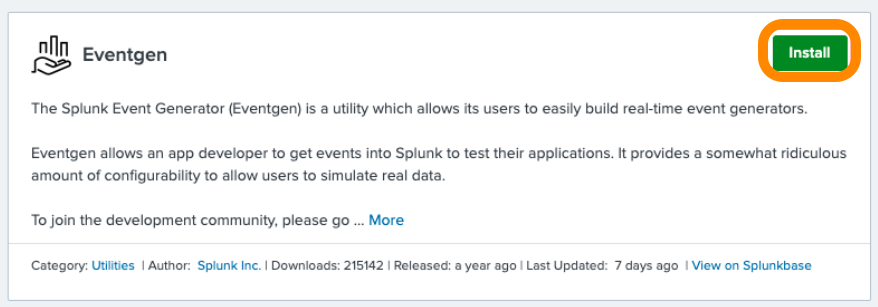
Install and enable Splunk Event Generator (Eventgen)
Splunk Event Generator (Eventgen) is a utility that allows users to generate configurable events to simulate real-time data for testing.
Censys provides a sample eventgen.conf file, along with sample events, to get you started. These are imported automatically by the app, and you can view eventgen.con In GitHub.
-
In Splunk, click +Find More Apps in the left sidebar.
-
Use the search bar to locate the Eventgen app.
-
On the Eventgen app card, click Install.
-
Click Settings > Data inputs, then click Eventgen.

-
Locate the row that includes the source type
dmodinput_eventgen. Under its status column, click Enable.
Create an index for sample events
You can create a new index for your sample events through the Splunk Web UI or the Splunk Enterprise command line.
Option 1: Create an index from the Splunk UI
- In Splunk, click Settings > Indexes.
- On the Indexes page, click New Index.
-
For Index Name, enter
demo. -
For App, select
SA-Eventgenfrom the dropdown menu.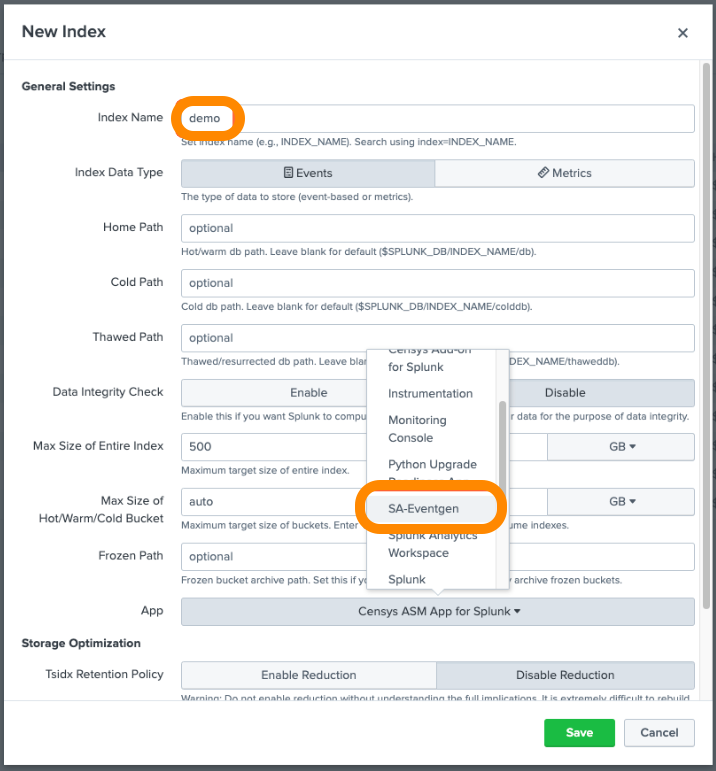
-
- Click Save.
Option 2: Create an index from Splunk Enterprise Command Line
From the terminal (Mac or Linux), navigate to $SPLUNK_HOME/bin and enter the following command:
./splunk add index demoYou may be prompted to enter your Splunk username and password.
Note:To use a name other than
demofor your index, modify theeventgen.conffile.
View sample Splunk events
- Go to the Censys ASM web console and click Search.
- Enter the search query
index=demoto see all sample events.
Updated 5 months ago