
Slack Collection Webhooks
This guide provides an example webhook configuration using Slack. Slack is used for this example, but the logic applies to other applications that accept webhook payloads. In this example, you will learn how to send real-time alerts from a Censys collection to a Slack channel or direct message using Slack's Workflow Builder.
Configure Slack workflow
Follow the steps below to set up a Slack workflow for webhook alerts from Censys.
-
In your Slack application, go to More > Automations.
-
Click on Workflows > New Workflow > select Build Workflow from the dropdown menu.
-
Under "Start the workflow," click Choose an Event.
-
Select From a webhook.
-
Click Set Up Variables.
-
Add your desired variables one at a time. In the "Key" field, enter the variable name and set the data type to
text, then click Done.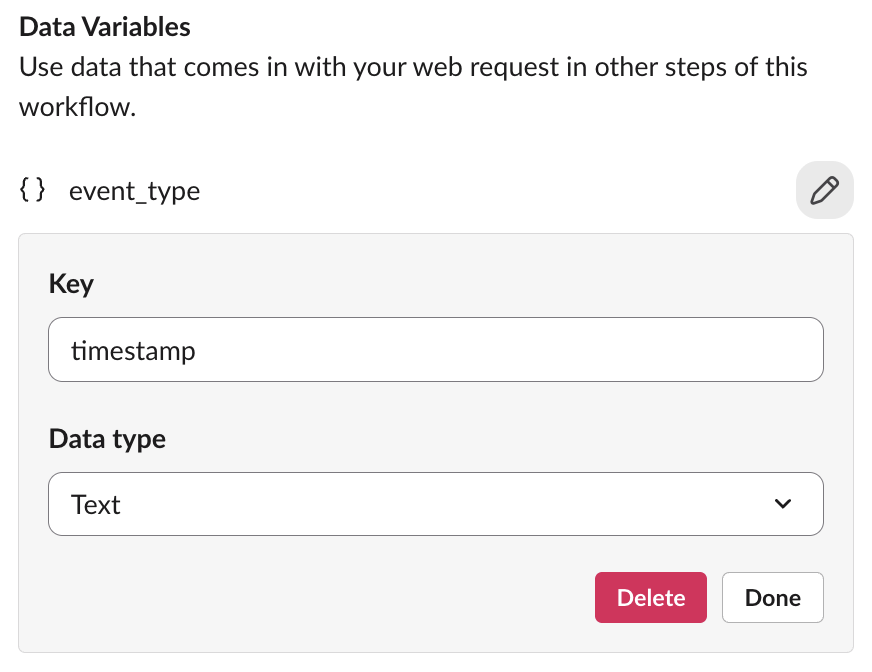
The table below shows all of the available variables.
Key Name Data Type event_type Text timestamp Text collection_id Text collection_name Text org_id Text query Text asset_id Text asset_type Text url Text evidence Text event_verb (optional) Text
In the screenshot below, you can see the list of variables in the Example HTTP body.

-
Click Continue.
-
Click Add Steps under Then Do These Things.
-
Click Send a message to a person in the Discover Workflow Steps modal.

-
Select your account in the Select a member dropdown.
-
In the Add a message field, you will configure a Slack message that uses the variables set in Step 6. This is the message that will be sent when the webhook is triggered.
-
Click Insert a variable to add a variable to the message. You can also add free text to the message.

See the example message below, which combines event_verb and event_type to support both readability and system integration.
New Webhook Event
{}asset_type - {}asset_id was {}event_verb {}event_type to the collection {}collection_name at {}timestamp.-
Click the pencil icon ✏️ next to Starts with a webhook.
-
Scroll down and copy your Web request URL. Store this as it's required to configure a webhook in Censys.
-
Cancel the modal and click Finish Up in the top right.
-
In the Finish Up modal, provide a Name and Description for your workflow.
-
In the Permissions section, use the dropdown to define who can use and find the workflow. Click Publish.

Configure webhook in the Censys Platform
Follow the steps below to create a webhook in the Platform and configure it for Slack.
-
In the Platform web UI, click the Alerts and Notifications bell icon in the top right.
-
On the Alerts and Notifications page, click Create New Webhook.
-
Name your webhook.

-
Enter the target URL you saved from Slack. This URL is where Censys sends HTTPS requests for event delivery.
-
Select one or more collections to source trigger events.
-
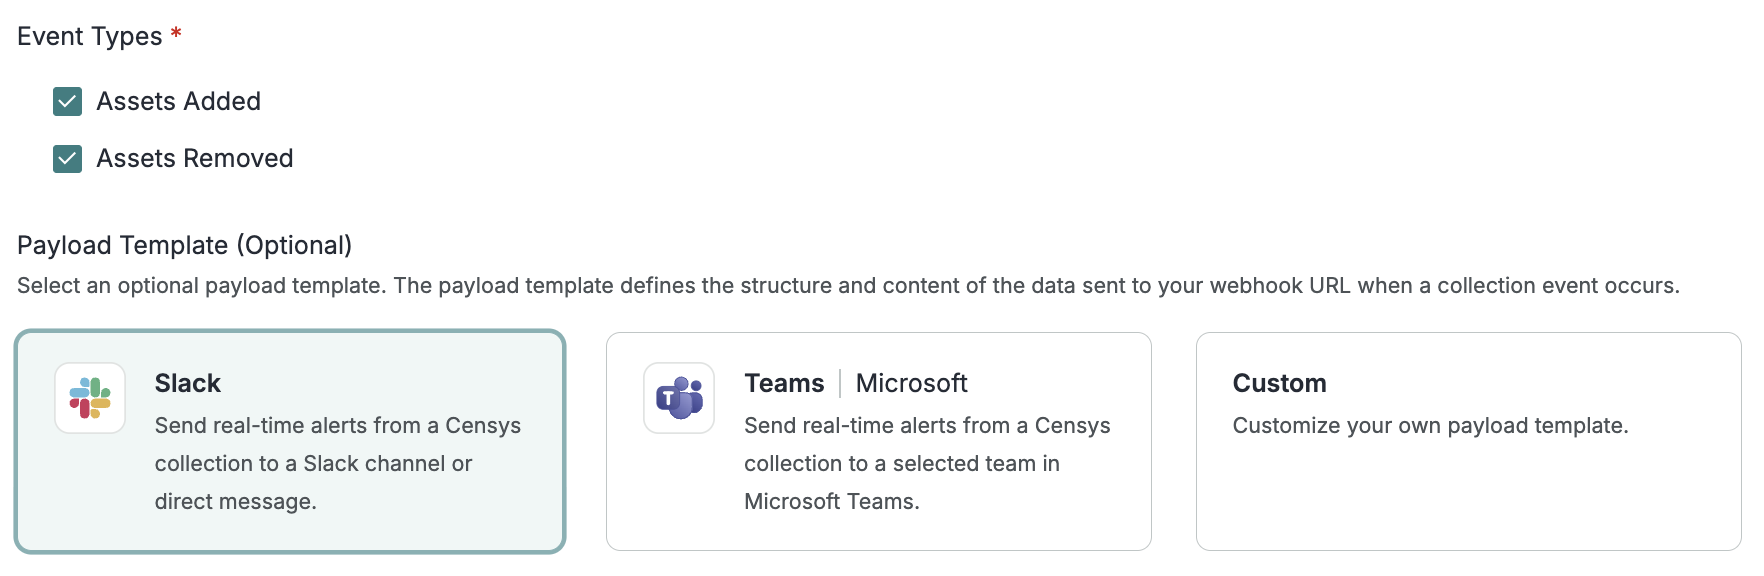
In the "Event Types" section, select the checkbox for each collection event you want to trigger the webhook.
-
In the "Payload Template" section, select Slack. The payload template defines the structure and content of the data sent to your webhook URL when a collection event occurs.
-
(Optional) Click the Custom Headers tab to add custom headers to the webhook configuration as part of the request. Custom headers are used for authentication or to route requests.
-
Click Test Webhook.
-
After you click Test Webhook, a message is sent to the target URL. You will receive a message in Slack and a response in the UI.

-
Click Create Webhook at the top of the page.
After you complete the configuration, Censys sends Slack messages when a matching event occurs in your collection. When an asset is added or removed from your query, the webhook triggers and pushes a message to the channel or user you defined in the configuration. Each message highlights the event type, asset details, and timestamp—keeping your team informed in real time as your collection changes.
Updated about 1 month ago